SSMS (SQL Server Management Studio) is a graphical tool that you can use to administer SQL Server.
SSMS used to be bundled with SQL Server, but that is no longer the case. You must now install it separately.
This article shows you how to install SSMS (including screenshots).
Note that SSMS is only available for Windows machines. If you’re using a non-Windows machine (such as Mac or Linux), try Azure Data Studio or perhaps DBeaver.
Also note that Azure Data Studio is now included when you install SSMS (starting with SSMS 18.7).
Download SSMS
The first step is to download the SQL Server Management Studio installation file.
To do this, go to the Microsoft website and scroll down to the Download SSMS section:
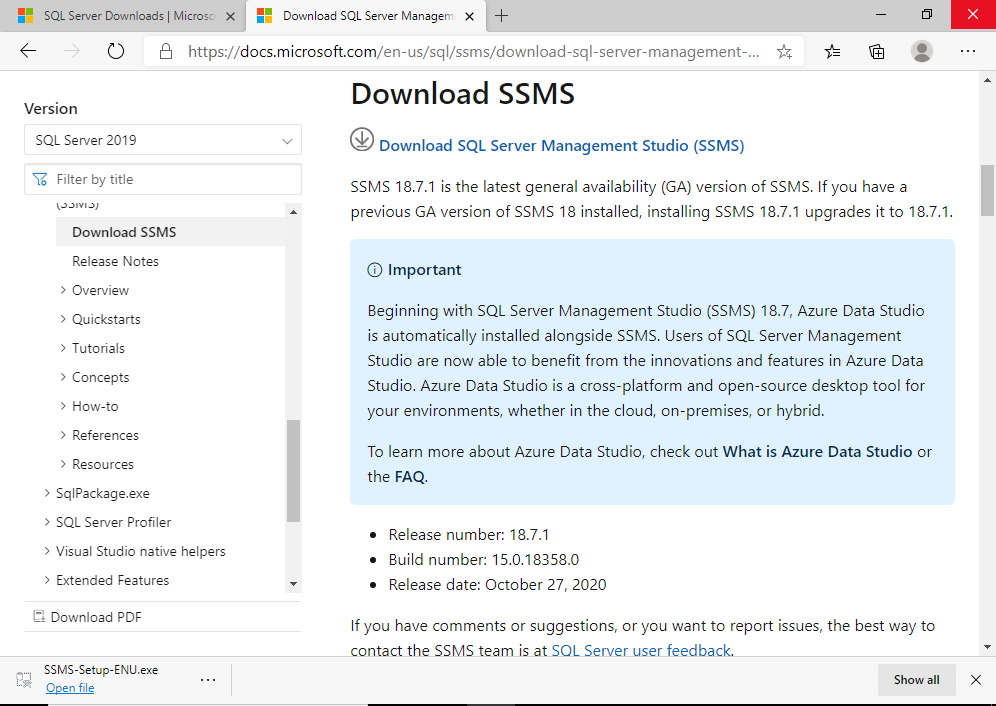
Click Download SQL Server Management Studio (SSMS).
This downloads the setup file to your computer. You can see it in the bottom left of the above screenshot.
Install SSMS
Click Open file (you can see it in the bottom left of the downloads page in the above screenshot – where it reads SSMS-Setup-ENU.exe).
Doing that opens the following screen:
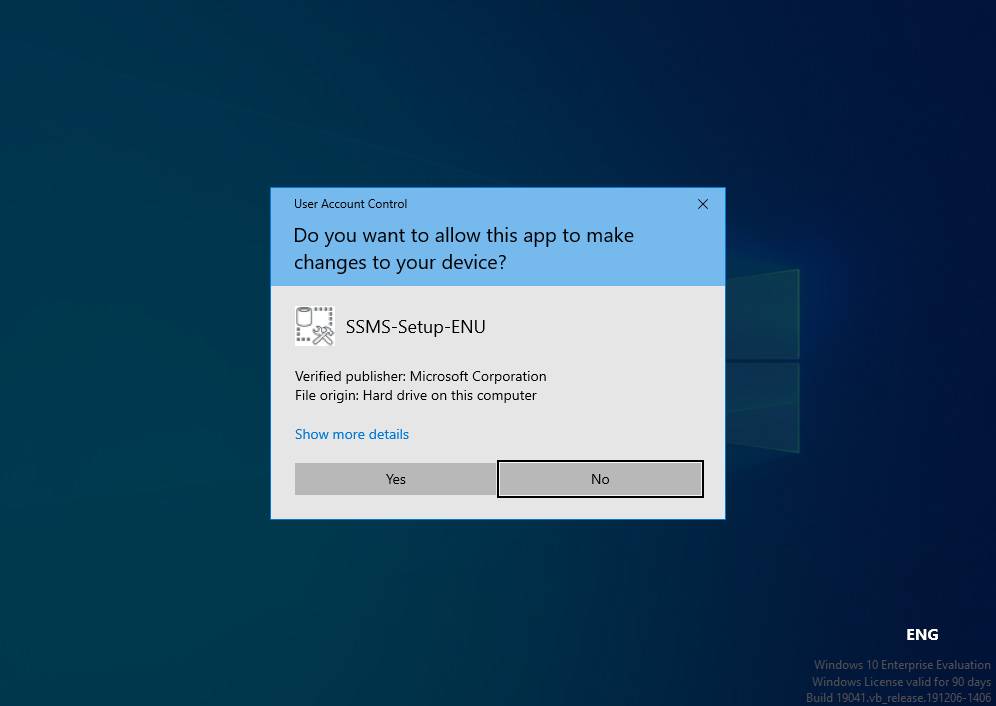
Click Yes to continue with the installation.
That brings us to the following screen:
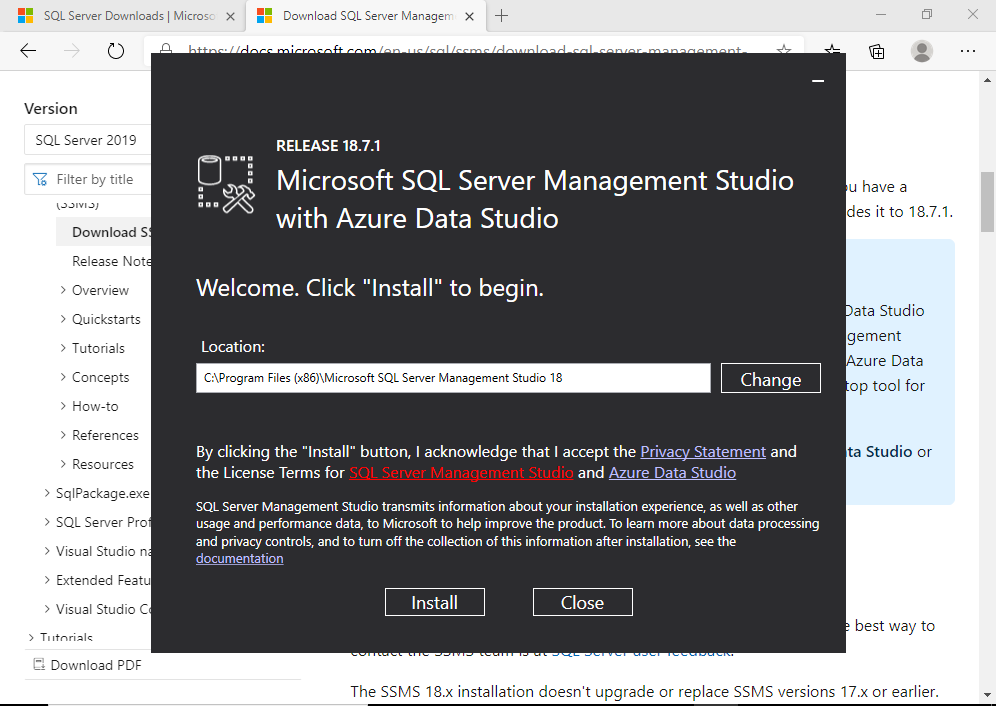
If you’re happy with the installation location, click Install.
Otherwise, change the location first.
Once you’ve clicked Install, the installation begins. Here it is in progress:

Installation will then progress to the next state, which requires that you restart the computer:

Click Restart to complete setup.
How to Open SSMS
Once your computer restarts, you’ll be able to find SSMS in the Start menu under “M” for Microsoft.
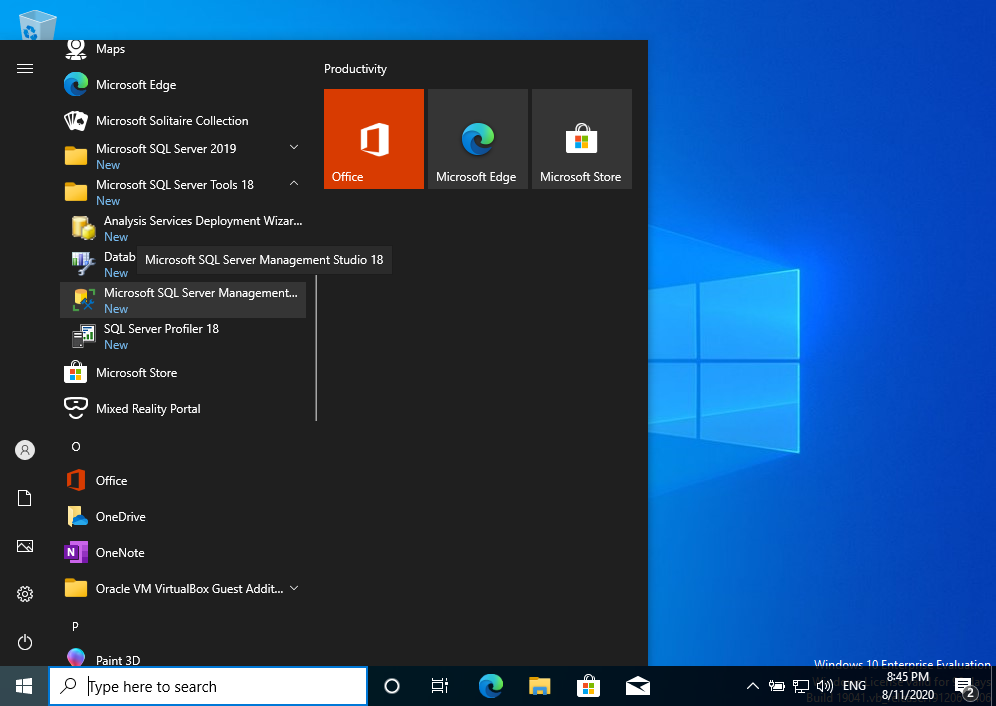
Specifically, I found it at the following location: M > Microsoft SQL Server Tools 18 > Microsoft SQL Server Management Studio 18
As mentioned SSMS now comes alongside Azure Data Studio (starting from SSMS 18.7). You can find Azure Data Studio under “A”. You can also find Azure Data Studio under the Tools menu from within SSMS.
Once SSMS has launched, you will need to connect to SQL Server:
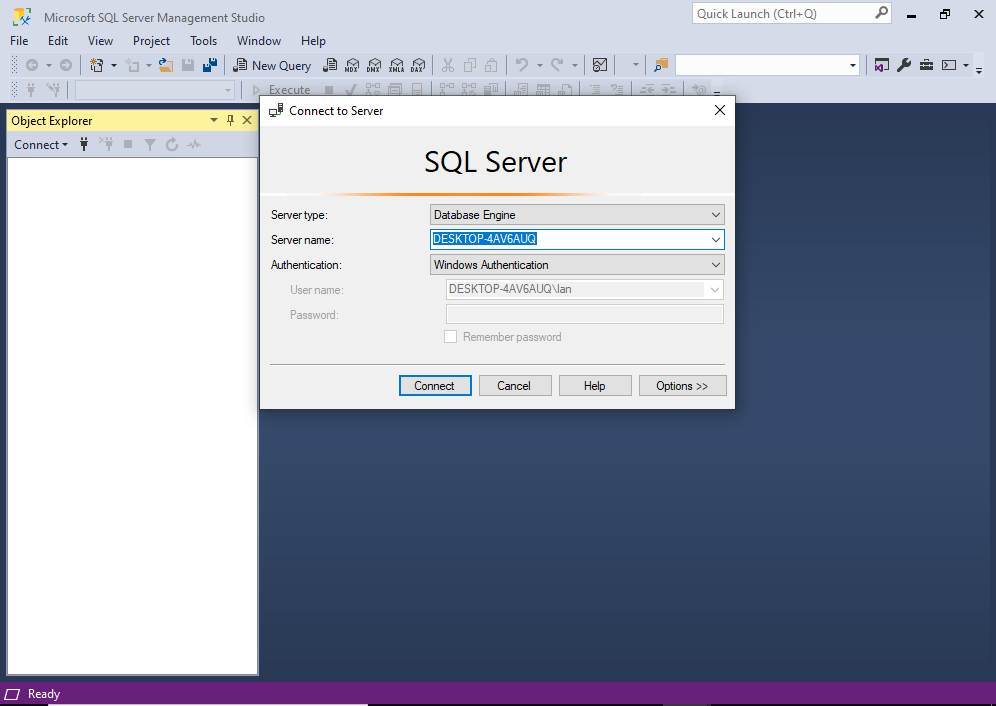
In my case, I used Windows Authentication. Change any details as required, then click Connect.
Once connected, you should see something like this:
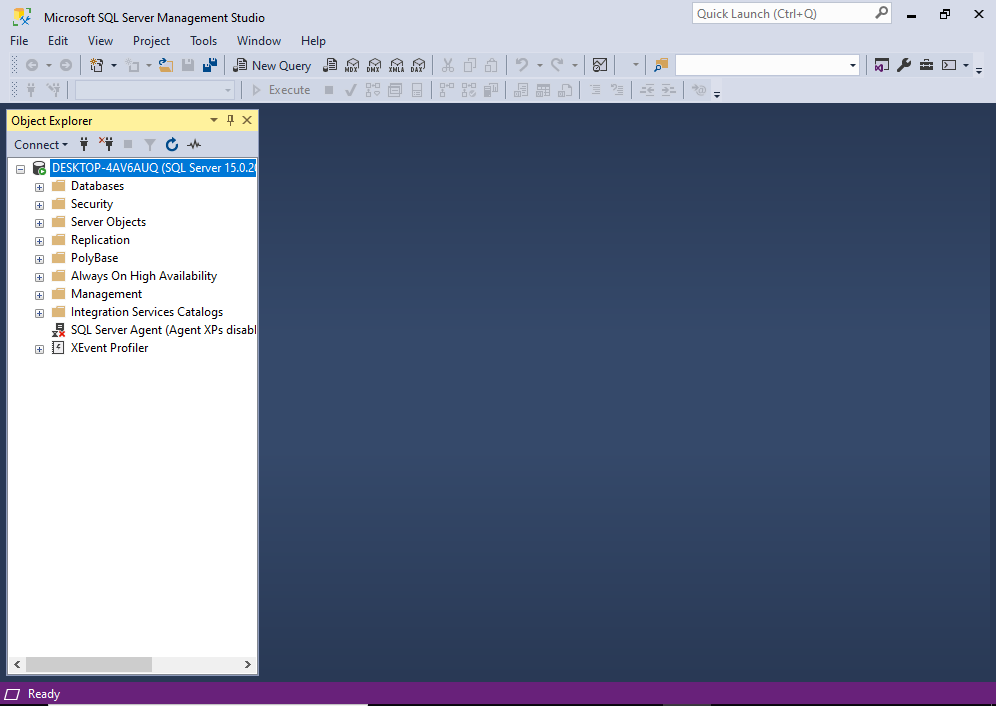
Congratulations, you’re now connected to SQL Server via SSMS!
Haven’t Installed SQL Server Yet?
If you’re reading this before you actually install SQL Server, the following information might save you a few minutes of your time.
When you install SQL Server using the installation wizard, you should see a button on the final screen that prompts you to install SSMS:
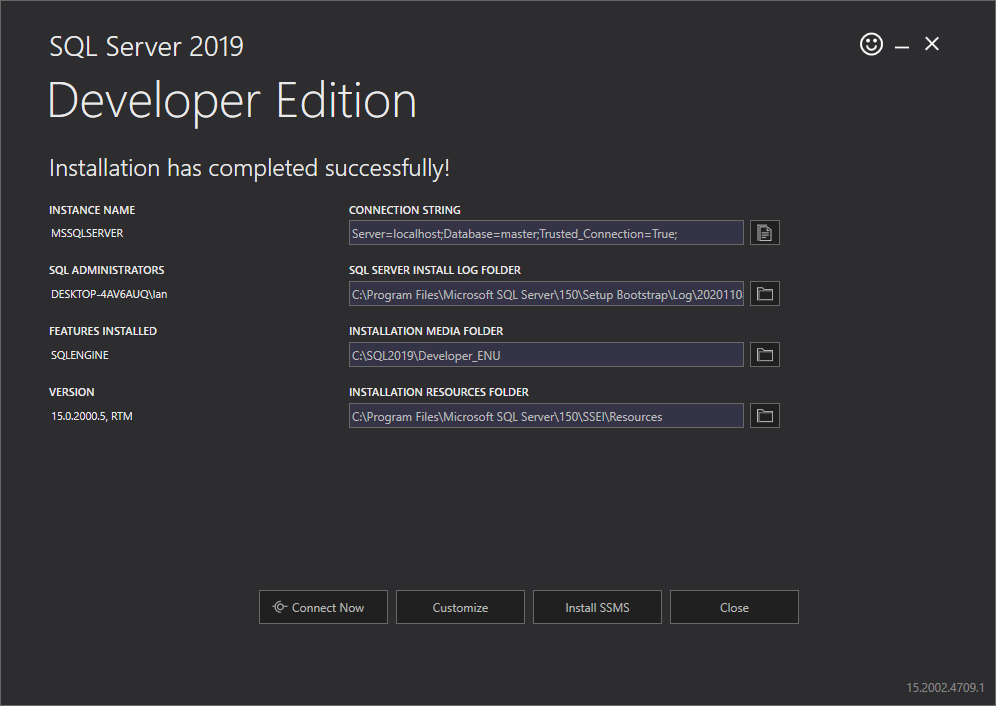
If you find yourself on this screen, click Install SSMS. That will take you to the same Download SSMS web page on the Microsoft website that I listed above.
Alternatively, if you’ve previously installed SQL Server, you can also find the same web page via the SQL Server Installation Center:
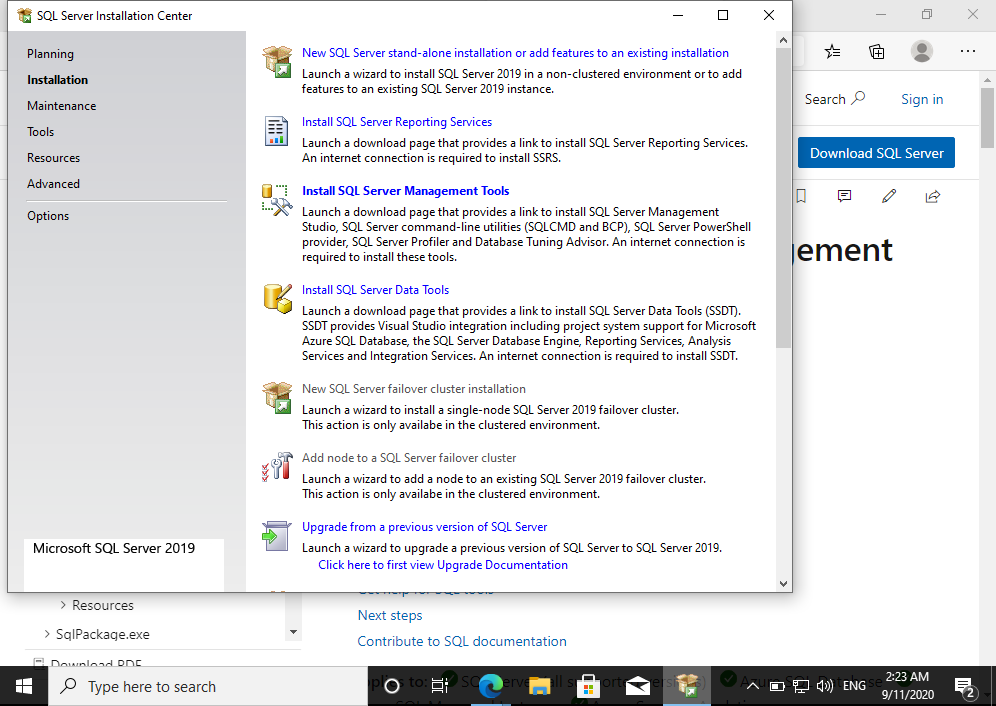
To find that, use the Windows Start menu to go to: Microsoft SQL Server 2019 > Microsoft SQL Server 2019 Installation Center (64 bit).
Once you’ve opened the Installation Center, click Installation in the left menu, then click Install SQL Server Management Tools to open the same web page.