In this article, I show you how to install SQL Server on a Windows machine (screenshots included).
In this case I used the installation wizard to install SQL Server 2019 onto a Windows 10 machine, using the Basic installation option, which uses the default configuration.
It was actually a Windows 10 evaluation version, running on VirtualBox, on a MacOS host. Either way, the process is no different, whether it was done on a physical Windows machine or virtual.
The installation wizard is very user-friendly, and if by the time you’re reading this, you’re using a different Windows version, or installing a different version of SQL Server, I imagine the process will be very similar to what I’ve outlined here.
Anyway, let’s get straight to it.
Download SQL Server
The first step is to get the SQL Server installation file. If you already have a file, you won’t need to download it.
If you don’t already have an installation file, download the SQL Server installation file from the Microsoft SQL Server Downloads page.
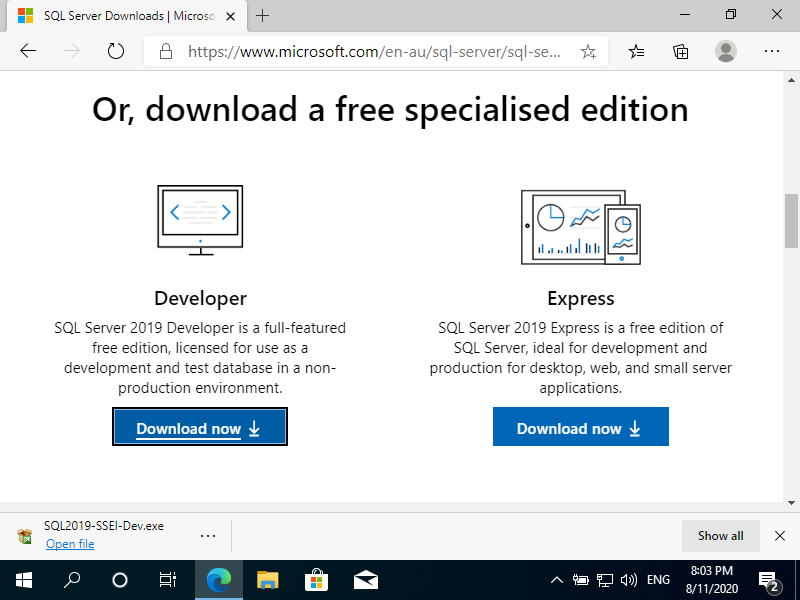
In my case, I installed the SQL Server 2019 Developer edition. The above screenshot shows you this option on the Microsoft page.
Install SQL Server
Once the file has finished downloading, click Open file (as seen at the bottom, left of the above screenshot).
That opens the following screen:

Click Yes to allow the app to make changes to your device.
That brings us to the next screen:

Select Basic to install the SQL Server Database Engine with the default configuration.
If you have specific requirements, you might want to select one of the other options. Although if you do, the subsequent screens may differ from the ones below.
The license terms now appear:

If you accept the terms, click Accept.
Now you’ll get to confirm or change the install location:
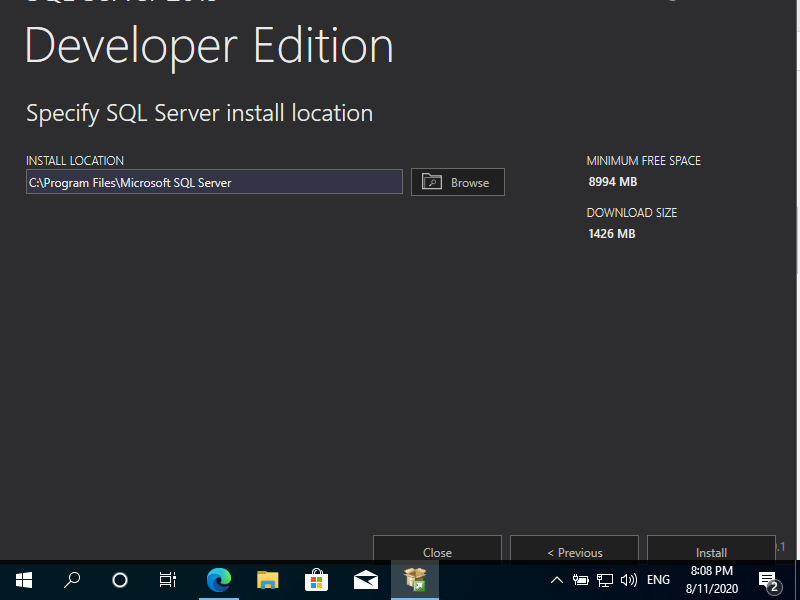
Unless you have reason to change the location, click Install at the bottom, right.
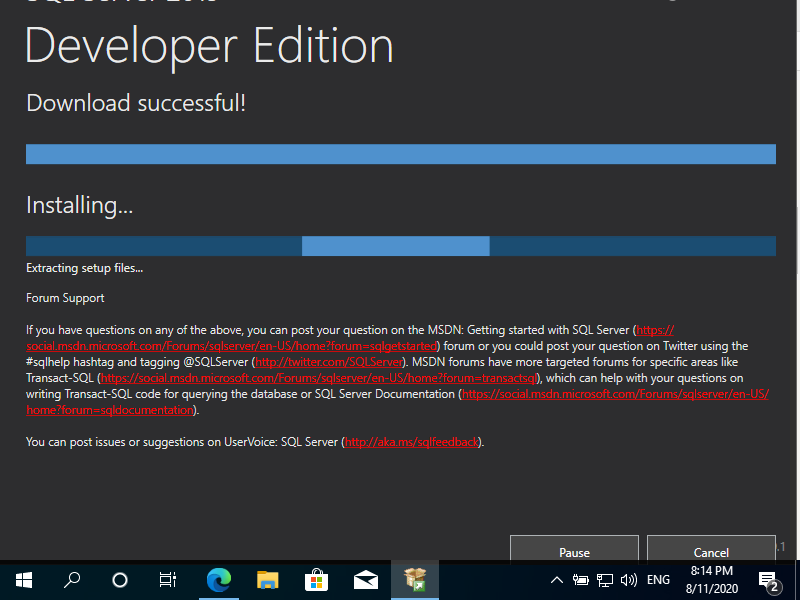
The first thing that happens, is that the installation package is downloaded:

And once that has downloaded, it automatically moves on to the next step – the actual installation:
Once it has installed successfully, the following screen is displayed:
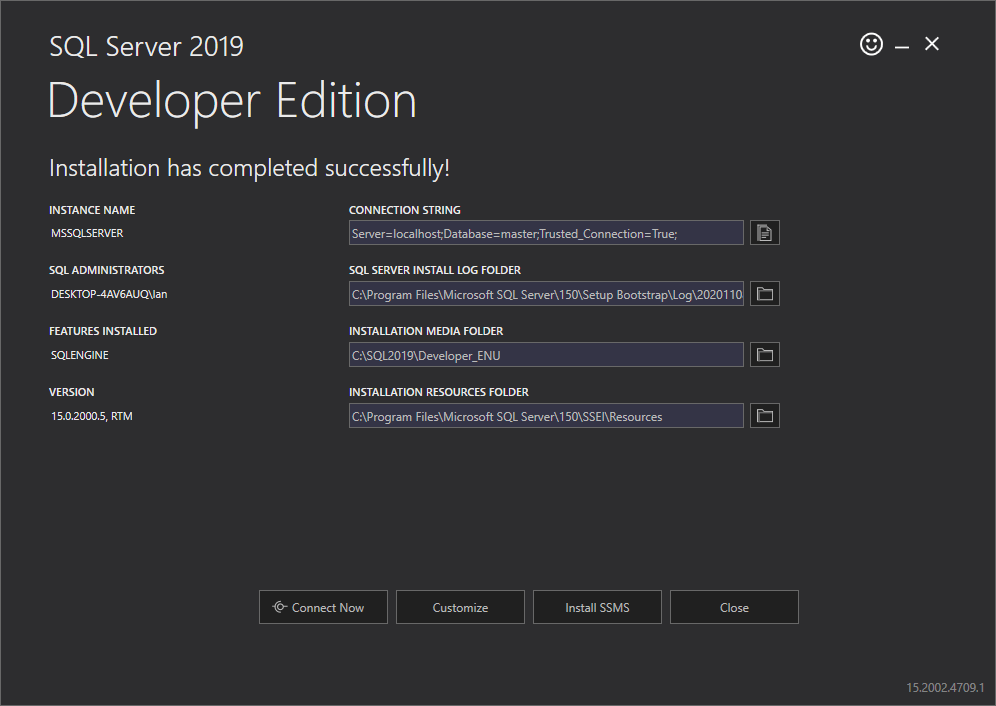
That’s all there is to it!
SQL Server is now installed on Windows.
If you want to install SQL Server Management Studio (SSMS), click on Install SSMS. That takes you to the SSMS download page on the Microsoft website.
See How to Install SSMS to see screenshots of the the SSMS installation using the installation wizard.
Other Methods for Installing SQL Server on Windows
Microsoft also provides various other ways to install SQL Server onto a Windows machine. Check out the following articles from the Microsoft website for further details on each method:
- Install SQL Server from the command prompt
- Install SQL Server by using a configuration file
- Install SQL Server by using SysPrep
- Create a new SQL Server failover cluster (Setup)
- Upgrade SQL Server by using the Installation Wizard (Setup)
Using the command prompt enables you to create a script before hand that specifies the features to install and how they should be configured. Once the script has been written, it’s just a simple matter of running it.
The configuration file option enables you to deploy SQL Server throughout the enterprise with the same configuration.