When you create a profile in Database Mail, you have the option of making it a private profile or a public profile.
You also have the option of setting it as the default profile.
A public profile allows any user with access to the msdb database to send e-mail using that profile. A private profile can be used by a user or by a role.
Creating a default profile means that, if someone tries to send mail without specifying which profile to use, the default profile will be used. It will first try to use the default private profile for the current user. If the user does not have a default private profile, it will use the default public profile.
Set an Existing Profile as the Default Public Profile
Here’s how to update an existing profile to be the default public profile.
From the Object Explorer, open the Management node and right click Database Mail:
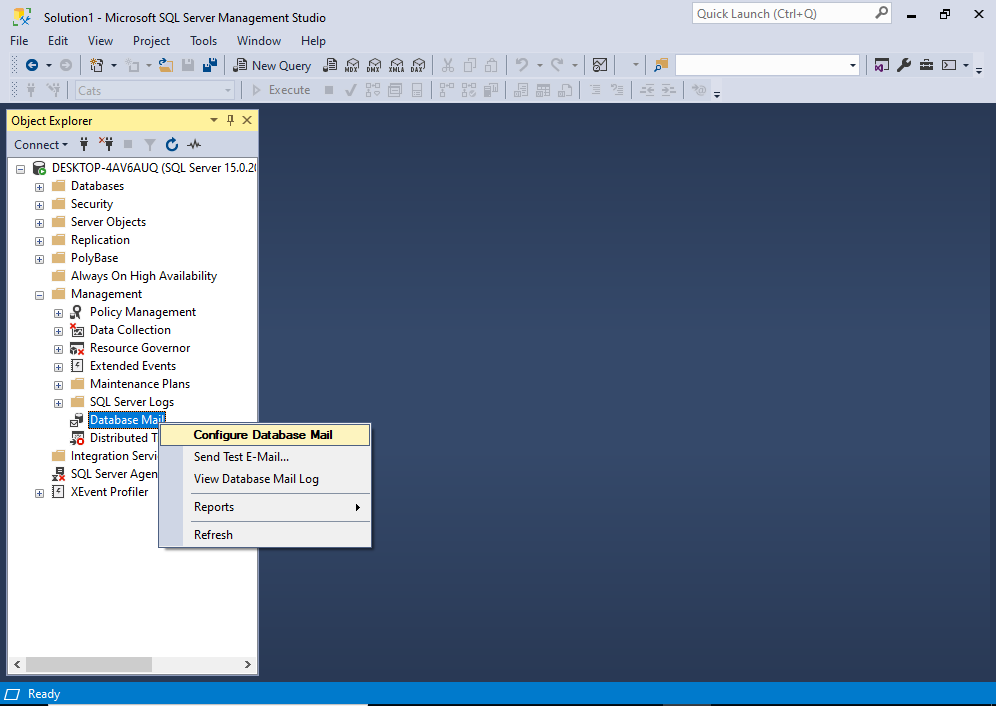
From the context menu, click Configure Database Mail.
You may get an interim “Welcome” screen before you get to the next one. If so, click Next > to continue to the following screen.
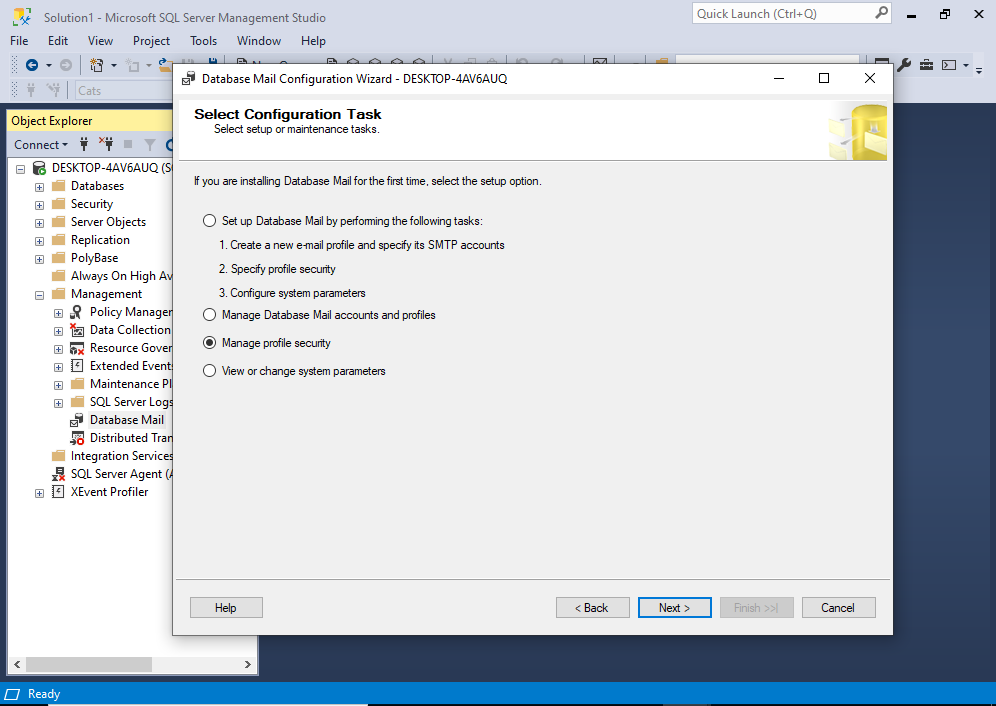
Select Manage profile security and click Next >.
Which brings us to the Manage Profile Security screen:
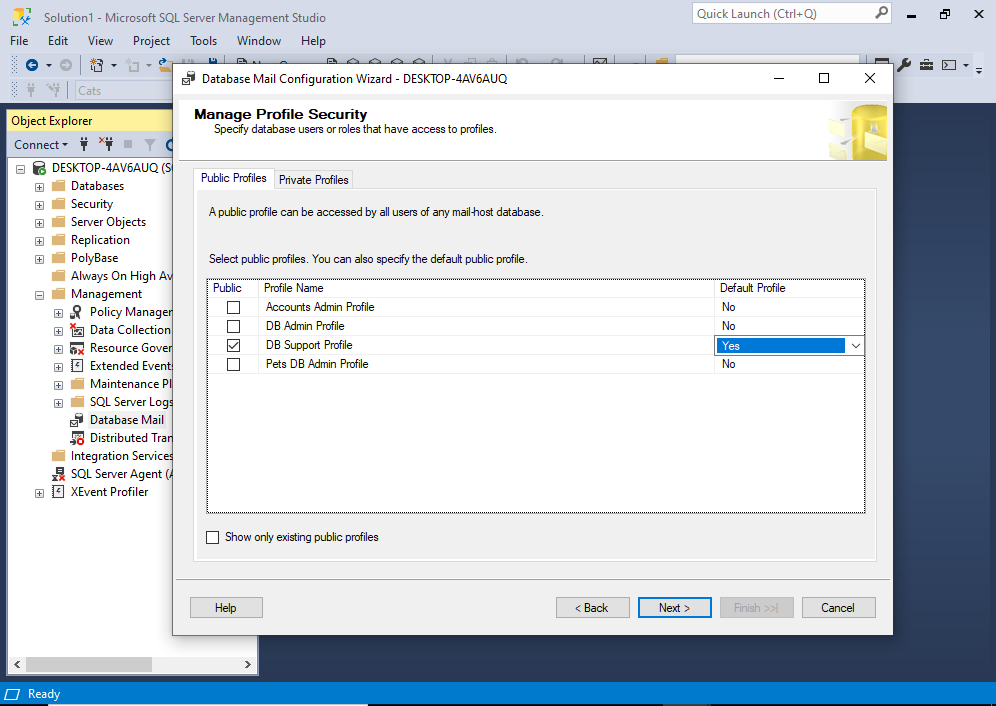
This displays a list of profiles.
Under the Public column, check the box of the profile that you’d like to make public (if it isn’t public already), and select Yes in the adjacent dropdown menu with the Default Profile heading.
You can set multiple profiles to be public, but you can only set one profile to be the default public profile.
Once you’ve made the changes, click Next >.
That moves us along to the following confirmation screen:
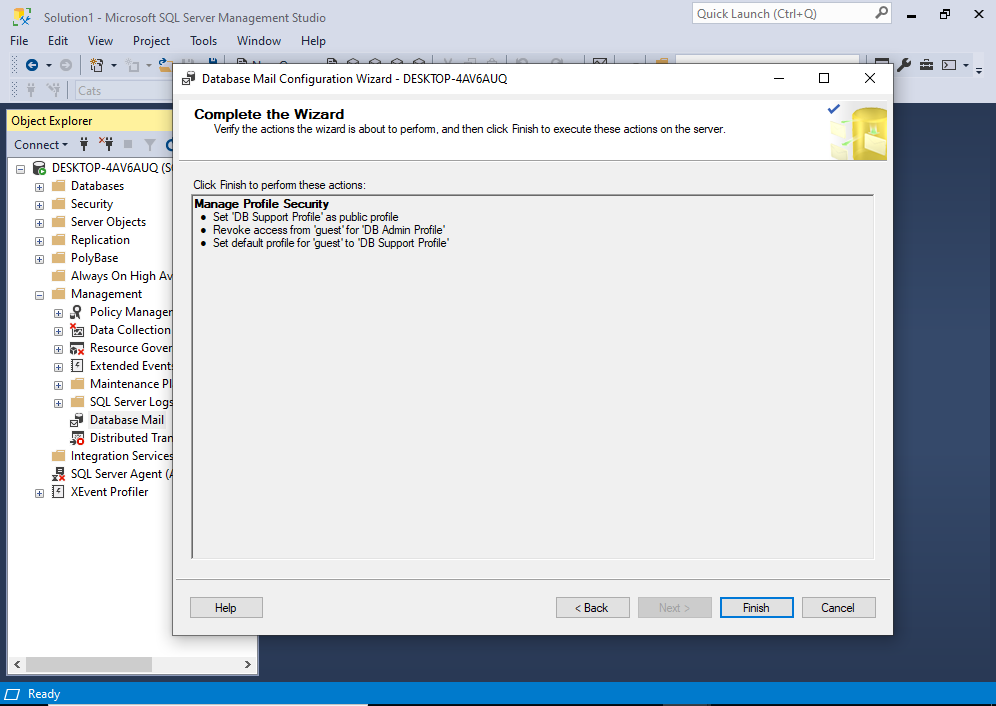
Review your changes, and go back and make any changes if necessary.
Once it all looks good, click Finish.
This implements the changes and displays the following screen:

The profile is now the default public profile.
Click Close to finish.
Create a New Profile as the Default Public Profile
If you’d like to create a whole new profile and set it to be the default public profile (or just a public profile), see How to Setup Database Mail (SSMS). You’ll need to use the same steps outlined in that tutorial.
How to do it in T-SQL
If you’d prefer to do it using T-SQL, you can use the following code:
EXECUTE msdb.dbo.sysmail_update_principalprofile_sp
    @profile_name = 'DB Support Profile',
    @principal_name = 'public',
    @is_default = 1;
See Create a Default Public Profile for Database Mail (T-SQL) for a more detailed discussion, as well as how to create a new profile as the default public profile.