Azure Data Studio is a neat little graphical tool for managing databases.
It’s available on Windows, MacOS, and Linux. On Linux it’s available on Red Hat (RHEL), SUSE Linux Enterprise Server, and Ubuntu.
This tutorial shows you how to install Azure Data Studio on Ubuntu 20.04 via the GUI. Screenshots included.
I’ve also included the commands for installation via the command-line in case you prefer that method.
Download Azure Data Studio
The first step is to download the latest Azure Data Studio release from the Microsoft website.
Go to the Microsoft Download page, look for the Linux options:
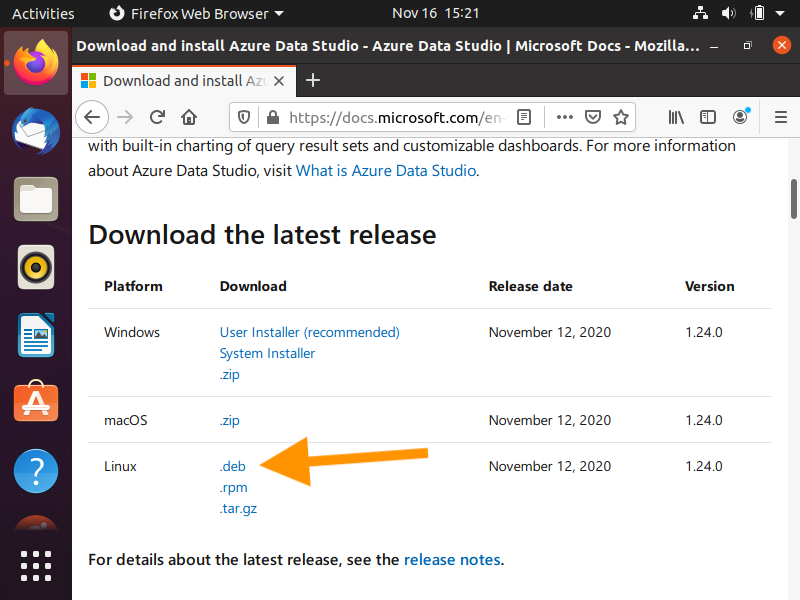
Click the .deb option.
You’ll be prompted to either save the file or open it:
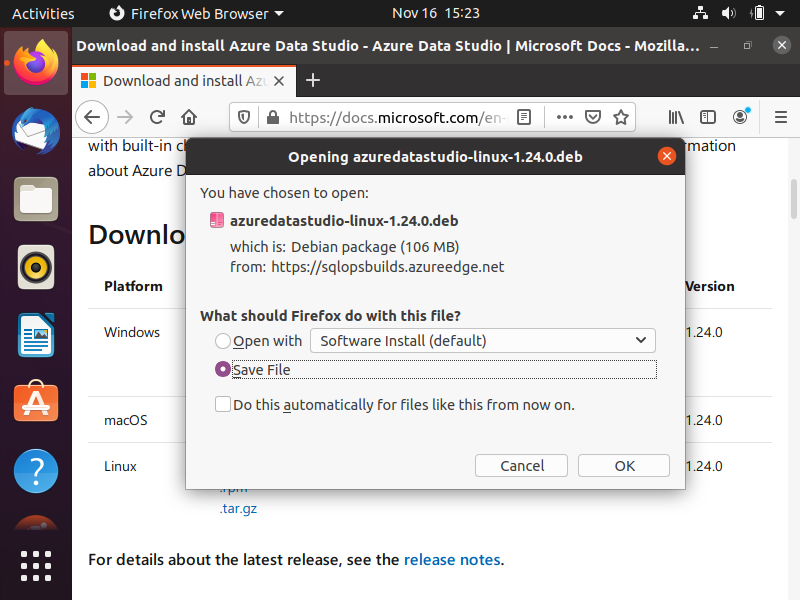
Select the Save File option, then click OK.
This will download the file to your computer.
Once downloaded you should see the file listed:
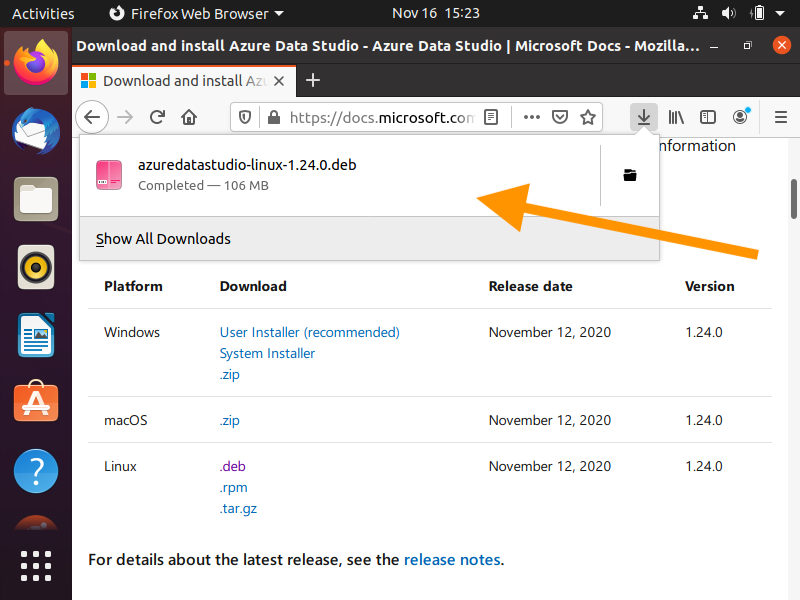
Click on the file.
Install Azure Data Studio
After clicking the above file, the following screen is displayed:
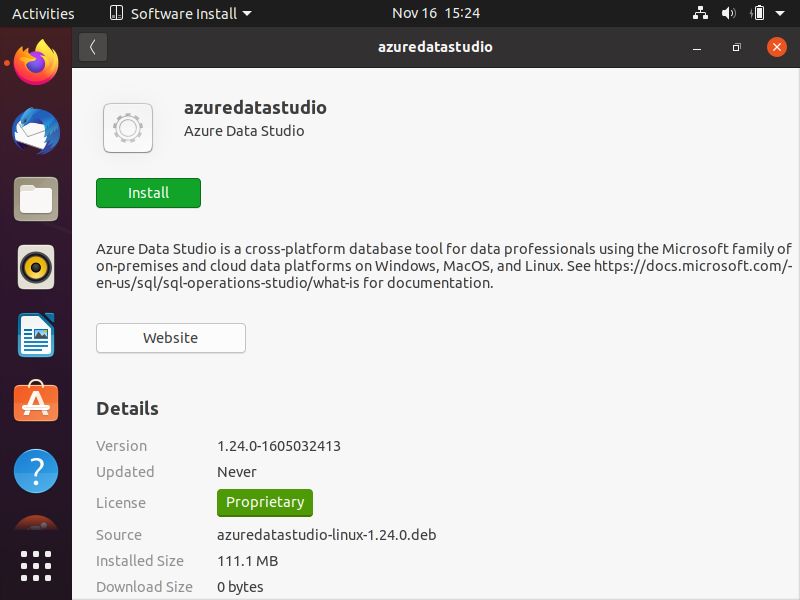
Click Install.
You may be prompted to authenticate:
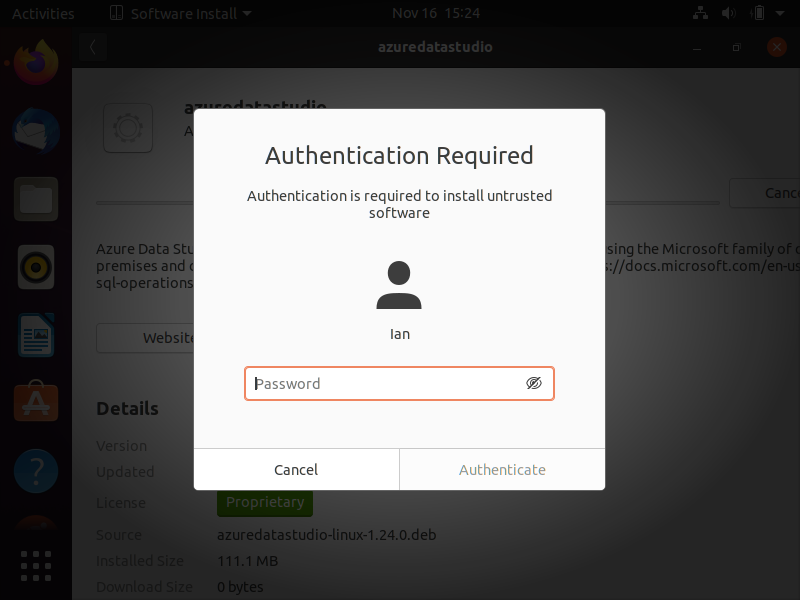
Enter your password as required.
This installation process now begins:
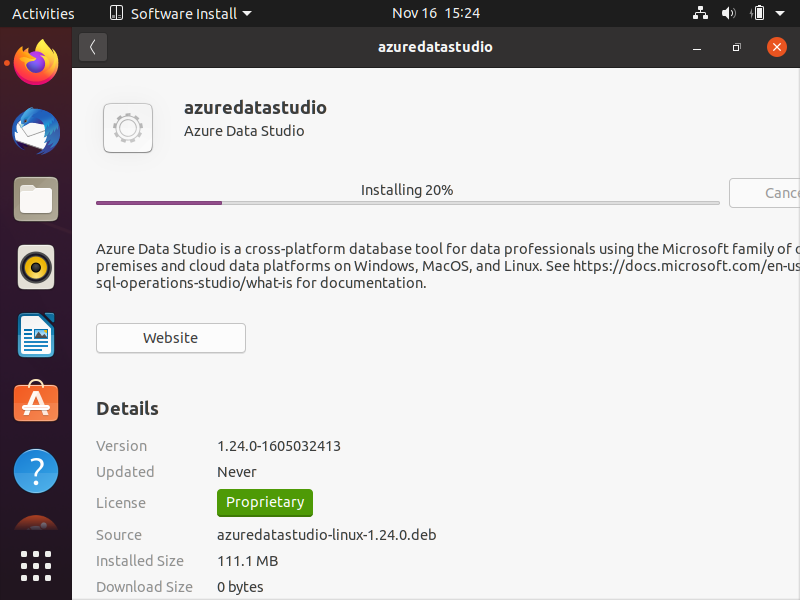
It shouldn’t take too long.
Once installed, the Install button will change to Remove:
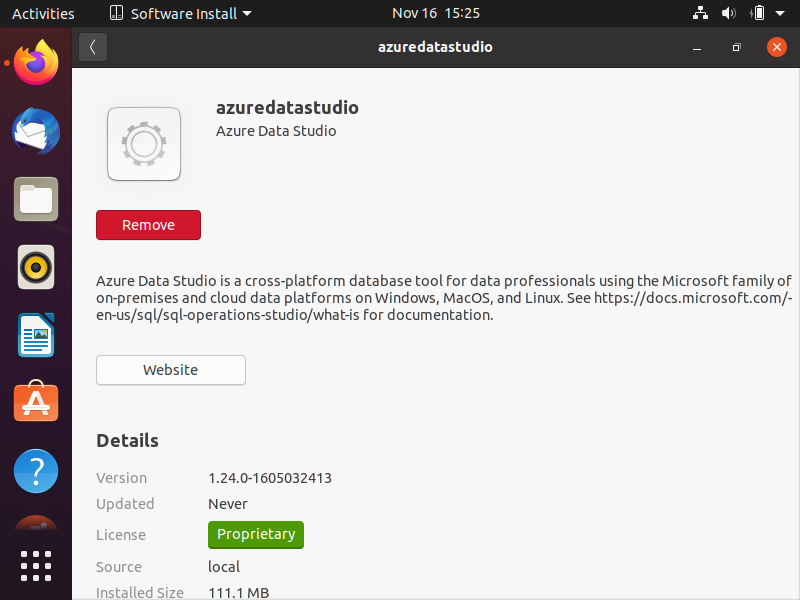
This means that Azure Data Studio has been successfully installed!
Open Azure Data Studio
You can find Azure Data Studio amongst your Applications by clicking on the Show Applications icon – the nine dotted square at the bottom left of the screen:
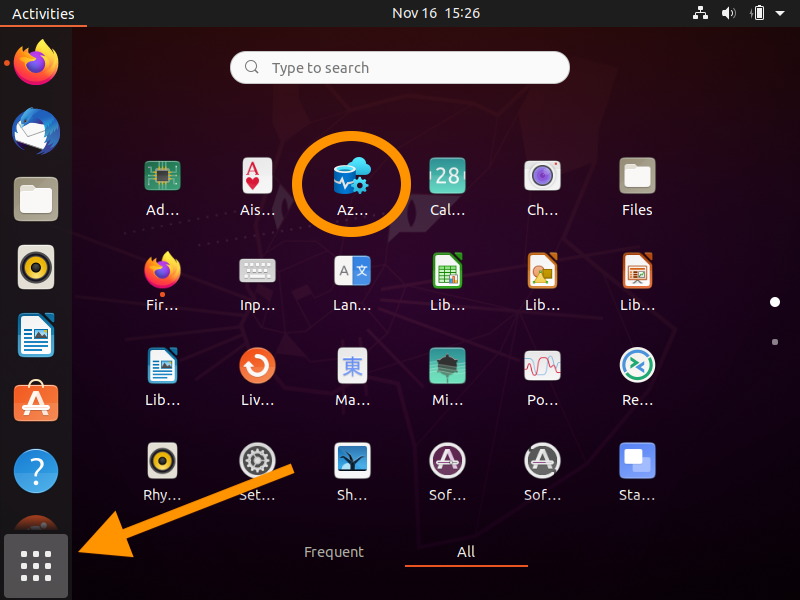
You can also filter the applications by searching for azure:
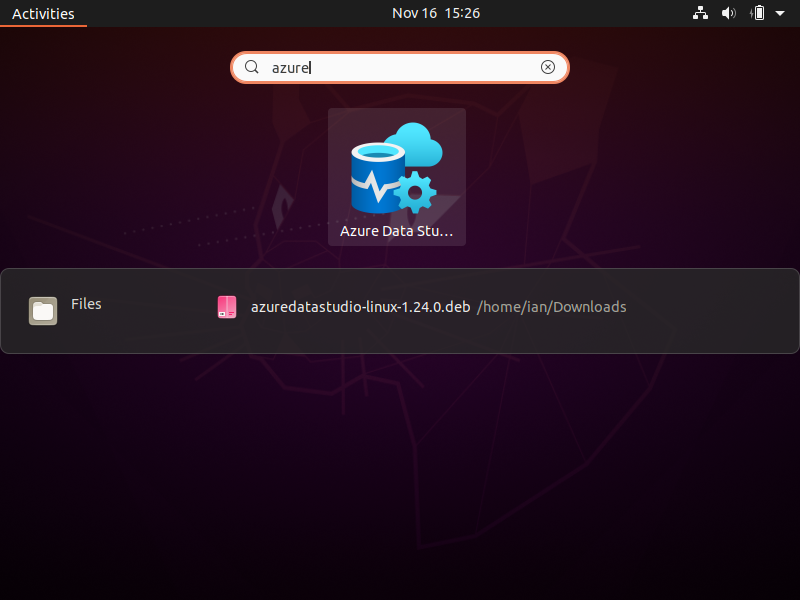
You can launch Azure Data Studio from here, or you can type azuredatastudio into the Terminal.
Once it’s launched, you should see something like this:
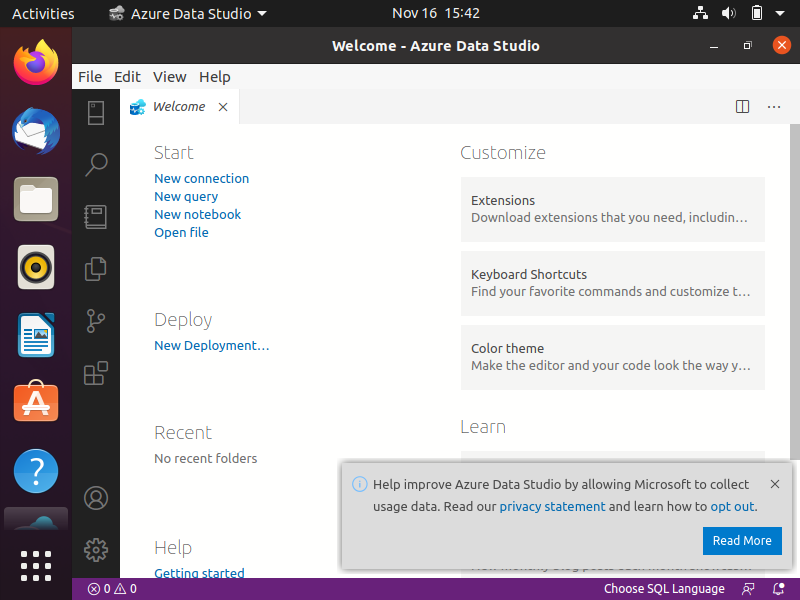
To start using it, click New connection under the Start heading near the top left.
You will be prompted to set up a new connection:
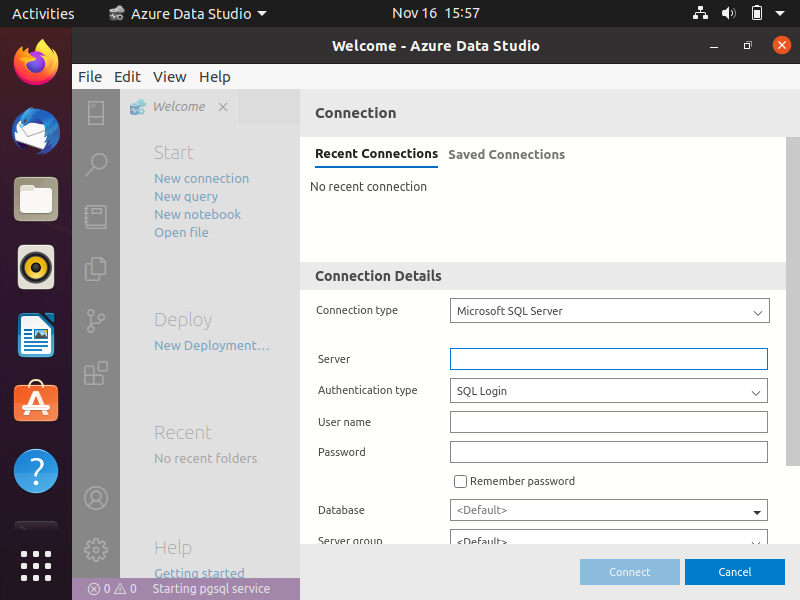
Enter the server, user name, and password to make a connection.
Command-Line Installation
If you prefer to do things by the command-line, you can install Azure Data Studio by downloading the .deb file, then opening Terminal, and entering the following:
cd ~
sudo dpkg -i ./Downloads/azuredatastudio-linux-1.24.0.deb
Replace 1.24.0 with the version of your downloaded file, as indicated in the downloaded .deb file.
You can now launch Azure Data Studio with the following command:
azuredatastudioDepending on your setup, it’s possible that you may have missing dependencies. If so, running the following should sort this out:
sudo apt-get install libxss1

sudo apt-get install libgconf-2-4

sudo apt-get install libunwind8