If you’ve installed the SQL Server Agent extension in Azure Data Studio, you will be able to see a list of SQL Server Agent jobs, as well as create, edit, view history, etc.
But you may be wondering how to delete a job.
If so, read on.
Install the SQL Server Agent Extension
This article assumes that you’ve already installed the SQL Server Agent extension on Azure Data Studio. If not, see Install the SQL Server Agent Extension on Azure Data Studio.
Locate the SQL Server Agent Job
With the SQL Server Agent extension installed, locate the job that you want to delete.
If you don’t know how to locate the SQL Server Agent job, see How to Locate SQL Server Agent Jobs in Azure Data Studio for instructions and screenshots.
Delete the Job
Here’s the bit where you delete the job.
From the Jobs screen, right-click on the job you want to delete, to bring up the contextual menu:
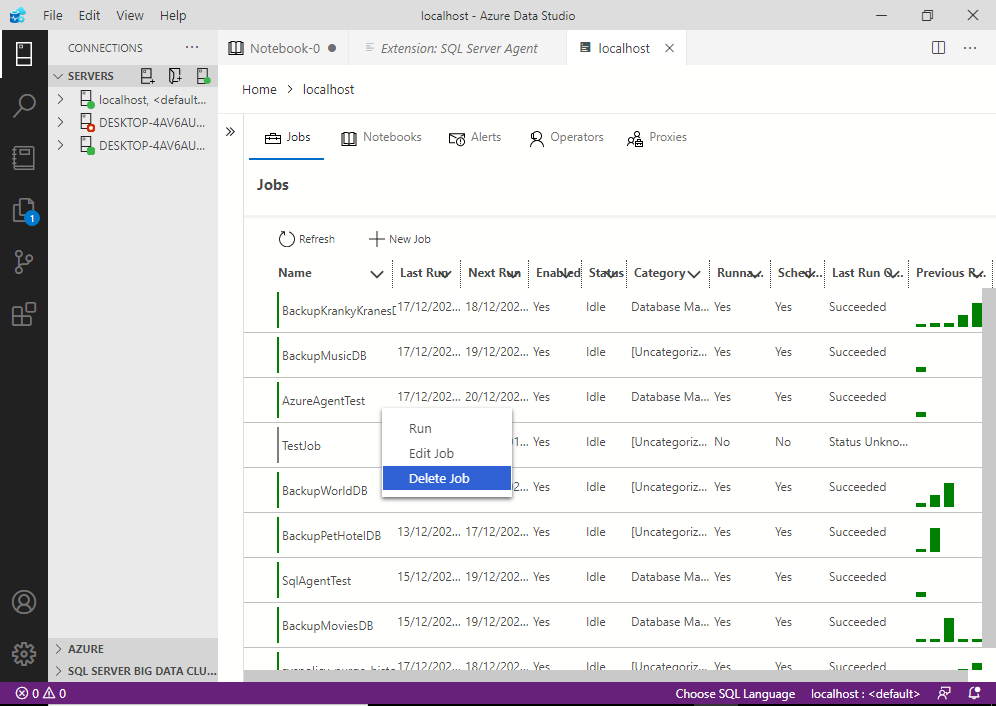
Click Delete Job.
This results in a box appearing, asking you to confirm (bottom right):
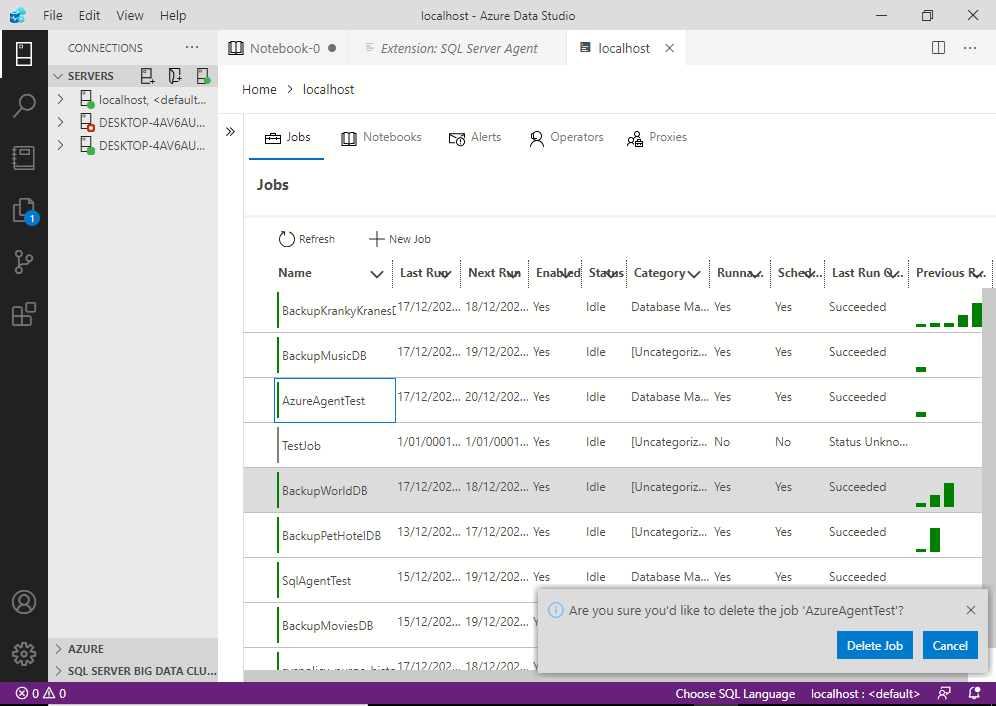
Click Delete Job to confirm.
This deletes the job. You may see the following “success” message appear:
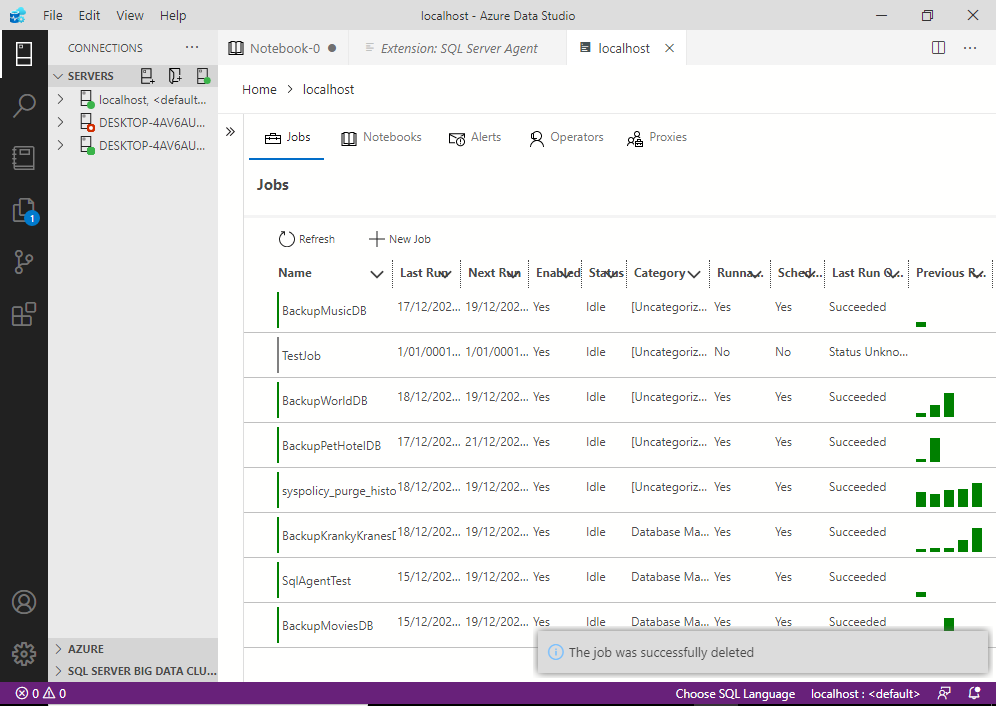
The “success” message should disappear after a few seconds, and you’ll notice the list no longer contains the job you just deleted.