SQL Server Agent is a Microsoft Windows service that executes scheduled administrative tasks, which are called jobs in SQL Server.
You can create SQL Server Agent jobs with T-SQL or with the SQL Server Management Studio (SSMS) GUI.
Here’s how to do it using the SSMS GUI.
Enable Agent XPs
If this is the first time that SQL Server Agent is being used on your SQL Server instance, you will need to enable the Agent extended stored procedures (Agent XPs). This is a quick and easy step that you will only need to perform once (unless they’re disabled again).
See How to Enable SQL Agent for instructions on how to do this.
The following steps assume that Agent XPs have been enabled.
Create the Job
Assuming you have the appropriate permissions, the SQL Server Agent will appear as a node in the Object Explorer in SSMS.
Expand the SQL Server Agent node in the Object Explorer, and right click Jobs:

Click New Job… to start the process.
This opens the following dialog box:
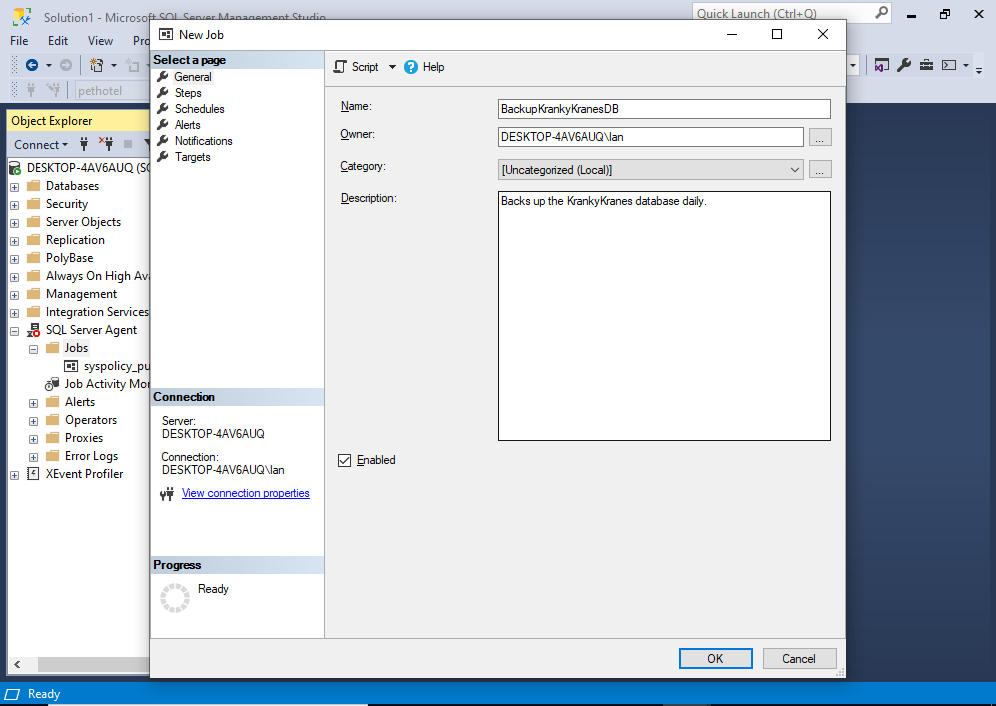
Enter the name of the job and any other details as required. You can change the owner if required.
Once you’ve done that, click Steps in the left menu.
This opens the following screen:
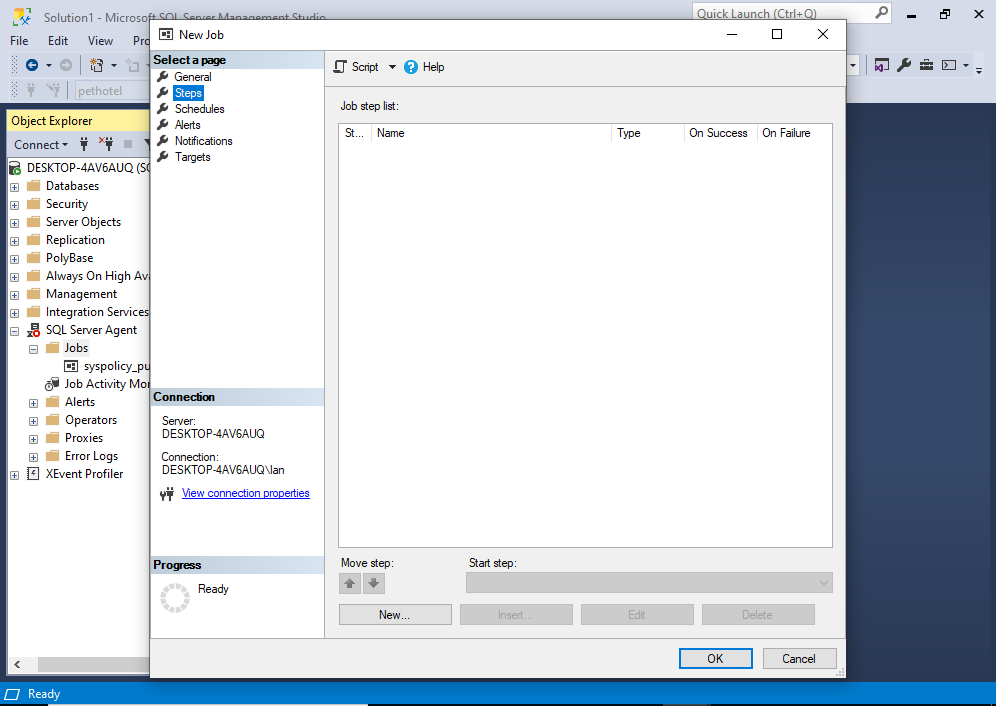
Click New… to create a new step.
This opens the following screen:
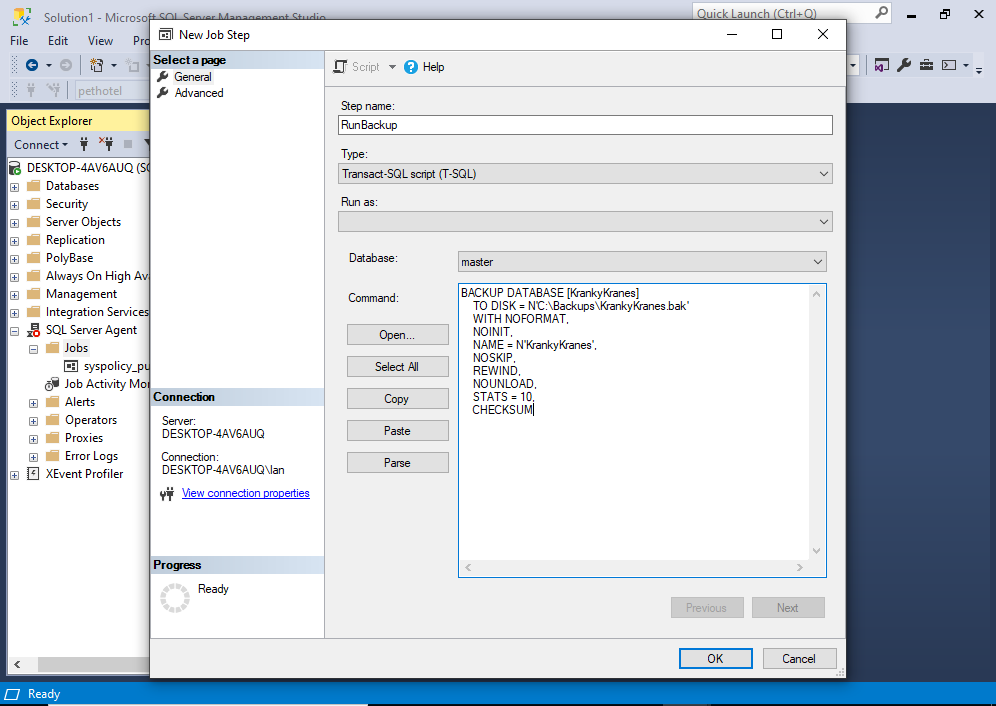
Enter a step name and fill out the details as required.
In my case, this step will run a T-SQL statement for backing up the database.
Once you’ve entered the steps, click OK.
This brings us back to the following screen:
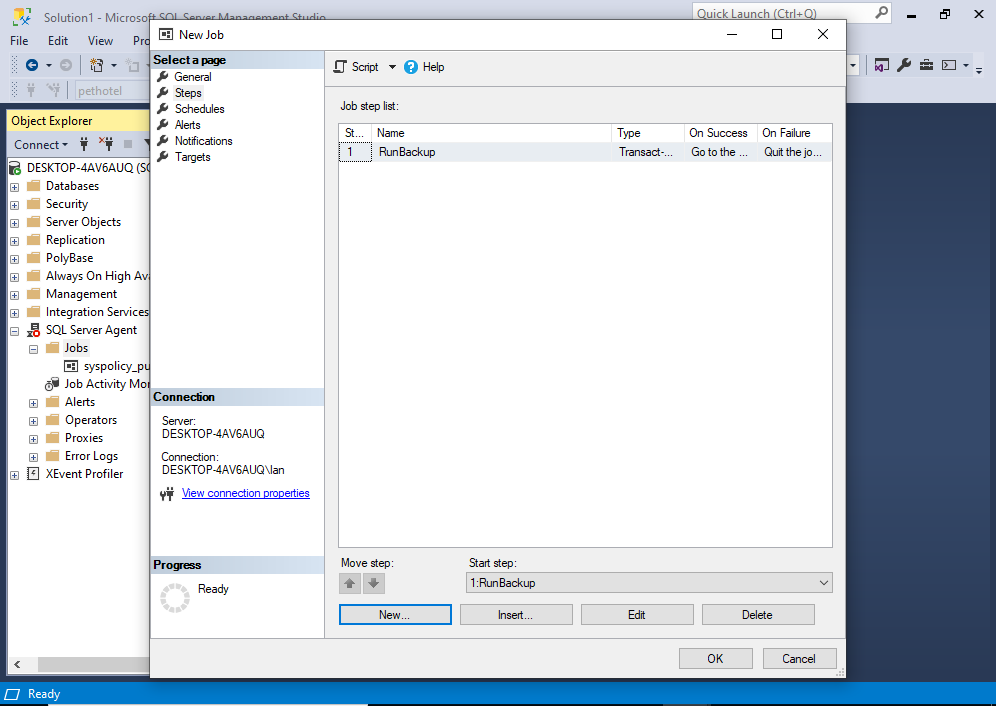
We can see our step as the only item in the list. You can go ahead and create more steps if required.
Once done, click Schedules on the left menu.
This brings use to the following screen:
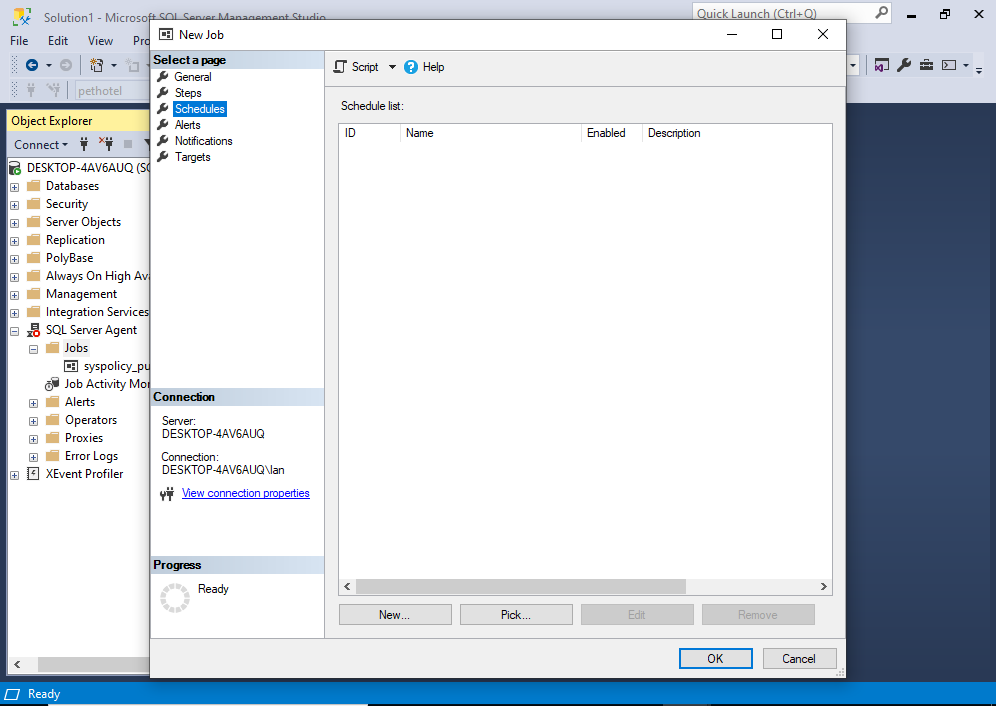
This is a list of schedules for the job. Currently there are no schedules, so we will create one now.
Click New… to create a new schedule.
This opens the following dialog box:
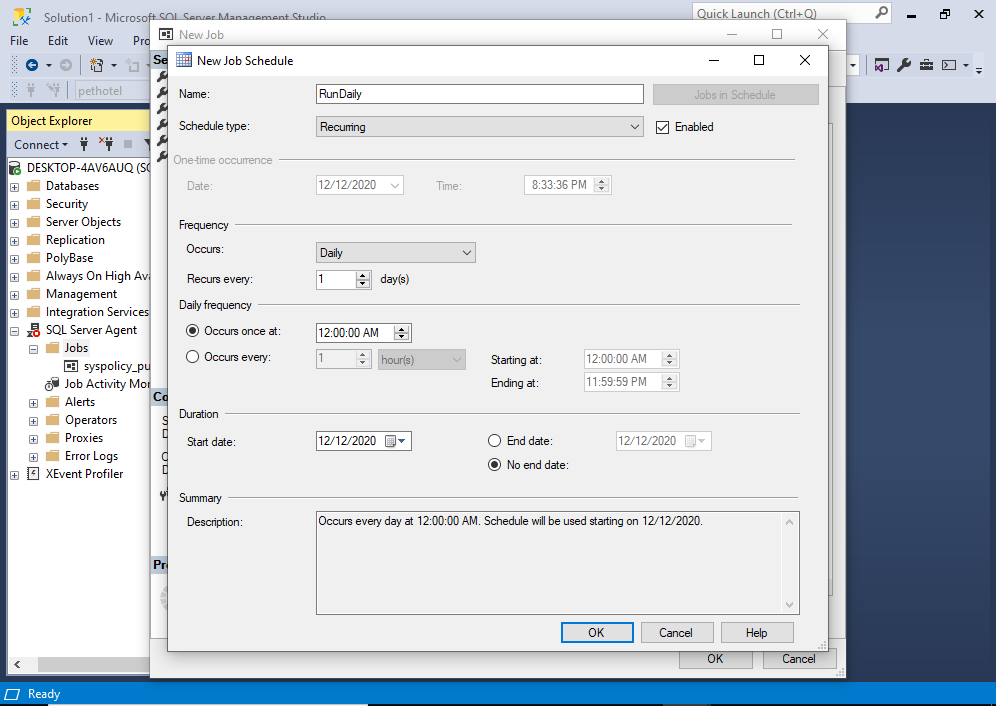
Enter the schedule details as required. In my case, the schedule will run daily at midnight.
Once done, click OK.
This brings us back to the main dialog again:

Depending on your needs, you can continue through the items in the left menu. You can use these to create alerts, notifications, etc.
For the purpose of this tutorial, we’ll stop here. We’ve provided enough information to create and schedule a SQL Server job.
Feel free to setup an alert or notification if you need it. Once done, click OK.
We can now see the job listed in the Object Explorer, under the Jobs node.

You can tell by the red icon in this screenshot that the SQL Server Agent service is not currently running. This will need to be running before you run any SQL Agent jobs. See How to Enable SQL Agent for instructions.
Test the Job
Let’s do a little test to see if the job is going to run OK.
From the Object Explorer, right click on the job to bring up the contextual menu:

Select Start Job at Step… to run the job.
This should open the following Success screen:
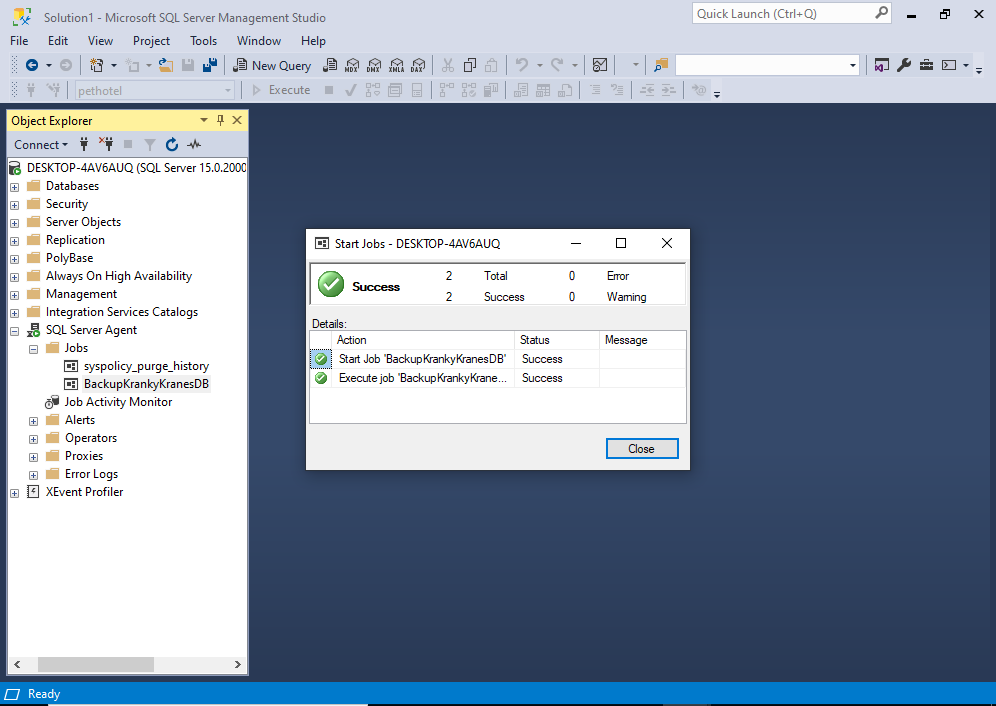
If your job ran successfully, you should see a similar screen.
If you got an error, it could be that your SQL Server Agent service is not currently running. In that case, see How to Fix: “SQLServerAgent is not currently running…” for an example of the error and how to fix it.
Check the Job’s History
We can now check the job’s history.
From the Object Explorer, right click on the job to bring up the contextual menu:
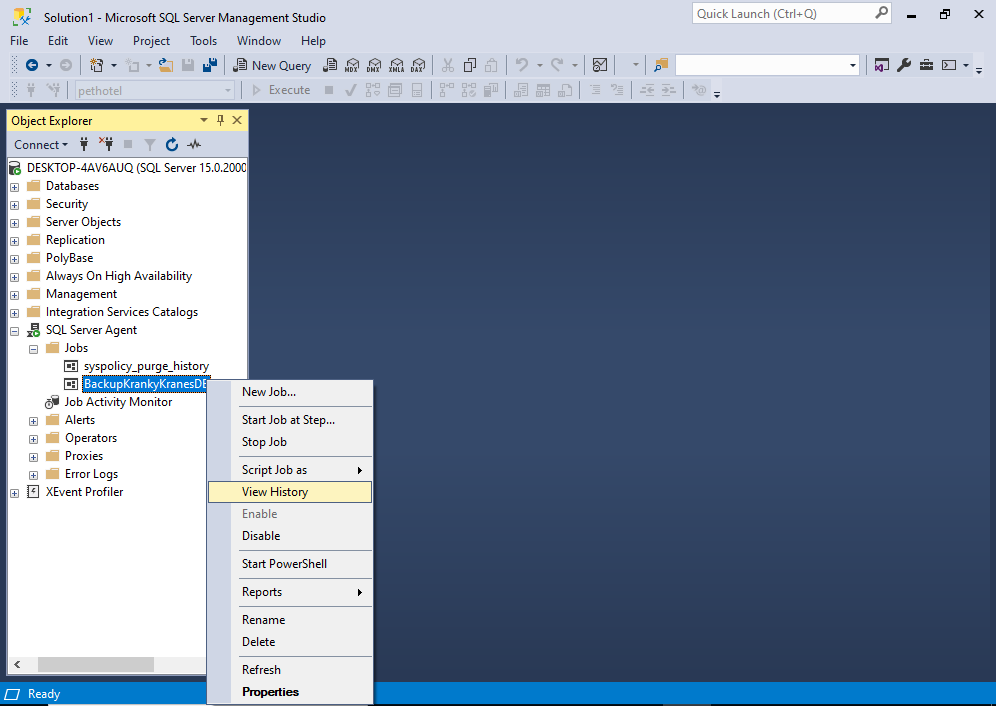
Click View History.
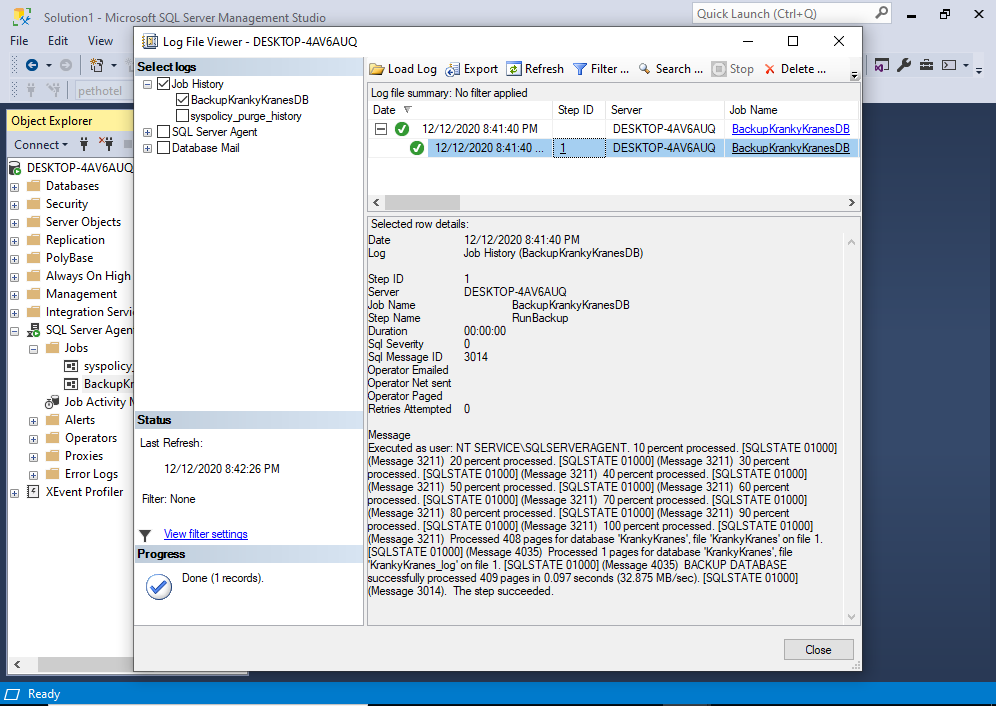
This opens the following screen:
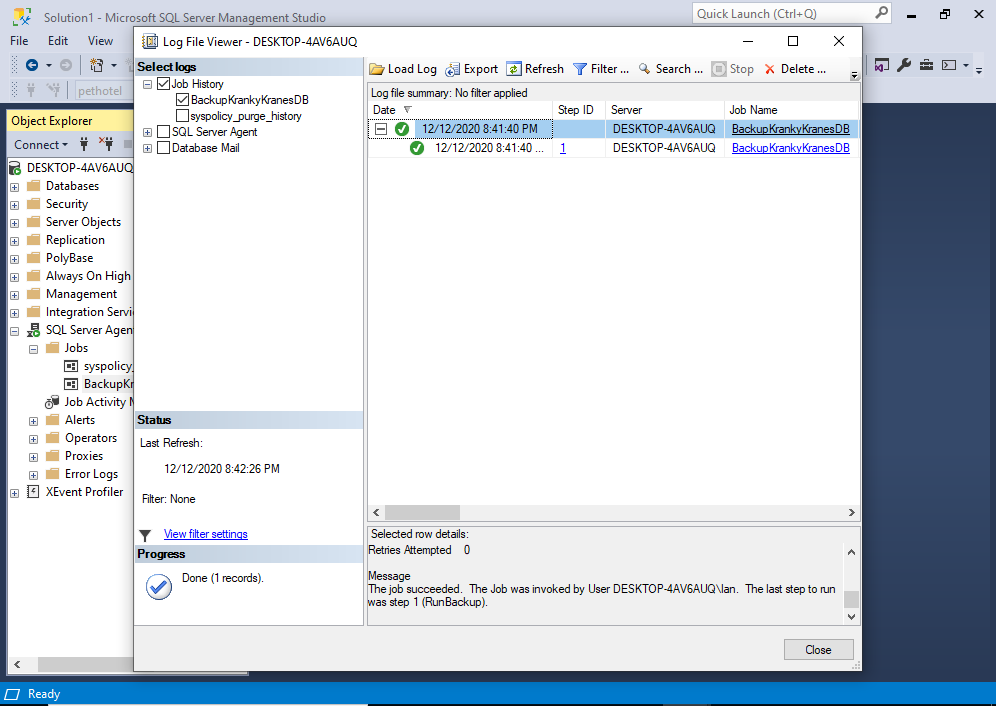
You can expand the bottom pane to reveal the history.