Here, I demonstrate how to add a Database Mail account to an existing Database Mail profile in SQL Server using the SQL Server Management Studio (SSMS) graphical user interface.
If you want to see how to do it using T-SQL, see Add a Database Mail Account to a Profile (T-SQL).
In this case, I’m going to assume that you already have an existing profile that you want to add a new SMTP account to.
If your SQL Server instance hasn’t actually been configured for Database Mail yet, see How to Setup Database Mail (SSMS) instead.
Let’s Begin
From the Object Explorer, open the Management node and right click Database Mail:
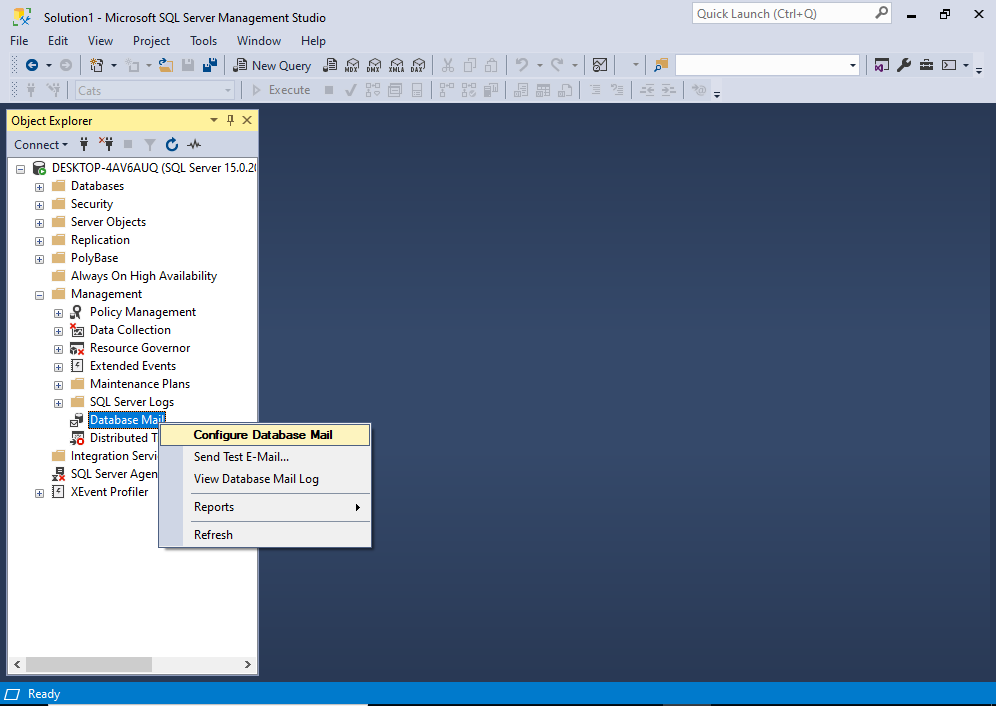
From the context menu, click Configure Database Mail.
You may get an interim “Welcome” screen before you get to the next one. If so, click Next > to continue to the following screen.
This opens the Select Configuration Task screen:

On this screen, select Manage Database Mail accounts and profiles, then click Next >.
This brings us to the Manage Profiles and Accounts screen:
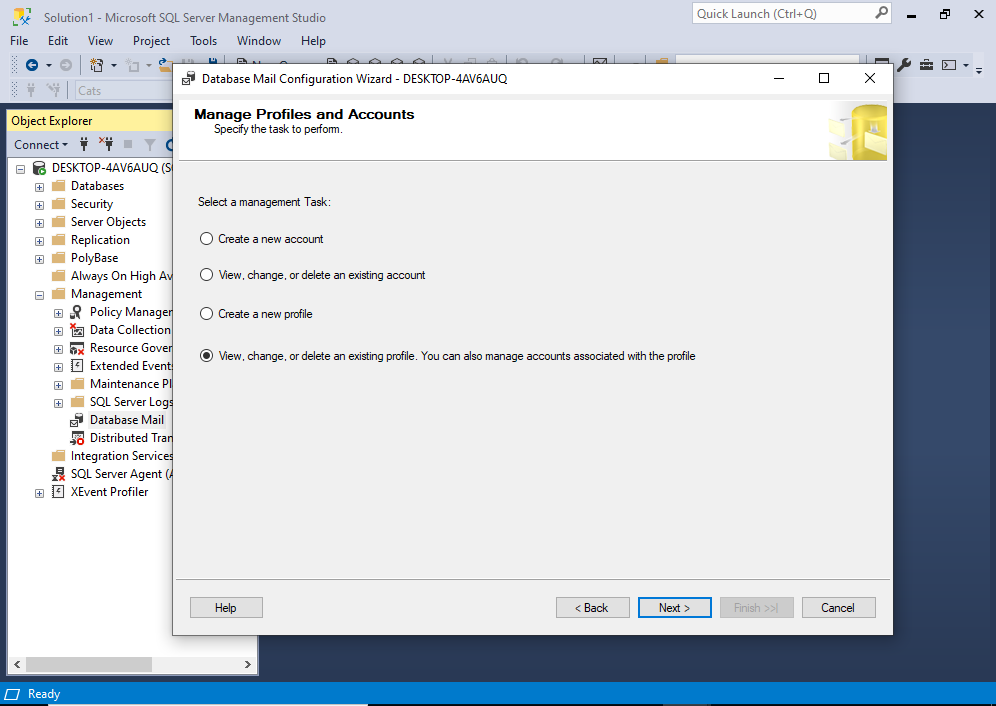
Select the last option View, change, or delete an existing profile… and then click Next >.
Which brings us to this screen:
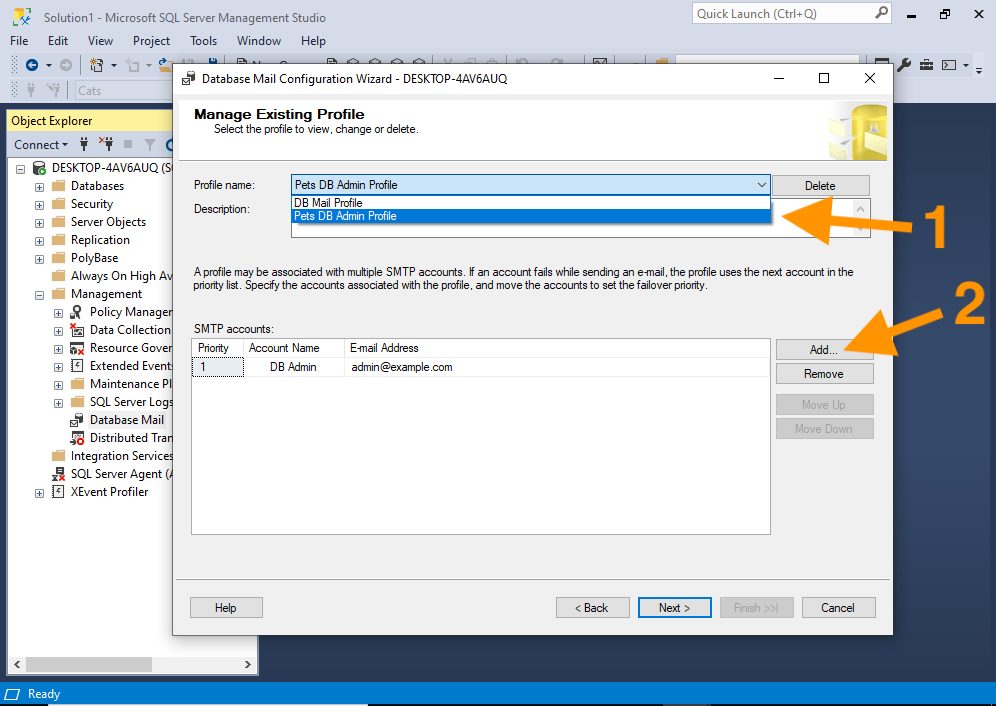
At the top, there’s a drop down menu that lists all the profiles. Select the profile that you want to add the account to.
Then click the Add… button next to the the list of SMTP accounts.
That launches the following dialog box:
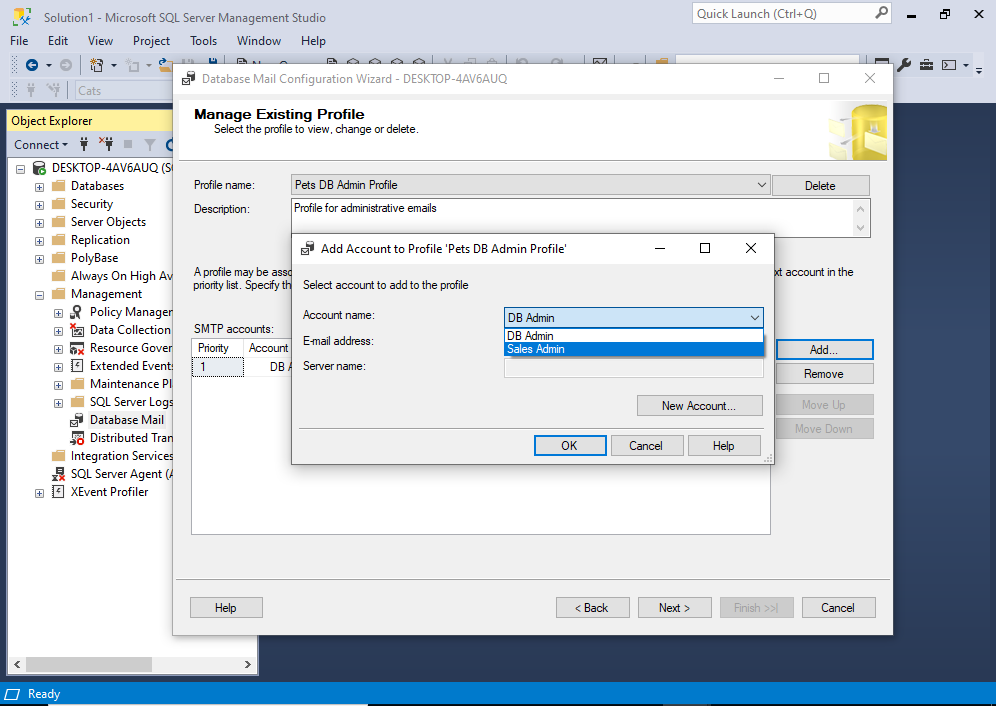
This screenshot was taken while I had the dropdown list open. This list contains all the existing accounts. In my case, there are only two accounts.
You can either select from this list or create a new account by clicking New Account, which will open a new dialog box that you can use to enter the details of your new account.
For this tutorial, I selected an existing account, which automatically populated the E-mail address and Server name fields:
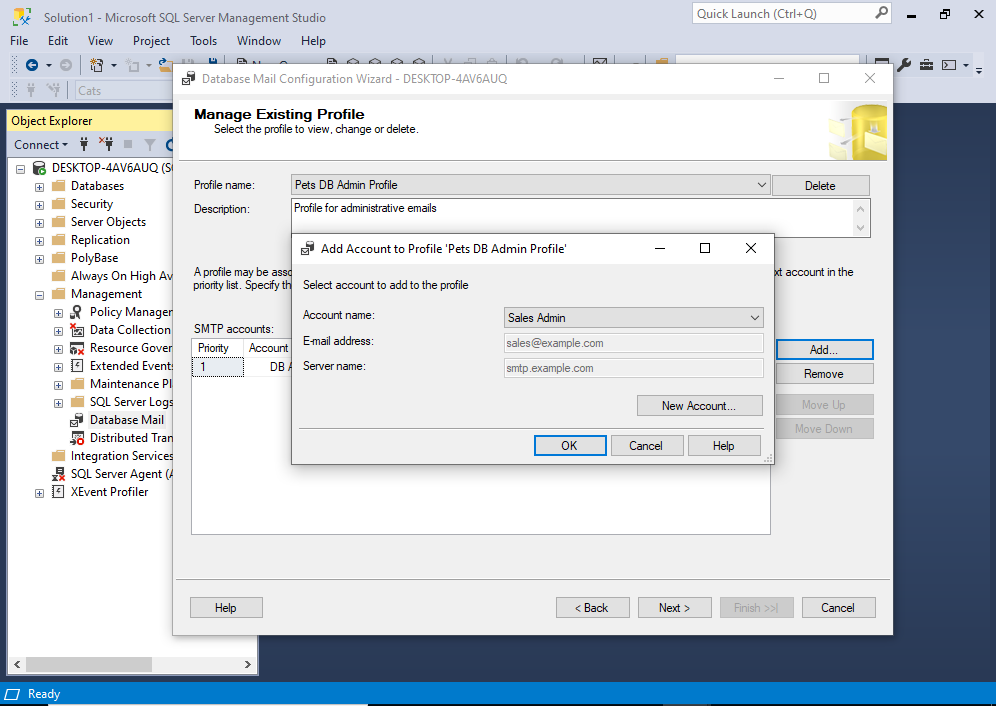
Once you’re done here, click OK.
Which brings us back to the Manage Existing Profile screen:
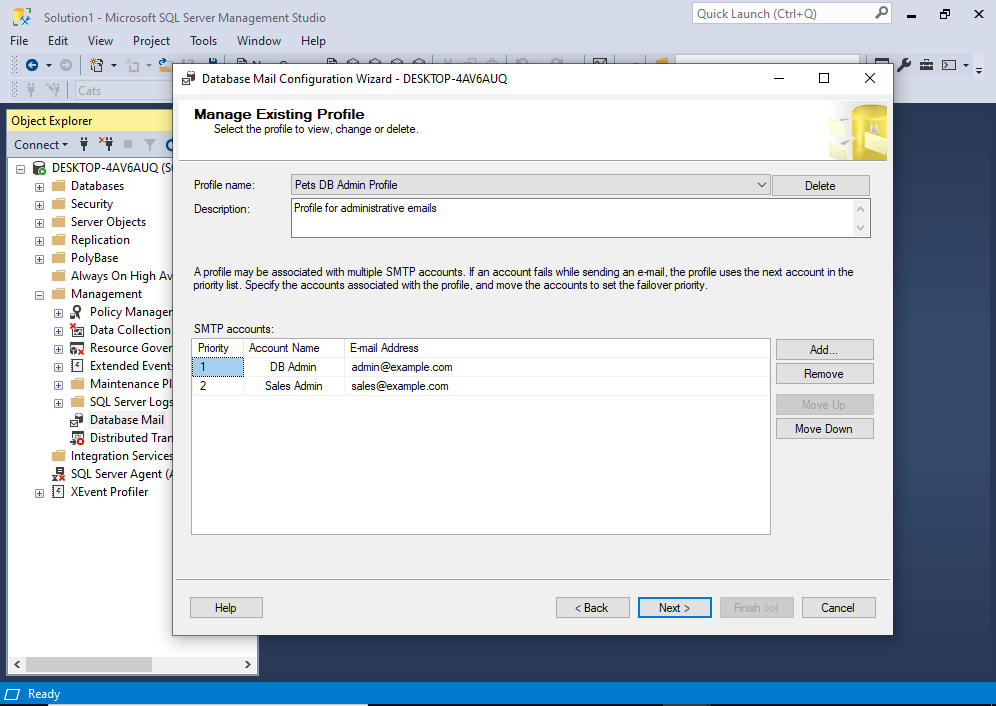
This time we can see that our account has been added to the list of SMTP accounts.
The one we just added has been given a lower priority to the one that was already there. This means that, whenever this profile is used to send mail, the mail with priority 1 will be used first. If there’s any problems with that account (i.e. it can’t send mail), then the next account will be used (i.e. the one we just added).
If you want your account to have a higher priority, select it in the list, and click Move Up. Alternatively, select the other one and click Move Down.
Add as many accounts as you need here.
Once done, click Next >.
Which moves you to the Complete the Wizard screen:
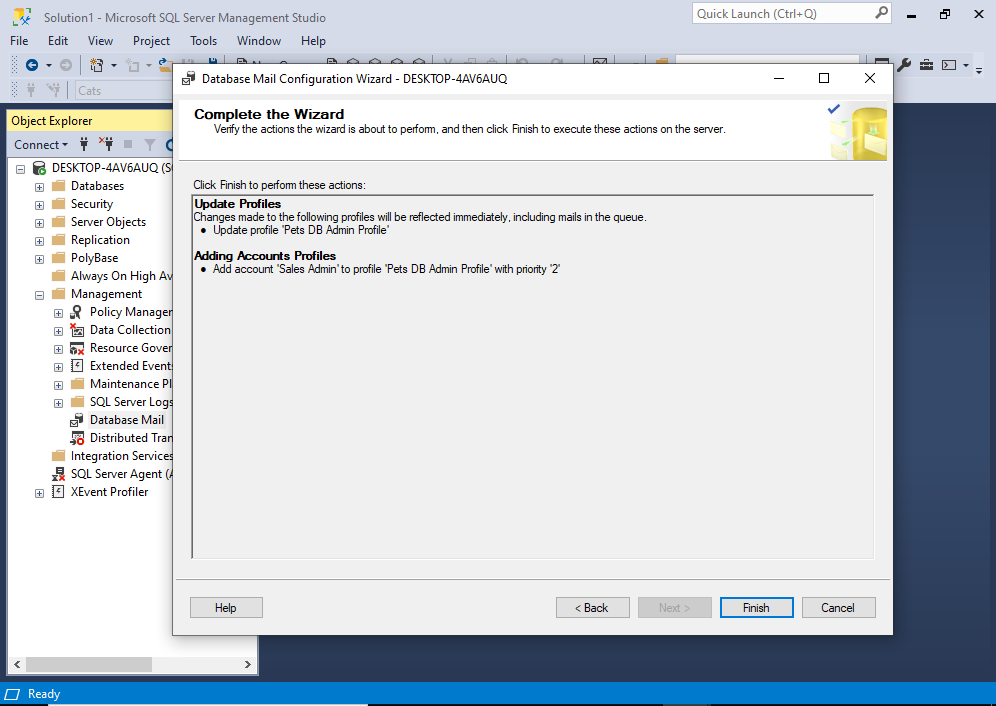
This screen enables you to review your upcoming changes, and go back and make any adjustments if you need to.
If it all looks good, click Finish.
This brings us to the following screen:
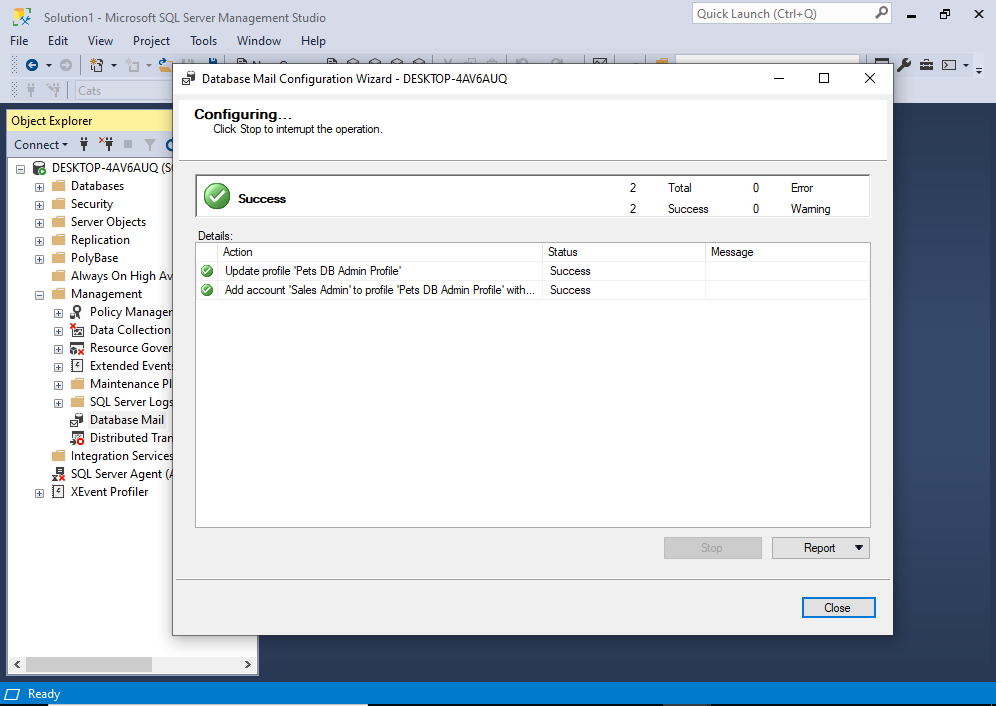
If all went well, you should see Success against each task, and a big Success at the top.
You’ve just added an account to an existing profile.
Click Close to finish.