UPDATE: SQL Operations Studio (SQLOPS) has since been renamed to Azure Data Studio. The steps in this article remain the same though. In any case, I’ve also rewritten these steps (and included the equivalent screenshots) specifically for Azure Data Studio . See How to Install Azure Data Studio on a Mac.
SQL Operations Studio (also abbreviated to SQLOPS) is a free tool that you can use to manage SQL Server. It uses a graphical user interface (GUI) that helps you view the various databases and objects within a SQL Server instance. It can run on Windows, macOS, and Linux, and it’s also designed to be used with Azure SQL Database, and Azure SQL Data Warehouse.
Here I explain how to install SQLOPS onto a Mac, then how to use it to connect to SQL Server.
Install SQLOPS
To install SQL Operations Studio onto your Mac:
- Visit the SQL Operations Studio download page, and click the .zip file for macOS
- Once the .zip file has finished downloading, double click it to expand its contents
- Drag the .app file to the Applications folder (the file will probably be called SQL Operations Studio.app or sqlops.app or similar)
If you use Windows or Linux, the above linked page also includes download files for those platforms, as well as instructions for installing.
Connect to SQL Server
Now that SQL Operations Studio is installed, you can use it to connect to SQL Server.
- Launch SQL Operations Studio just as you would launch any other application (e.g. from the Launchpad or Applications folder)
- Enter the login credentials and other information for the SQL Server instance that you’d like to connect to:
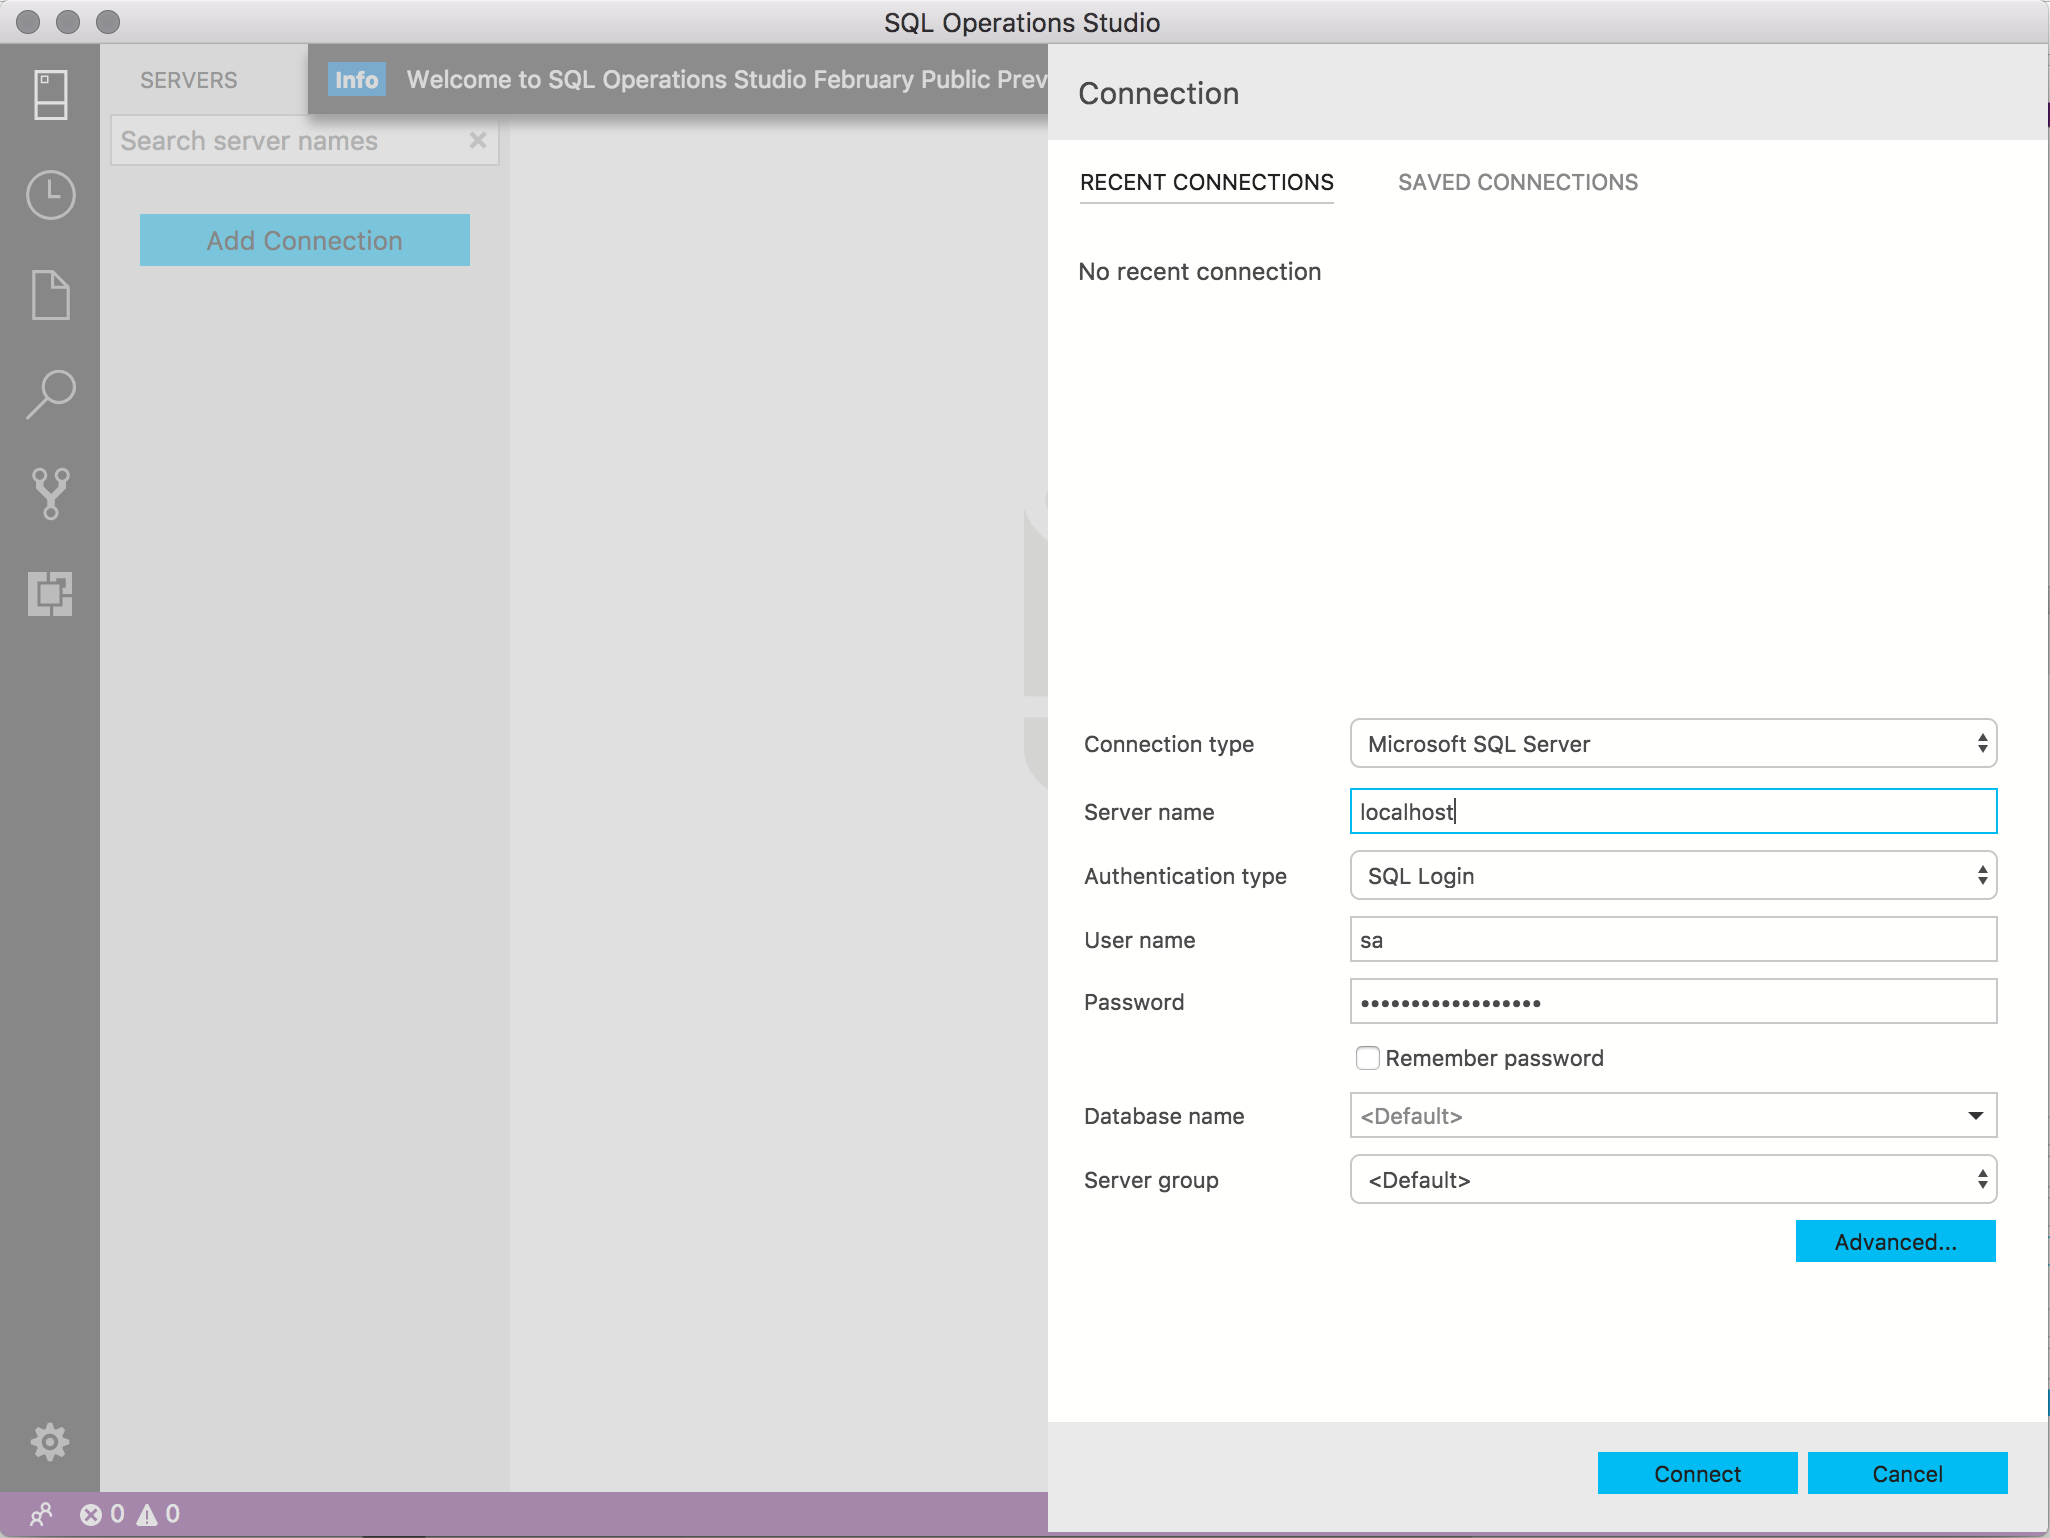
Mine looked like this (based on my SQL Server on a Mac tutorial):- Server Name: localhost
- Authentication Type: SQL Login
- User name: sa
- Password: reallyStrongPwd123
- Database Name: <default>
- Server Group: <default>
Once SQLOPS has connected to the SQL Server instance, you’ll be presented with the server dashboard, which looks something like this:
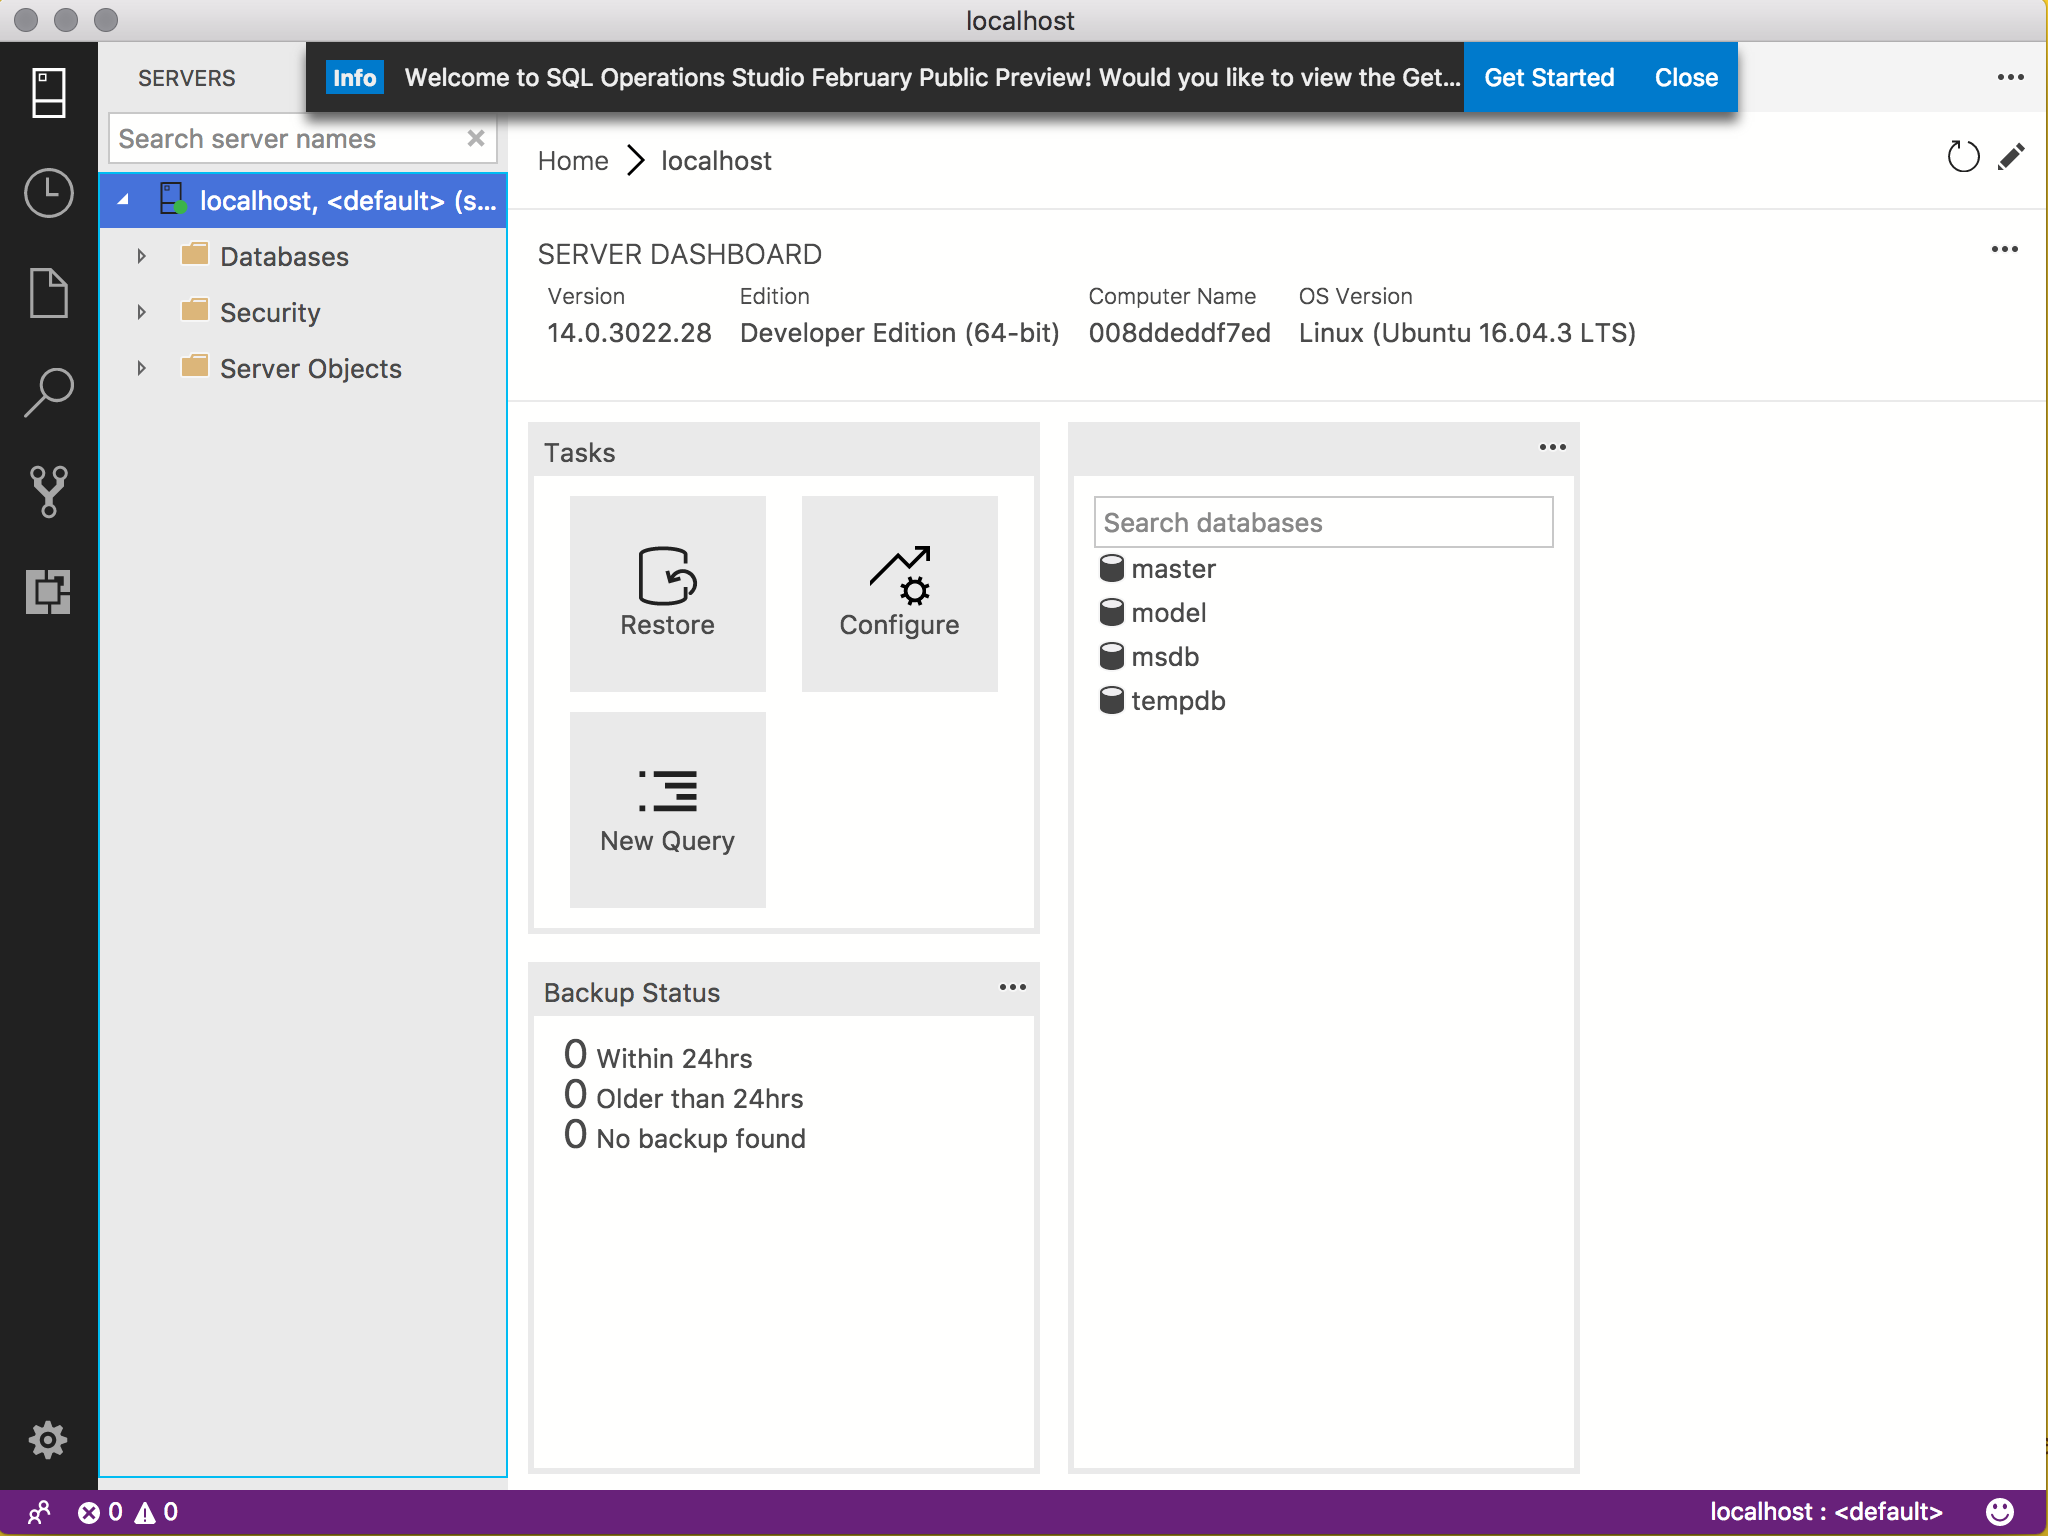
You can now go ahead and create databases, run scripts, and perform other SQL Server management tasks.
Error when Connecting?
If you receive an error when trying to connect, check that SQL Server is in fact running.
The above example connects to SQL Server running on the local machine (localhost refers to the local machine). In our case, the local machine is a Mac.
Therefore, the above steps assume that you’ve already installed SQL Server on your Mac.
If you’ve previously installed SQL Server on your Mac, but you still get a connection error, make sure your Mac has Docker running and you’ve started the SQL Server Docker container.
Below are instructions for launching Docker and starting the Docker container.
Open Docker and Start the Docker Container
- Open Docker just as you would open any other application (e.g. via the Launchpad, Applications folder, etc).
- Once Docker is running, open your Terminal and start the Docker container. It should look something like this:
docker start sql_server_demo
This starts a previously stopped container called sql_server_demo. This is the name that I gave the container in my SQL Server on a Mac tutorial. You’ll need to modify this command to suit your own container’s name.
What Next?
Now that you’ve installed SQL Operations Studio on your Mac, you might be wondering where to start?
Here’s how to create a database in SQLOPS to get you started.
And here’s how to restore a database using SQLOPS, written specifically for the Mac.