Here, I demonstrate how to update a Database Mail account in SQL Server using the SQL Server Management Studio (SSMS) graphical user interface.
If you want to see how to do it using T-SQL, see Update a Database Mail Account (T-SQL).
Let’s Begin
From the Object Explorer, open the Management node and right click Database Mail:
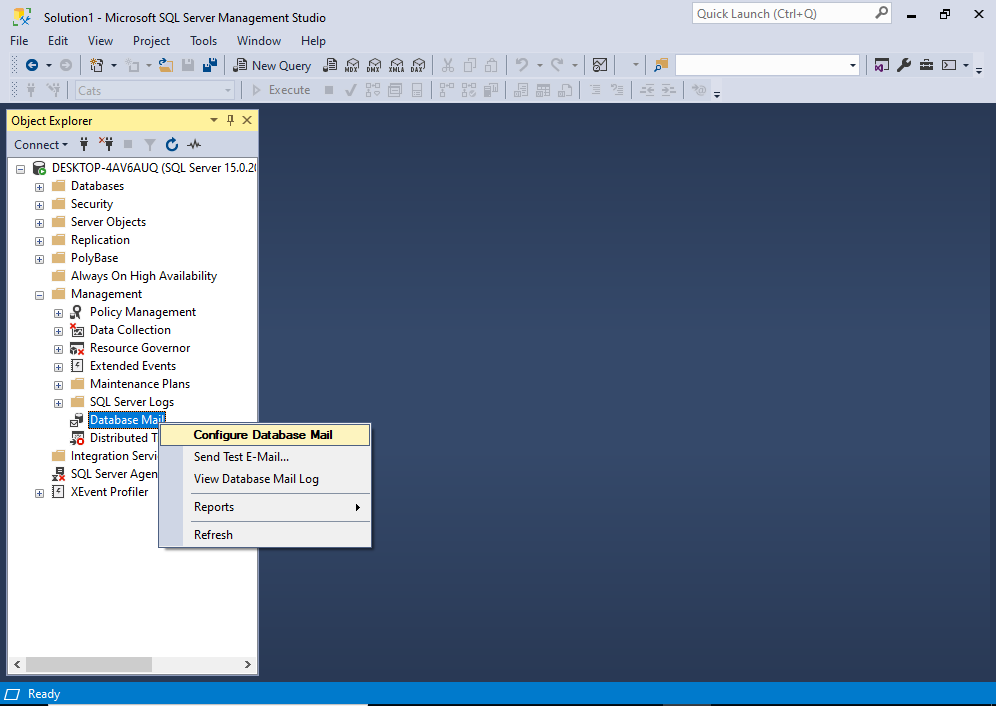
From the context menu, click Configure Database Mail.
You may get an interim “Welcome” screen before you get to the next one. If so, click Next > to continue to the following screen.
This opens the Select Configuration Task screen:

On this screen, select Manage Database Mail accounts and profiles, then click Next >.
This moves us on to the next screen:
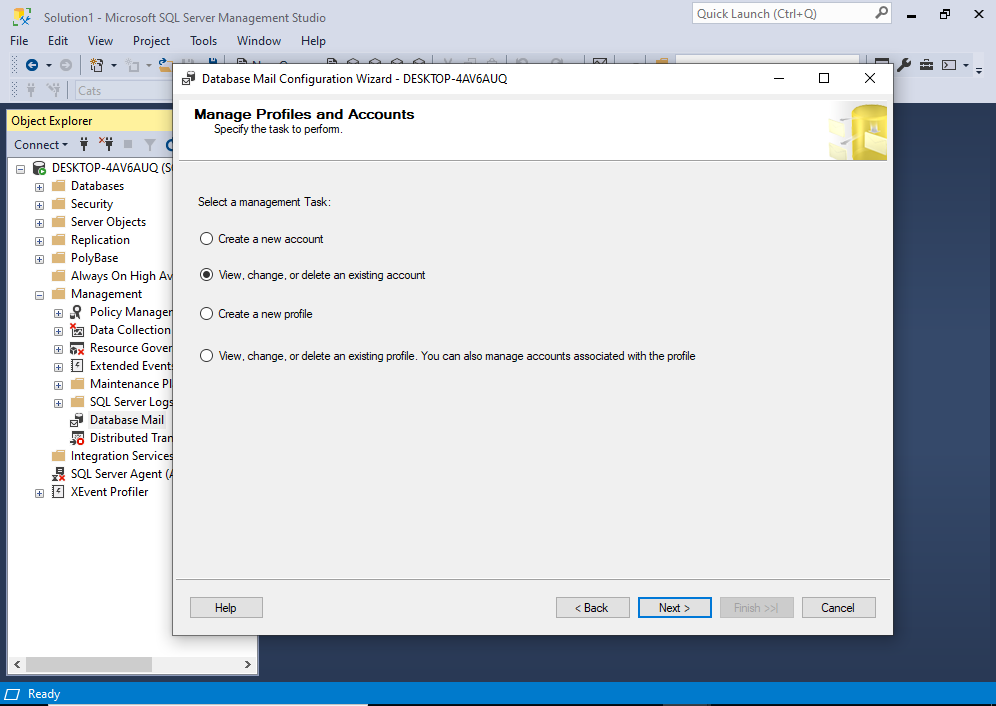
Select View, change, or delete an existing account and click Next >.
This opens the Manage Existing Account screen:
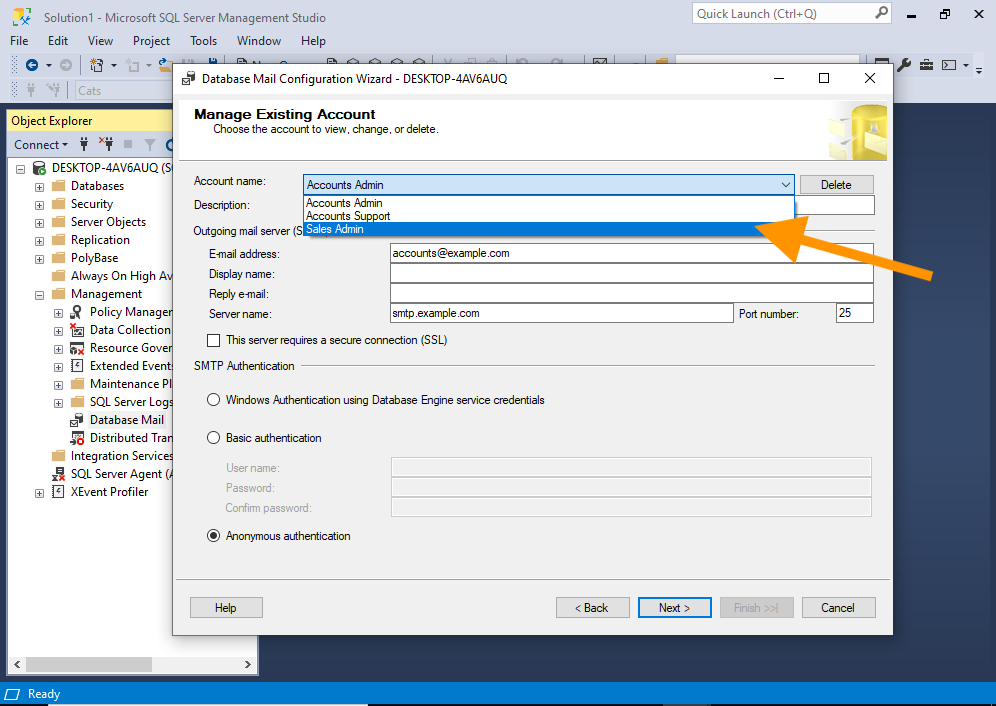
Use the dropdown menu at the top to select the account that you’d like to update.
Once you have selected the account, the details for that account will be populated into the various fields of the dialog box:
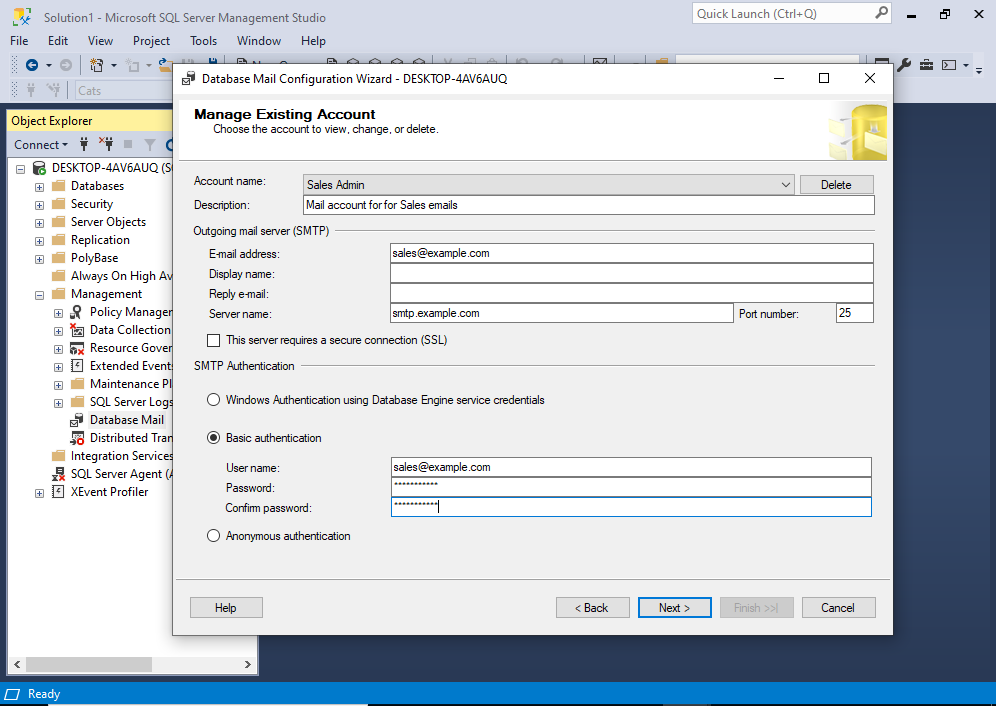
You can now review these details and make changes as necessary.
If you need to change multiple accounts, you can select each one from the dropdown and make changes as required. This saves you from having to launch the wizard for every account that needs to be changed.
Once you’ve made the changes you need to make, click Next >.
This brings us to a screen that allows us to review the changes before they are actually implemented:
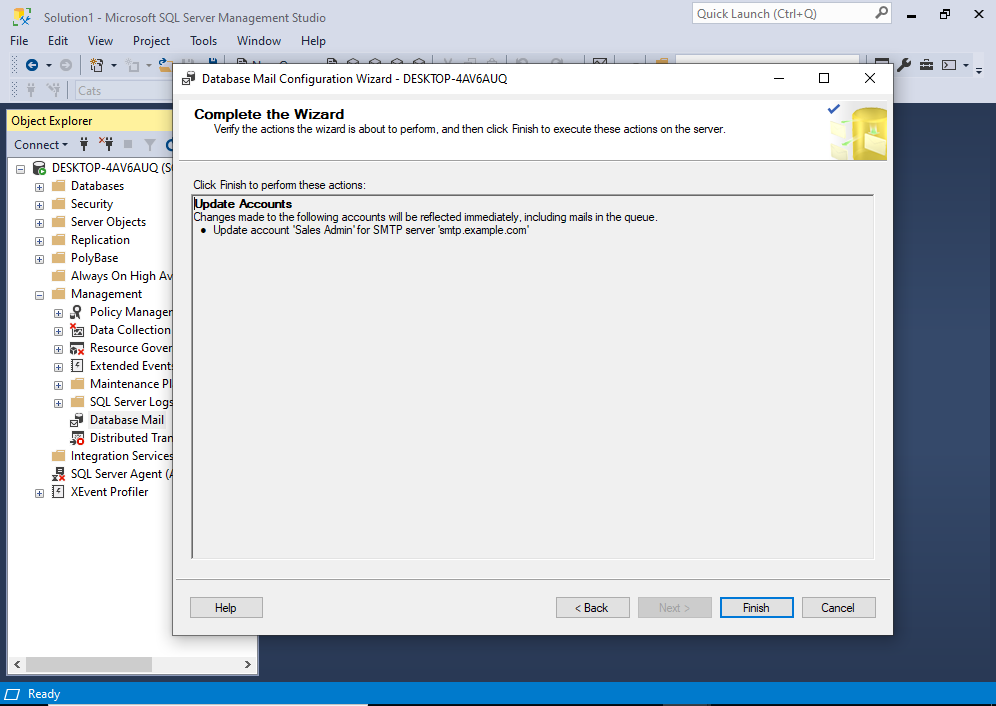
If you’re updating multiple accounts, you’ll see each one listed here.
If anything looks wrong, go back and make adjustments as required, before returning to this screen.
Click Finish to implement the changes.
This implements the changes, and once all changes are done, the following screen is displayed:
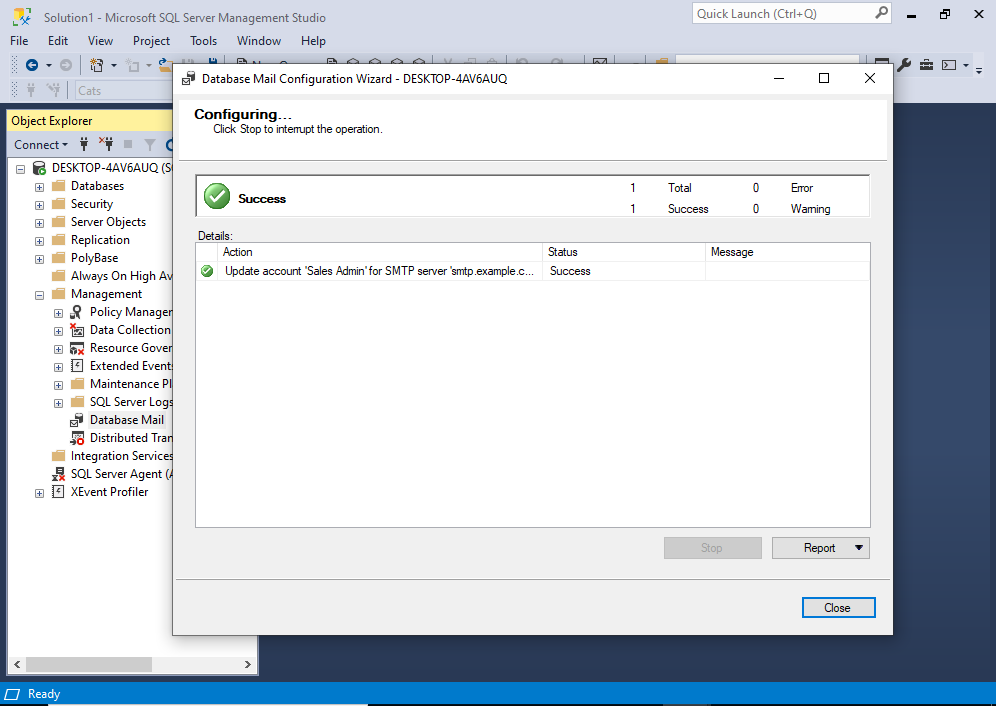
The account has now been updated.
Click Close to finish.