MongoDB is a general purpose, document-based, distributed data platform built for modern application developers and for the cloud.
MongoDB is classified as a NoSQL database. It uses JSON-like documents with optional schemas.
You can use MongoDB as a cloud deployment, or as an on-premise installation.
In this tutorial, I install it as an on-premise installation using the MongoDB Community Edition on Windows.
Download MongoDB
MongoDB has an installation wizard and an unattended installation option. For this tutorial, we install it with the installation wizard using the default options.
To download MongoDB:
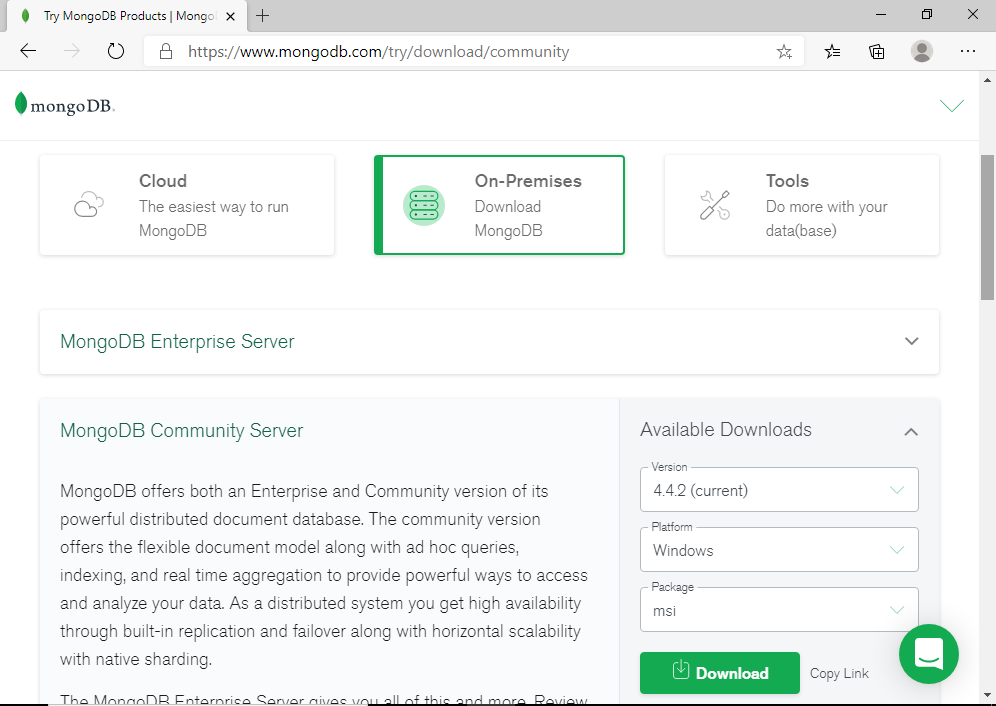
- Go to the MongoDB download page.
- Select the On-Premises option.
- Check that the correct options are showing for the download (i.e. the current version is selected, Windows is selected, and the msi package is selected). See the above screenshot for an example.
- Click Download.
Those instructions are based on the MongoDB Downloads page at the time of this tutorial. You may need to modify it if it has changed by the time you read this.
Here’s what the Download page looked like at the time of this tutorial:
Install MongoDB
Once downloaded, you’ll probably see the downloaded file at the bottom of the Downloads page:
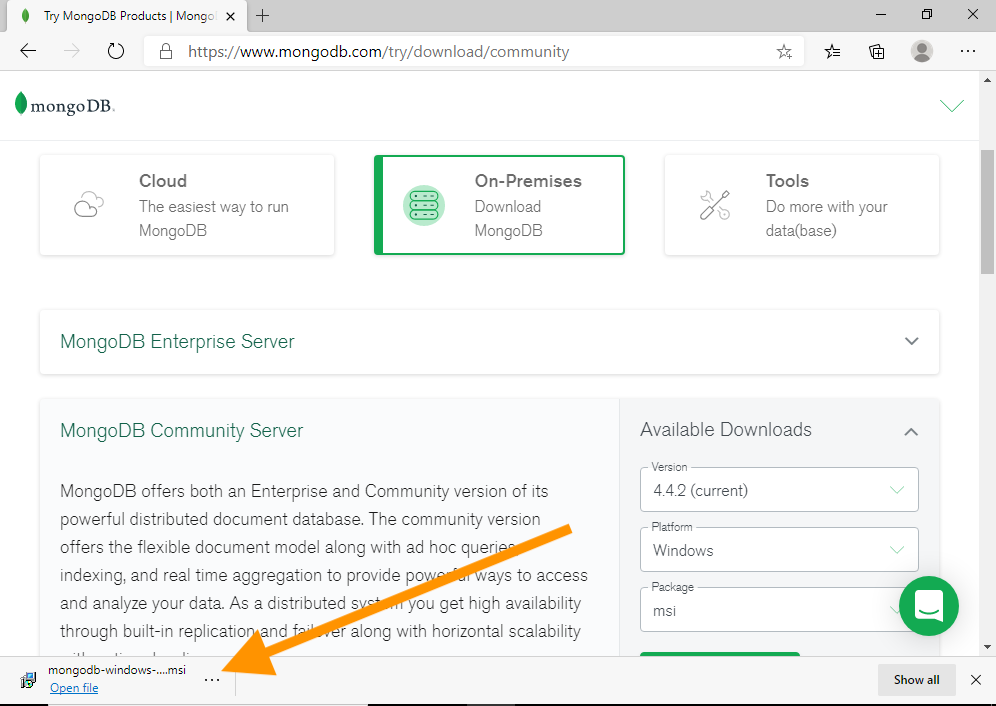
Click Open file.
This opens the installer:
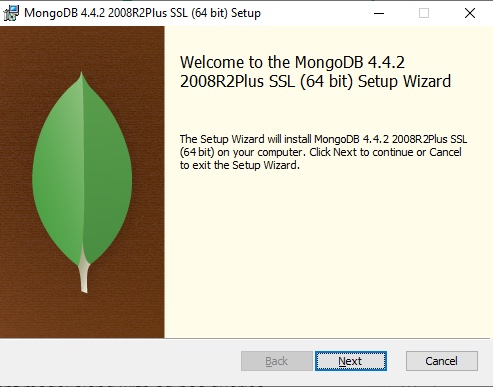
Click Next.
This brings us to the license agreement screen:
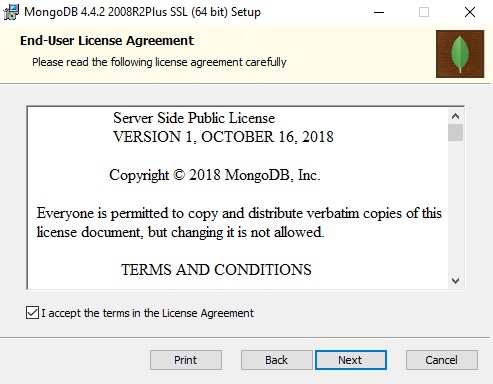
If you agree to the terms and conditions, check I accept the terms in the License Agreement, then click Next.
Which brings us to the Choose Setup Type screen:
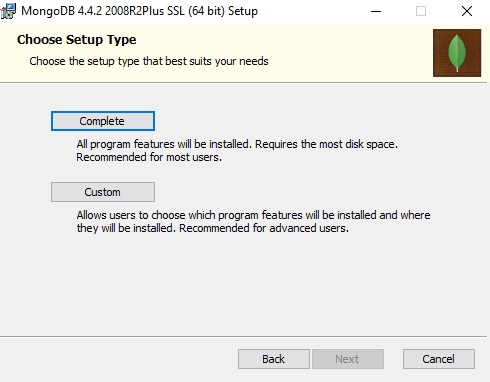
This screen allows you to choose whether or not to install the (default) complete setup, or choose a custom setup (where you choose the program features to be installed).
For this tutorial, click Complete.
This automatically opens the Service Configuration screen:

At this point, you have a choice of running MongoDB as a network service, or as a local or domain user.
For this tutorial, we’ll leave it at the default (i.e. run it as a network service).
Click Next >.
Which brings us to the Install MongoDB Compass screen:
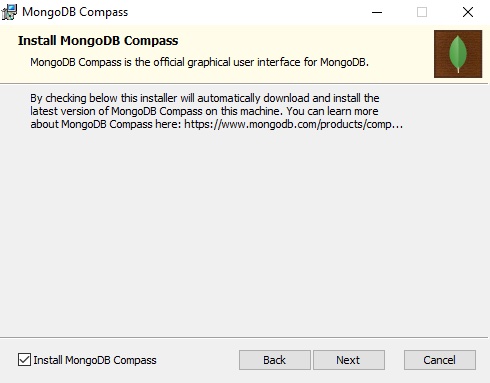
MongoDB Compass is a GUI tool for administering MongoDB. You don’t have to install this, but for the purposes of this tutorial, we’ll install it.
The Install MongoDB Compass option is checked by default. If you’re happy to install MongoDB Compass, leave it checked. Otherwise uncheck it.
Click Next.
This brings us to the final screen before installation:
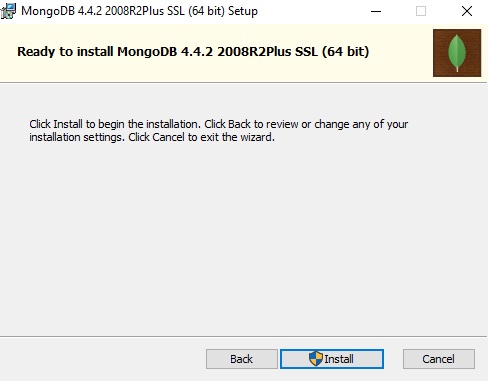
If you need to make any changes, now’s your last chance to go back and make them, before returning back to this screen.
Click Install to install MongoDB.
You might get the usual User Account Control confirmation box:
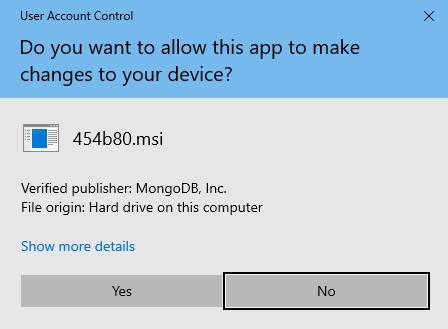
Click Yes to allow the app to make changes to your device.
You may also get a notification that certain files that need to be updated by this setup are in use:

In my case, I have SQL Server installed on this machine, and it’s using files that the MongoDB setup needs to update.
You can choose either option here, but for this tutorial, we’ll leave it at the default (i.e. Close the applications and attempt to restart them).
Click OK.
The setup now goes ahead and installs MongoDB and MongoDB Compass. It may take a while. During this tutorial, it took around 10 to 15 minutes, and it seemed to get stuck on installing MongoDB Compass, but it finally worked out.
Once installed, the final screen is displayed, with MongoDB Compass in the background:
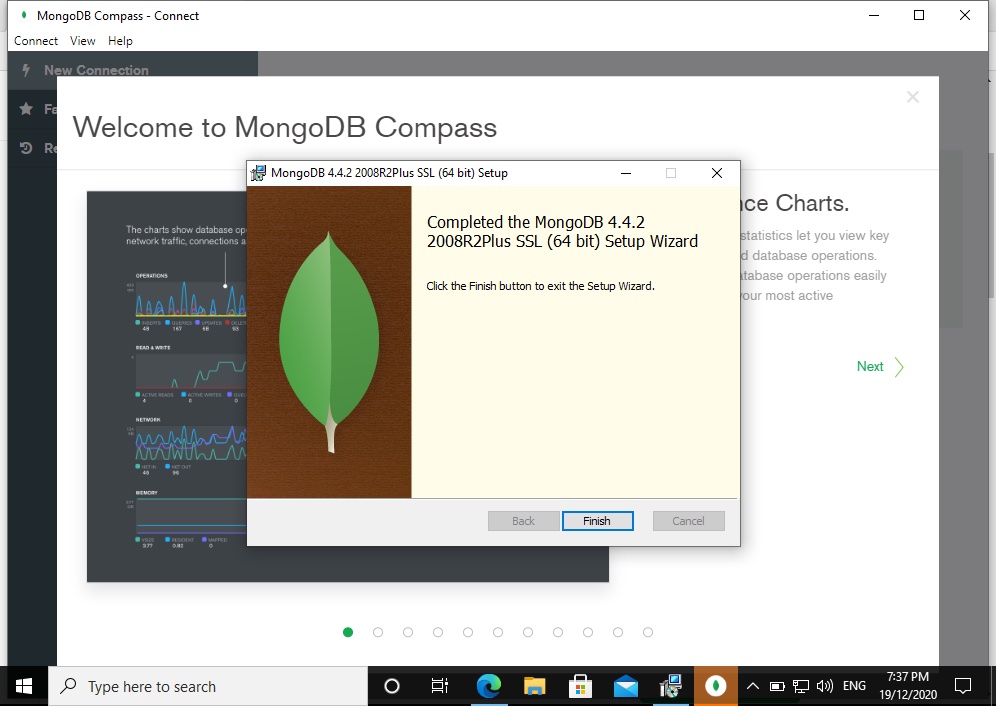
Click Finish.
When you install MongoDB as a Windows Service, the service is started upon a successful installation.
You can now go ahead and connect to MongoDB.
You can connect to MongoDB via the mongo shell (which is included in the installation), or with the MongoDB Compass GUI tool (if you included it in the installation).
Connect to MongoDB via the mongo Shell
The mongo shell is an interactive JavaScript shell interface to MongoDB, and is included with the MongoDB installation.
To start using MongoDB via the mongo shell, open a command prompt and enter the following:
"C:\Program Files\MongoDB\Server\4.4\bin\mongo.exe"That will connect the mongo.exe shell to the running MongoDB instance.
Alternatively, you can navigate to that location and double-click the mongo.exe file.
Once connected, you can type help to bring up the interactive help options.
Connect via MongoDB Compass
If you included MongoDB Compass in the installation, you can use it to connect to MongoDB.
You will usually find MongoDB Compass in the Windows Start menu, but having just installed MongoDB, MongoDB Compass is already sitting in the background waiting to be used.
After we closed the installer at the last step of the installation, the Welcome screen of MongoDB Compass remained:
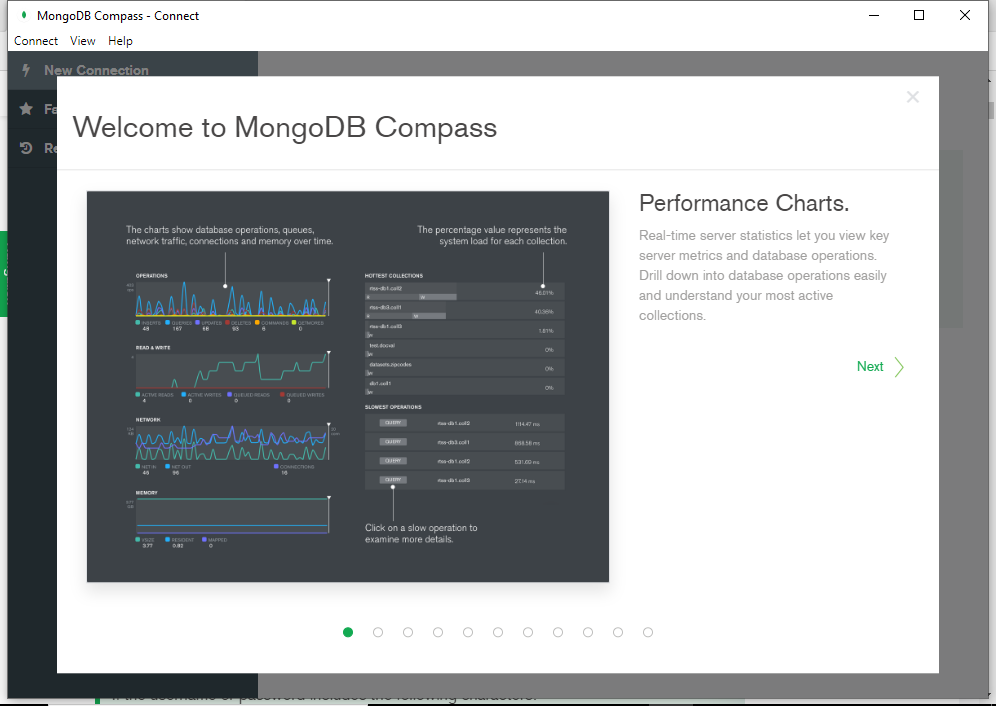
You can use the Next > buttons to check out some of the capabilities of MongoDB. Once done, close this overlay by clicking the X in the top right corner.
Which will probably bring you to the Privacy Settings dialog:
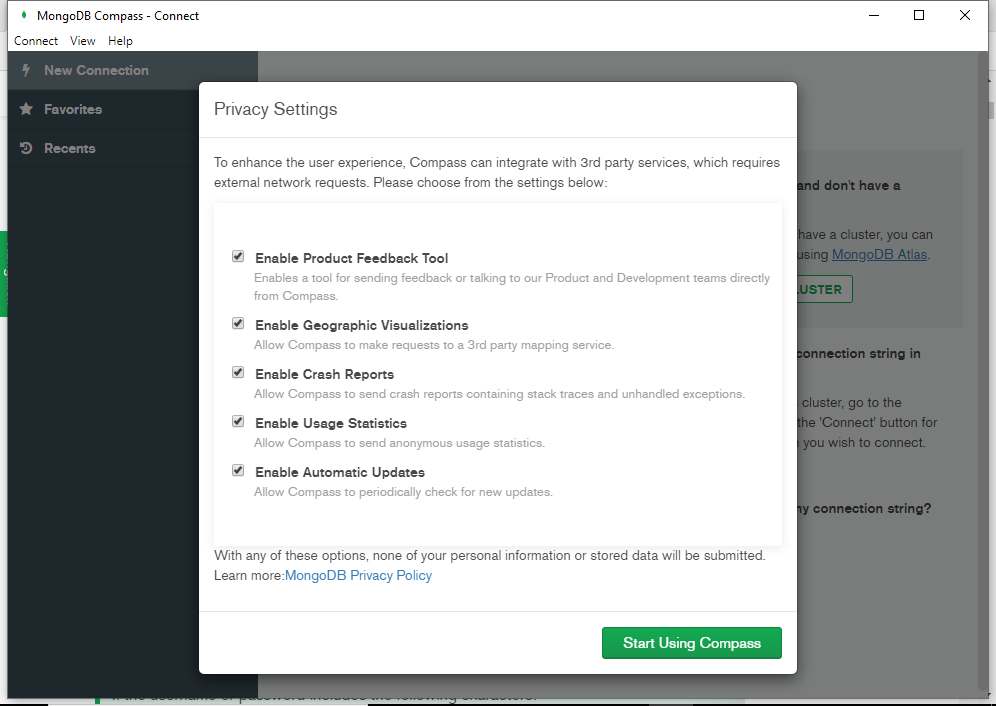
Uncheck anything you don’t want and then click Start Using Compass.
This brings us to the New Connection screen:
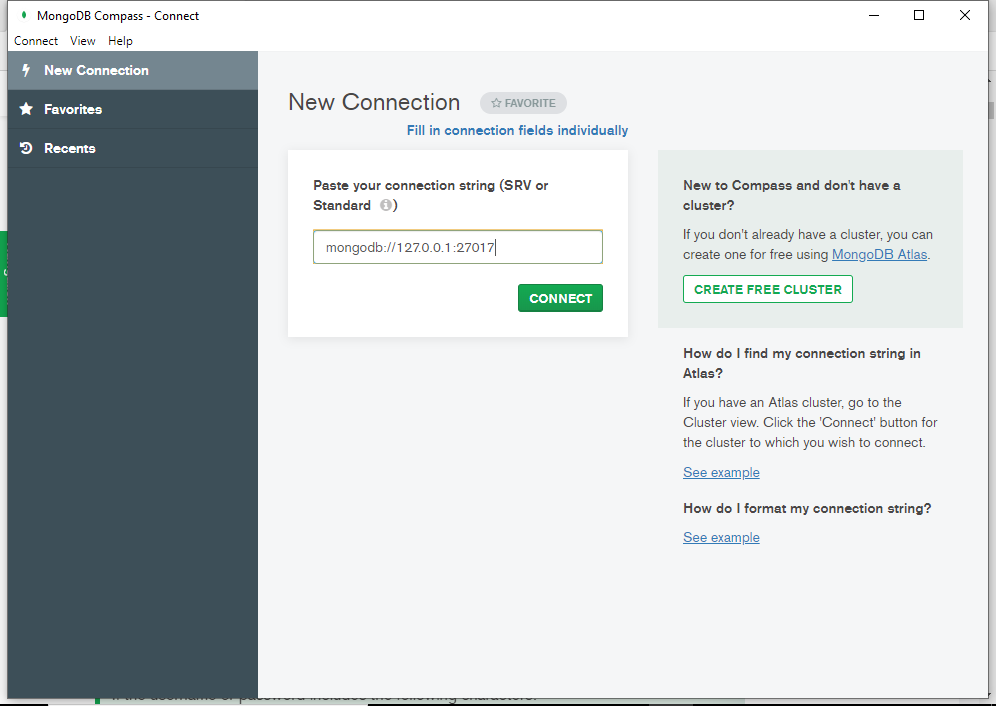
If you followed along with this tutorial, you should be able to connect using the same connection string as in the above screenshot. To reiterate, here it is:
mongodb://127.0.0.1:27017This uses a standard connection string format for a standalone deployment that does not enforce access control.
See Connection String URI Format on the MongoDB documentation website for a detailed overview of various connection string URI formats.
Once you’ve entered the connection string. click CONNECT.
If the connection is successful, you should now see something like this:
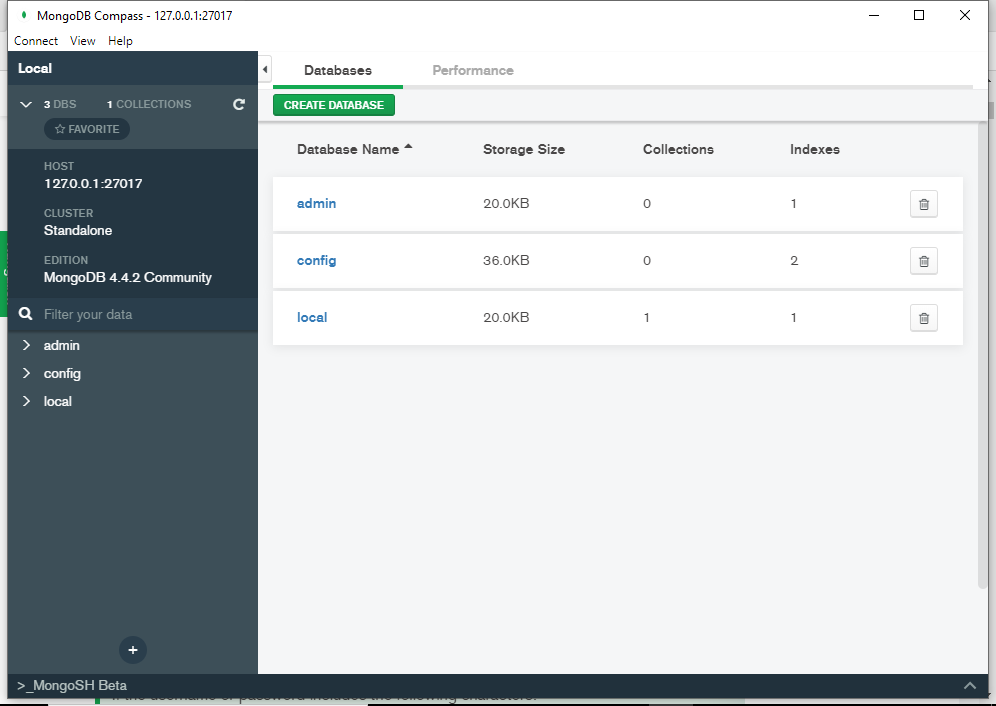
You have just connected to MongoDB via Compass.