I wrote this post, because it may not be immediately apparent how to find the SQL Server Agent jobs in Azure Data Studio once you’ve installed the SQL Server Agent Extension.
In SSMS, the SQL Server Agent can be hard to miss, but in Azure Data Studio, it can be hard to find!
Or perhaps you’re not even aware that you need the extension, and you may be searching for jobs that simply can’t be found.
Here’s how to locate the SQL Server Agent jobs in Azure Data Studio.
Install the SQL Server Agent Extension
By default, Azure Data Studio doesn’t provide access to SQL Server Agent jobs. You need to install the SQL Server Agent extension before you can gain access to any jobs on the server.
If you don’t already have the extension, see Install the SQL Server Agent Extension on Azure Data Studio. That article also shows you how to find the jobs once you’ve installed it, so you probably don’t need to finish this article if you visit that link.
Locate the SQL Server Agent Job
Assuming that you’ve got the SQL Server Agent extension installed, you can find the jobs from the Manage tab of the server where the jobs are located.
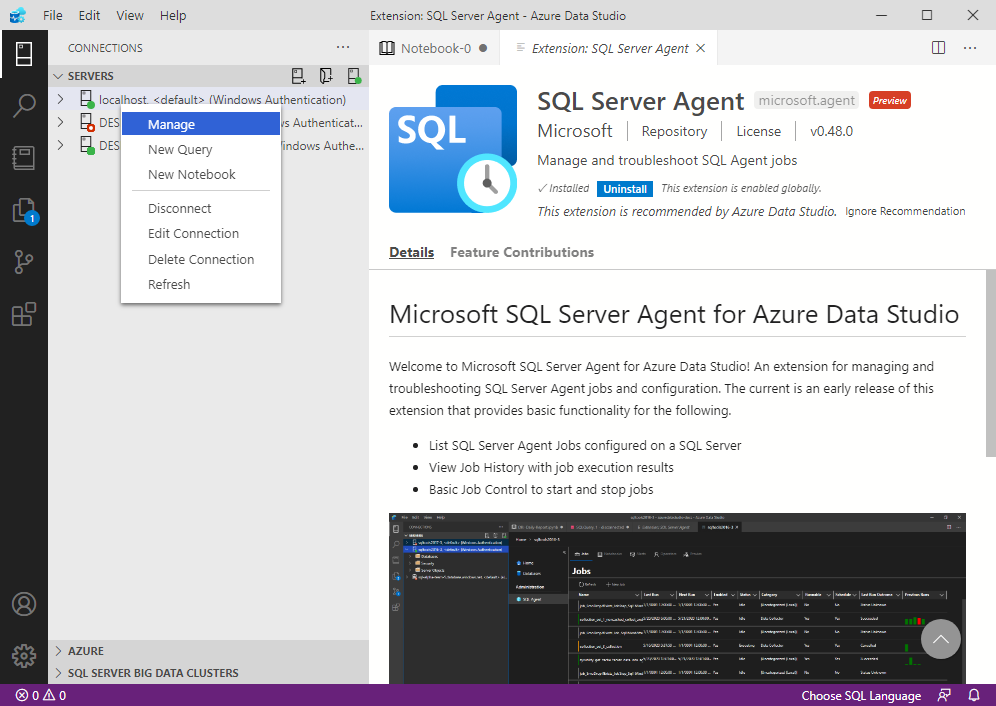
When you have the servers showing in the left pane, right-click on the server’s name to bring up the contextual menu:

From the menu, click Manage.
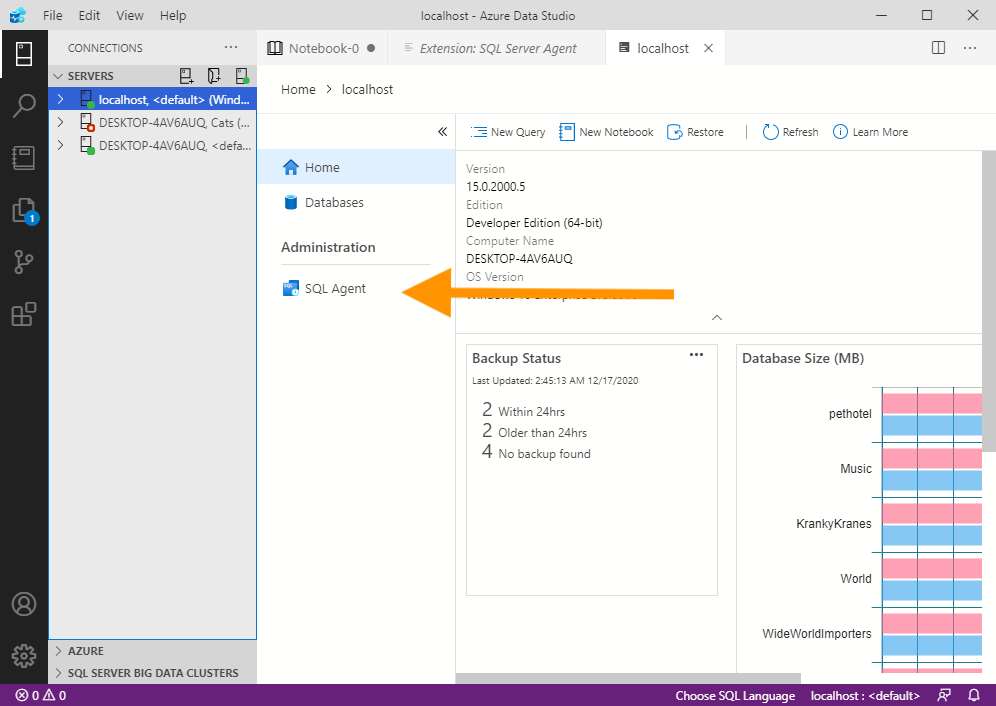
That opens the management Home screen for the server:

You should now be able to see the SQL Agent option.
Click SQL Agent.
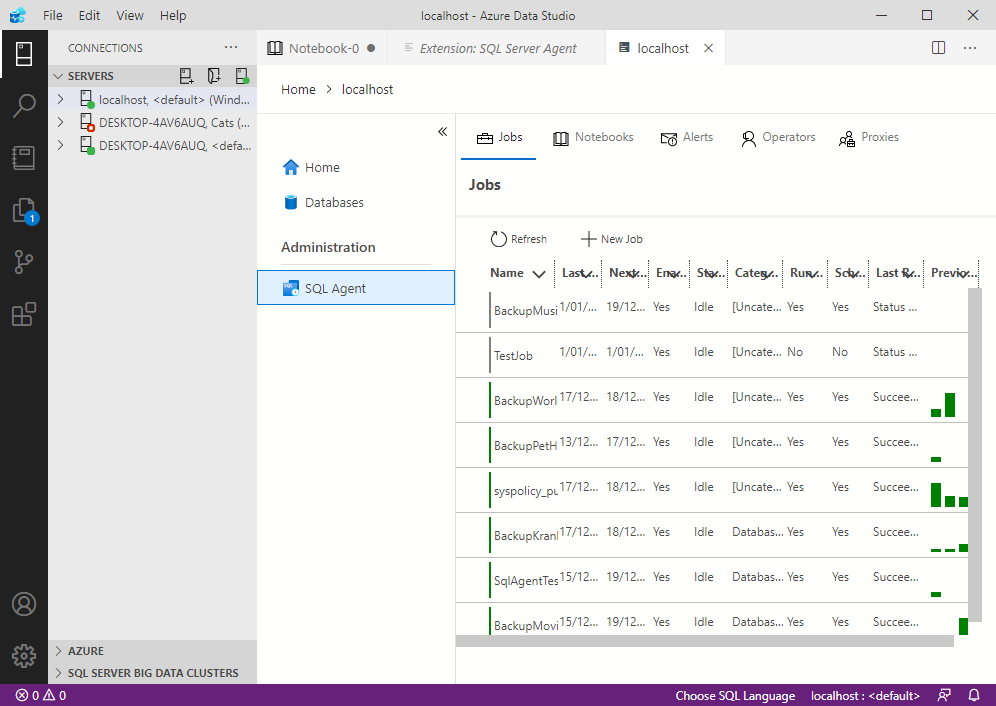
This opens the SQL Server Agent screen, where you can see a list of the SQL Server Agent jobs on the server:

From here, you can create new jobs, edit existing ones, delete them, view job history, etc.
Note that you can also use T-SQL to work with SQL Server Agent jobs. For example, you can return a list of jobs, create new jobs, add new steps to a job, as well as pretty much anything else you can do via the GUI.