In 2020, Apple introduced Mac computers with Apple silicon, with the first chip being the Apple M1.
This was a major change, and it affected many third party applications to the point where they simply don’t run on the M1 Mac.
One application that doesn’t run on M1 Macs is VirtualBox. Prior to the M1 Mac, we could use VirtualBox to install Windows on our Mac. VirtualBox is a free virtualisation application that enables you to install virtual machines (with other operating systems) on your Mac.
Fortunately, there’s a free alternative to VirtualBox – UTM.
In this article, I install Windows 10 on an M1 Mac. The key to doing this is to use the UTM virtualisation application instead of VirtualBox.
It also involves installing the Windows 10 on ARM Insider Preview. This requires an account with the Windows Insider Program (you can register for free).
Install UTM
First step is to install UTM (it’s free). UTM employs Apple’s Hypervisor virtualization framework to run ARM64 operating systems on Apple Silicon at near native speeds.
Basically, it enables us to create virtual machines on our M1 Mac. We can use UTM to install other operating systems (such as Windows) on our M1 Mac.
So to install UTM:
- Go to the UTM website and click
Download. - Once downloaded, double click the
UTM.dmgfile to launch it. - Drag the
UTM.appicon to yourApplicationsfolder.
The program is now installed. You can open it just as you can open other applications (e.g. by double clicking on its icon).
Download Windows
- Go to the Windows Insider Preview Downloads page.
- The instructions on the page depend on whether you’re logged in, and whether you’re part of the Windows Insider Program. If you are already logged in and you’re part of the Windows Insider Program, you’re good to go. If you’re not logged in or part of the program, follow the instructions on the page to log in and/or join the Windows Insider Program. Once done, the page will display the download link for the installation file.
- Click the button to download the installation file. In my case this blue button reads Windows 10 Client ARM64 Insider Preview – Build 21354.
It’s quite a large file (mine is 9.74 GB), so it might take a while to download.
Download the SPICE Guest Tools
- Go to the UTM Support page.
- Under the SPICE Guest Tools and QEMU Drivers (Windows) heading, click Download.
We will use this later, when we install Windows.
Convert the VHDX Image to a QCOW2 Image
According to the UTM documentation, sometimes the QEMU handling of VHDX images will result in Windows becoming corrupted. To prevent this, we’re advised to convert the VHDX file to a QCOW2 file, as follows.
The following steps require that Homebrew is installed. You can install it with the command on the Homebrew website.
With Homebrew installed, open a Terminal window and run the following:
brew install qemuIf you get an error that reads “Cannot install in Homebrew on ARM processor in Intel default prefix”, your Homebrew might not be configured for your M1 Mac. In this case, try this fix.
With QEMU now installed, run the following to convert the VHDX file to QCOW2:
qemu-img convert -p -O qcow2 ~/UTM_VM/Windows10_InsiderPreview_Client_ARM64_en-us_21354.VHDX ~/UTM_VM/Windows10_InsiderPreview_Client_ARM64_en-us_21354.qcow2In my case, I’d placed both the Windows file and the SPICE guest tools into a folder called ~/UTM_VM. You can put them elsewhere if you prefer, but be sure to replace ~/UTM_VM with your own path to the file.
Also, you may need to rename the Windows file (for example, replace 21354 with the applicable number on your file).
We can now use the QCOW2 image when creating the virtual machine below. It is recommended you do this with a fresh VHDX from Microsoft in case your image was already corrupted.
Create a Virtual Machine
Now we can go ahead and use UTM to create a virtual machine with which we will install Windows 10.
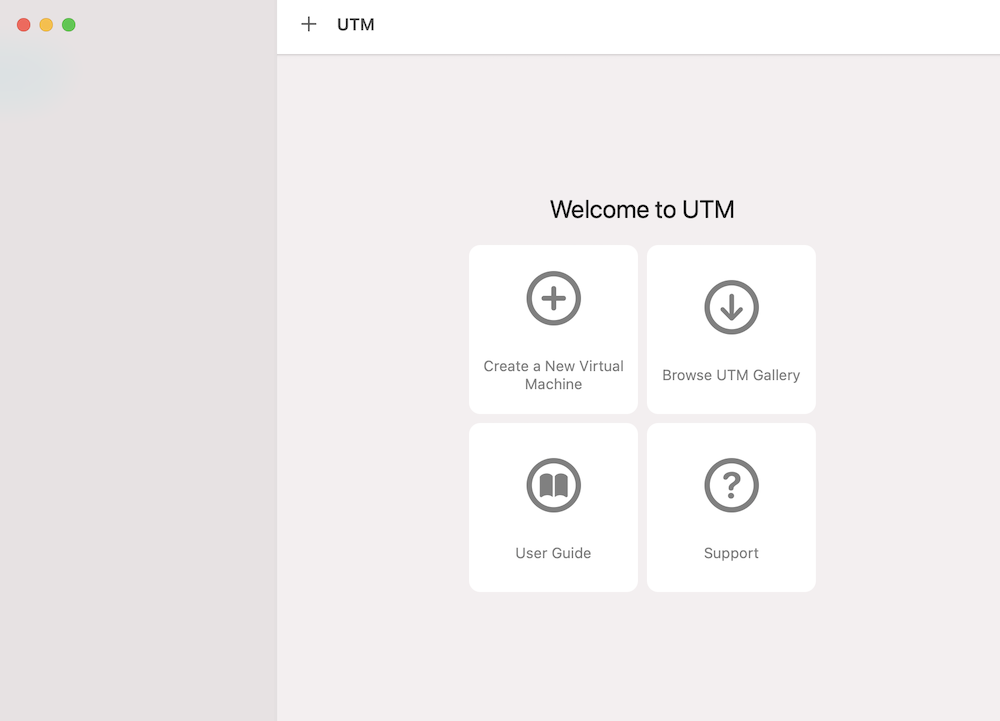
Open UTM and click Create a New Virtual Machine:
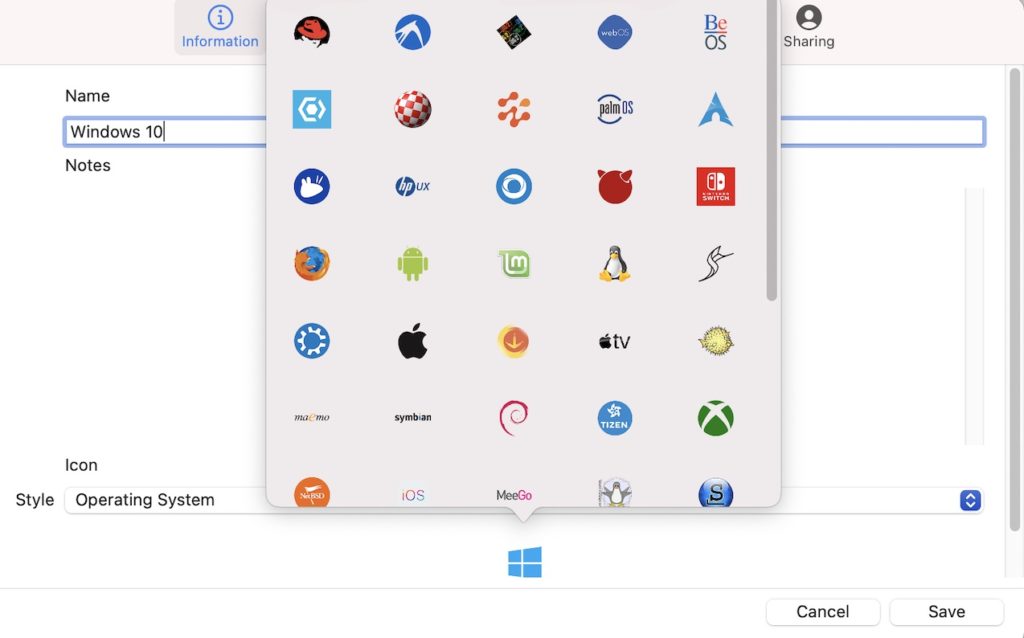
Enter a name for the VM. You can optionally choose an icon by selecting Operating System in the bottom drop down menu. This makes an icon appear below it. If its not the right icon, click it (which brings up a menu of other icons), and select the Windows icon:
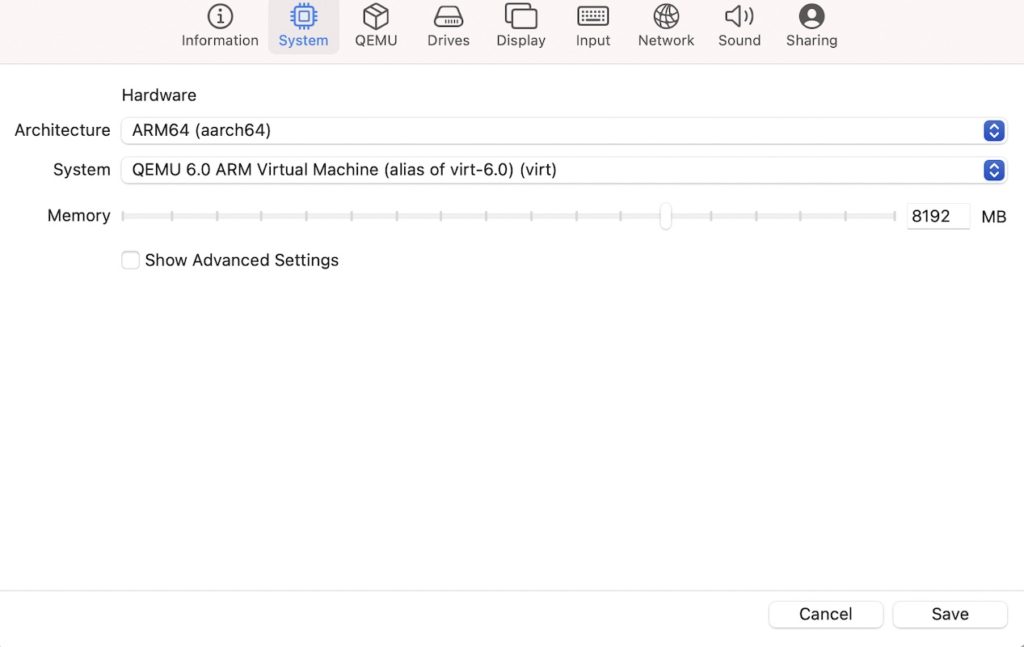
Now click the System button in the top menu and select ARM64 (aarch64) architecture. Also specify the amount of memory. At least half of your computer’s total memory is recommended for performance:
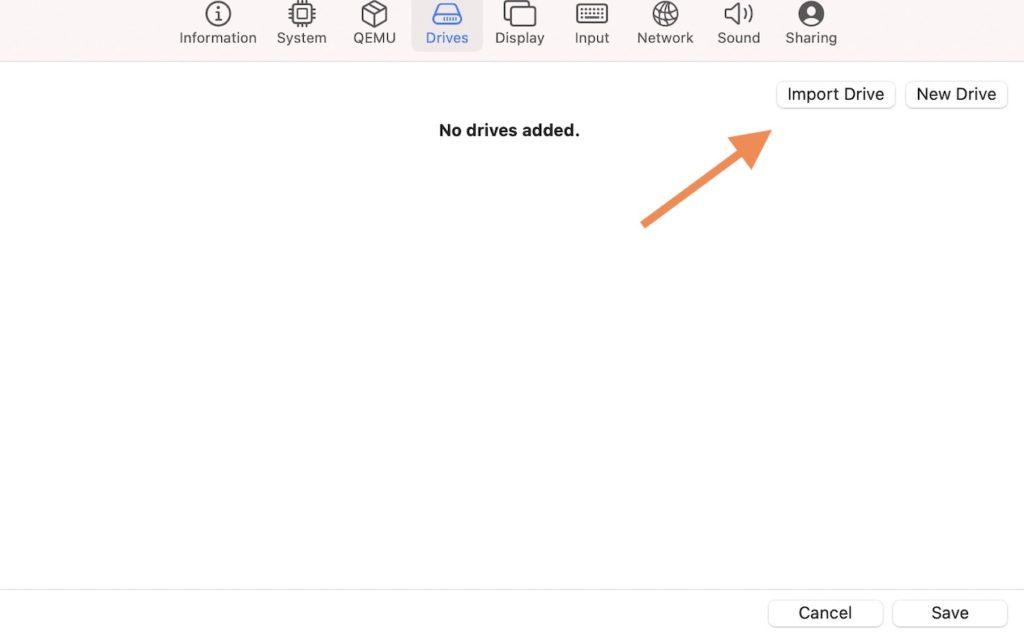
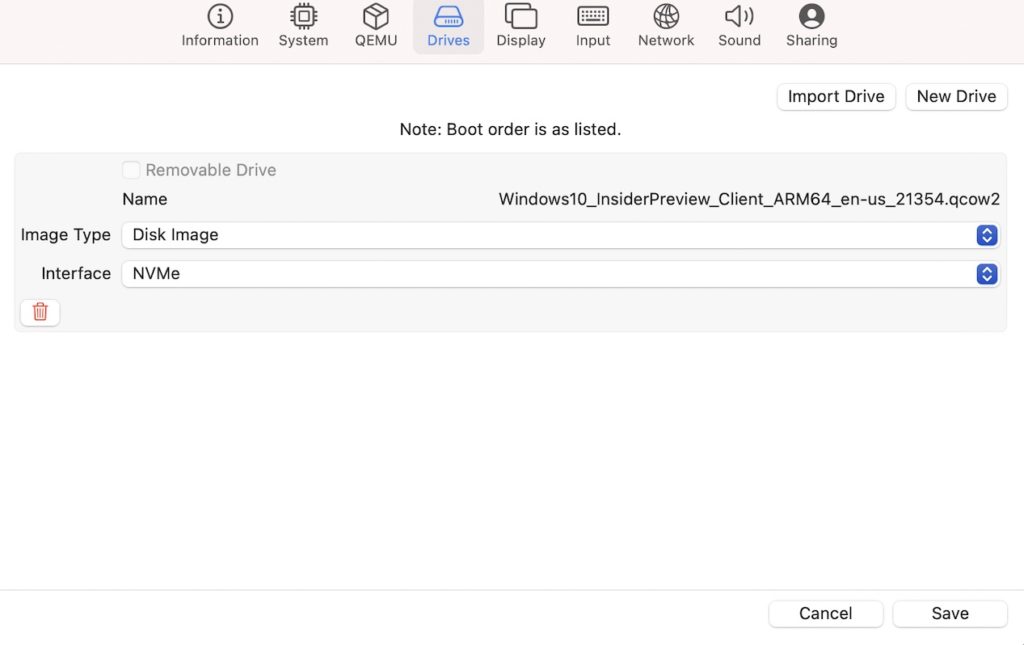
Click Drives from the top and then click Import Drive:
Browse to, and select the Windows 10 QCOW2 that you converted from the VHDX file previously. Once selected, set the interface to NVMe:
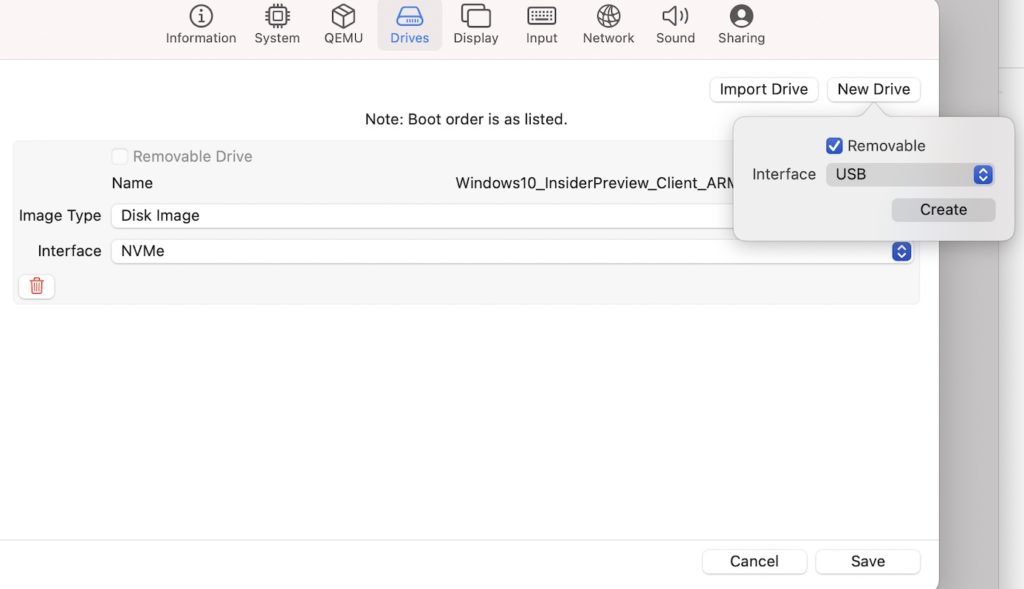
Now click New Drive and check Removable and click Create to add a CD drive:
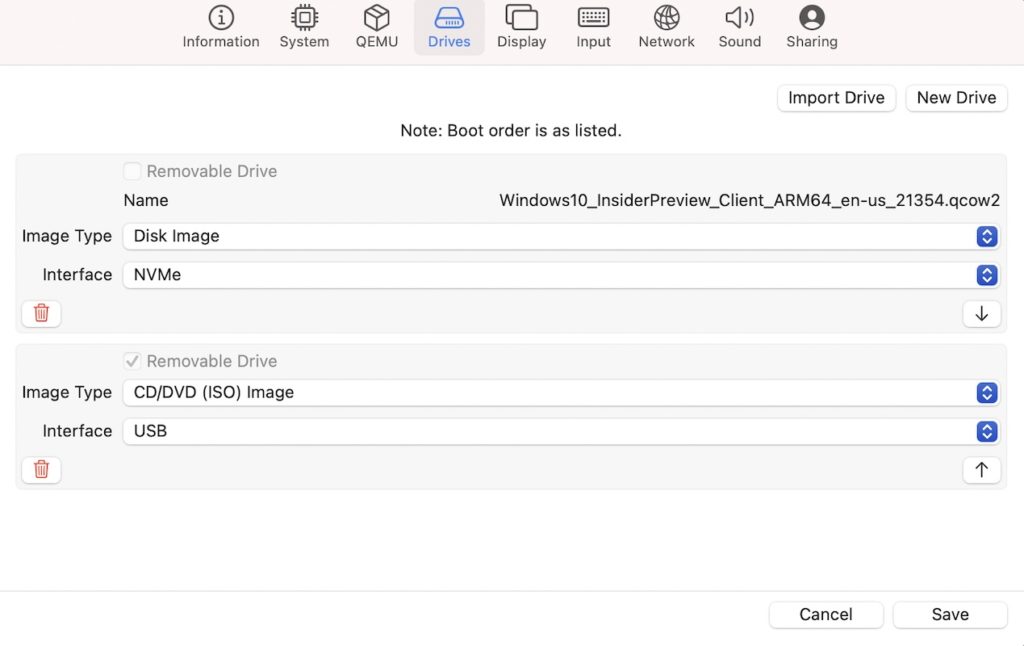
It should now look like the following screenshot. Click Save:
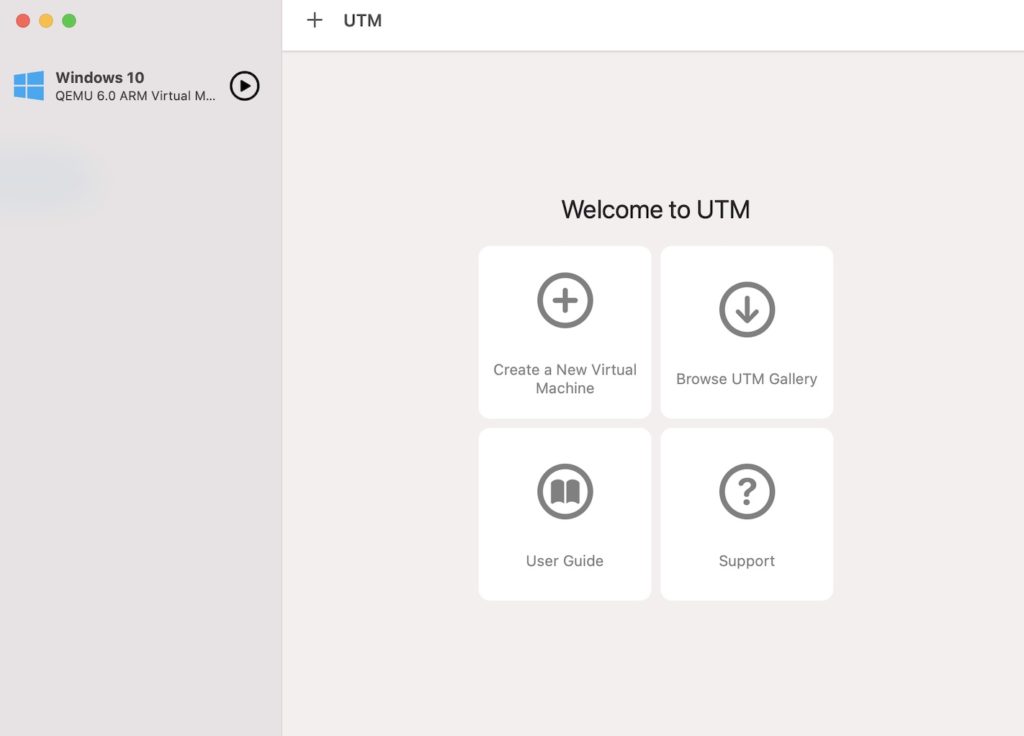
The VM now appears in the sidebar:
Click on the Windows 10 option in the left menu, and then select Browse (at the bottom of the right pane):
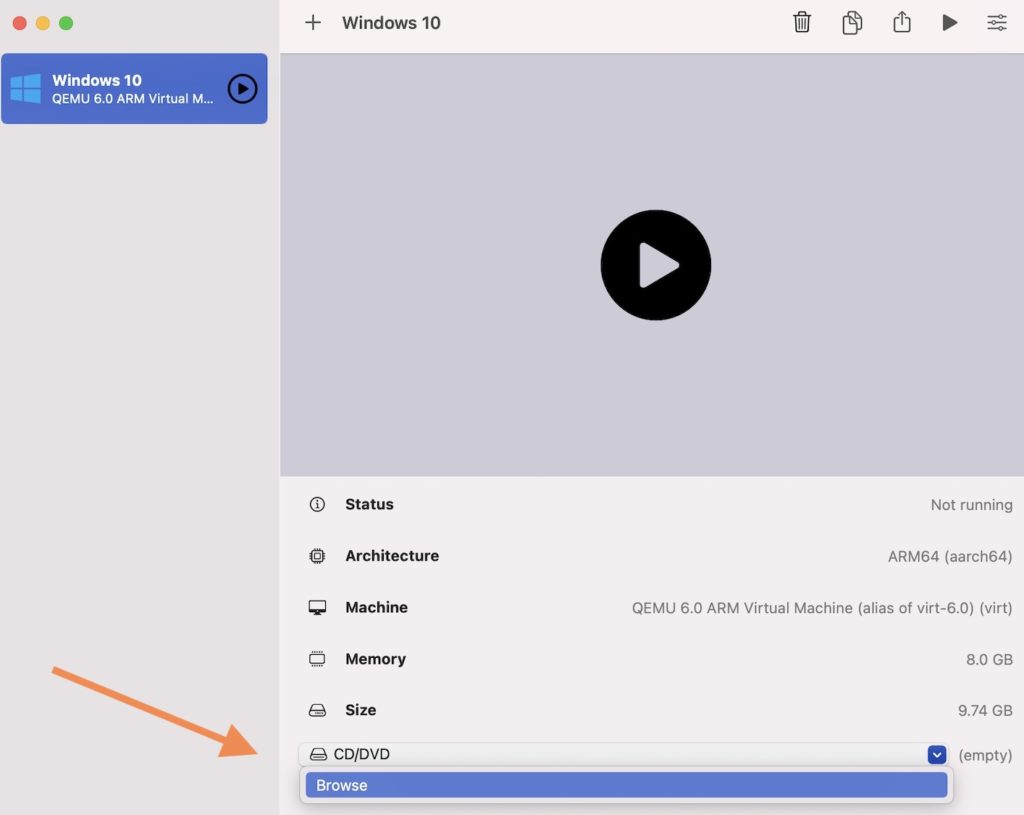
Browse to the SPICE guest tools ISO and click Open:
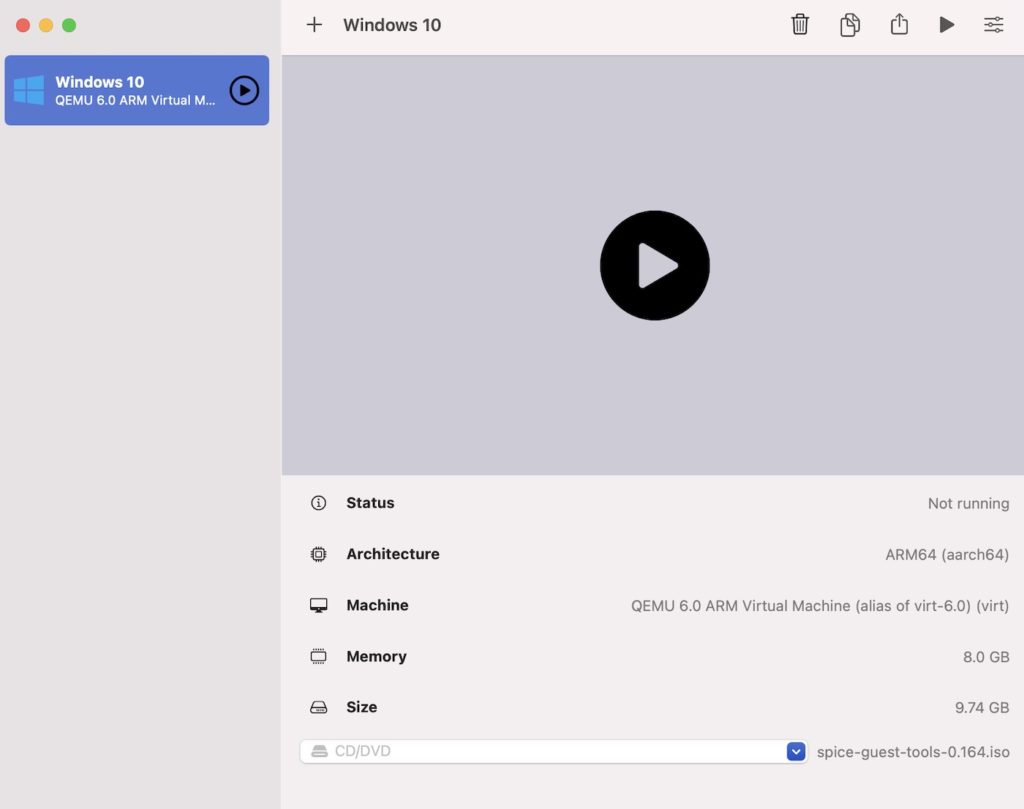
The name of the file now appears at the bottom of the screen, to the right of the dropdown.
The virtual machine is ready to use. If you need to change/check any of the settings, you can right click on the machine and select Edit.
We’re now all set to install Windows.
Install Windows
Click the big “Play” button in the middle of the screen to start the installation:
This launches a new window that boots up the Windows installation wizard:
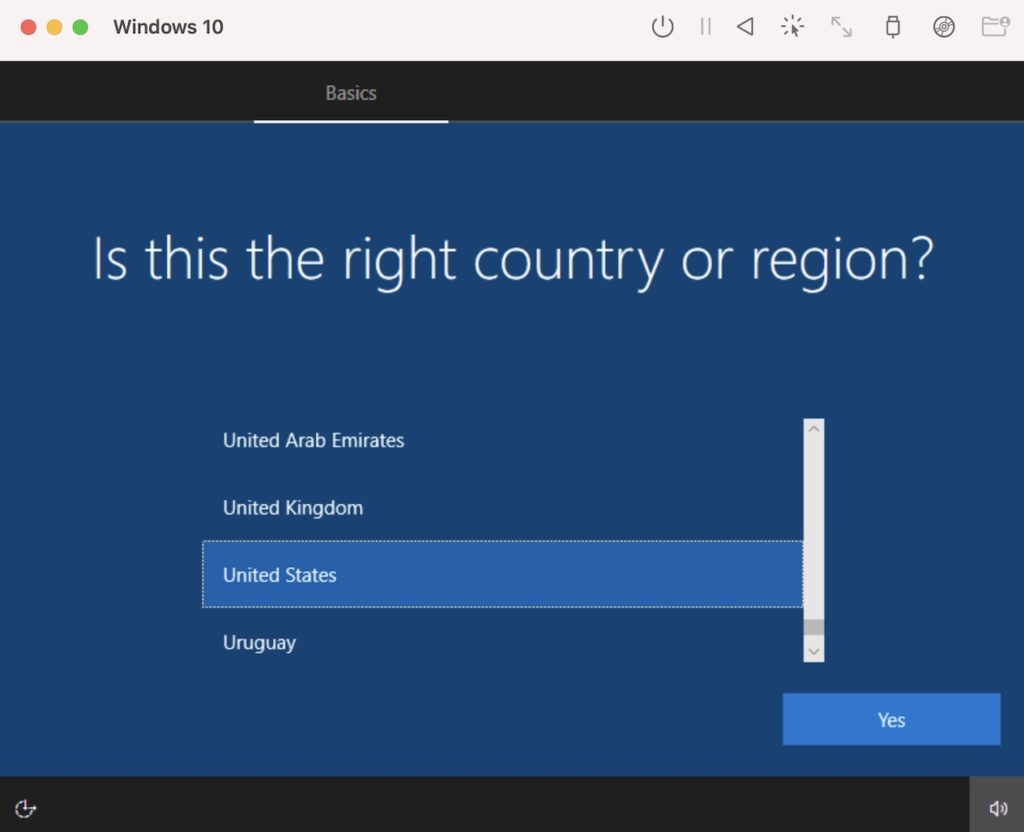
Follow the prompts to install Windows.
If you get a “no bootable device” error, check that you selected ARM64 (aarch64) architecture on your virtual machine. From the UTM main screen, right click on the the virtual machine in the left and select Edit and select the System tab.
If your cursor suddenly seems to disappear, click the mouse capture button in the toolbar to send mouse input directly. Press Control+Option together to exit mouse capture mode.

When asked to connect to the internet, select I don’t have internet. This is because we won’t have internet until we install the SPICE guest tools (next).
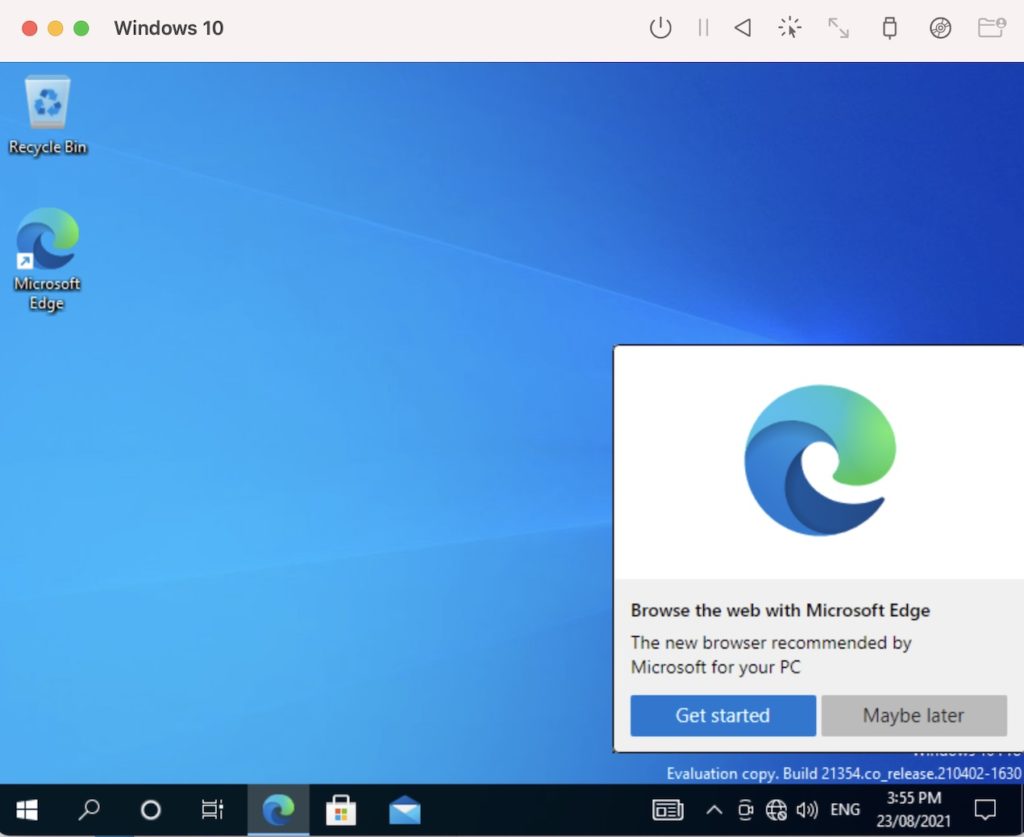
Once the installation is complete, the Windows desktop appears:
Install SPICE Guest Tools
There’s one more thing we need to do – install the SPICE guest tools.
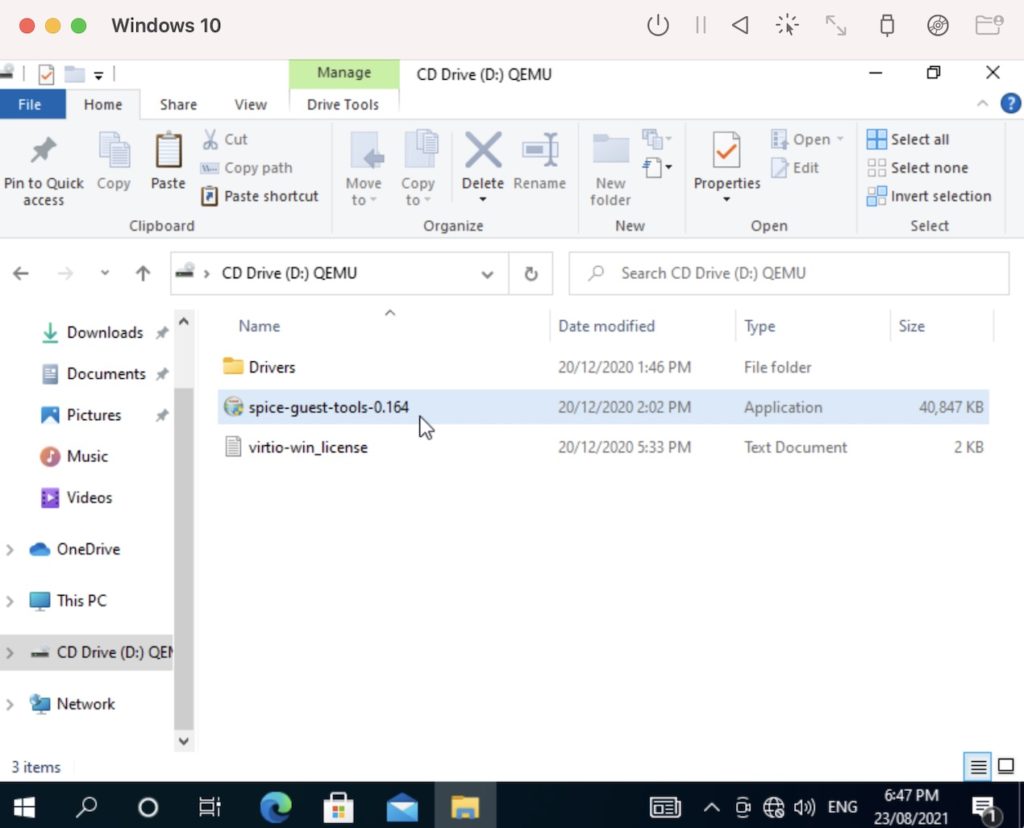
From within our freshly installed Windows machine (i.e. in the guest machine), open the File Explorer and select the D drive. From there, double click the SPICE guest tools executable file (in my case, this is called spice-guest-tools-0.164.exe):
This launches the installation wizard. Follow the prompts to install the SPICE guest tools. This installs various drivers, including one that enables an internet connection.
Windows 10 is now installed on our M1 Mac and ready to use.