Below are the steps I used to install Oracle Database 18c XE on Windows 10.
Oracle Database 18c XE is the free Express Edition of Oracle. This is a good entry point into Oracle Database. XE is a regular Oracle Database, and it therefore provides compatibility with other Oracle Database editions. You can always move to another edition if you ever need to.
Download Oracle
Download the installation file from the Oracle Database XE Downloads page.
Click Oracle Database 18c Express Edition for Windows x64 to download the Windows file.
You’ll need to sign in (or create an account) if you aren’t already signed in. Once signed in, the download starts immediately.
Once the ZIP file has downloaded, extract it to a folder of your choosing.
Install Oracle
Now we can go ahead and install Oracle Database.
Double click setup.exe to launch the installation:

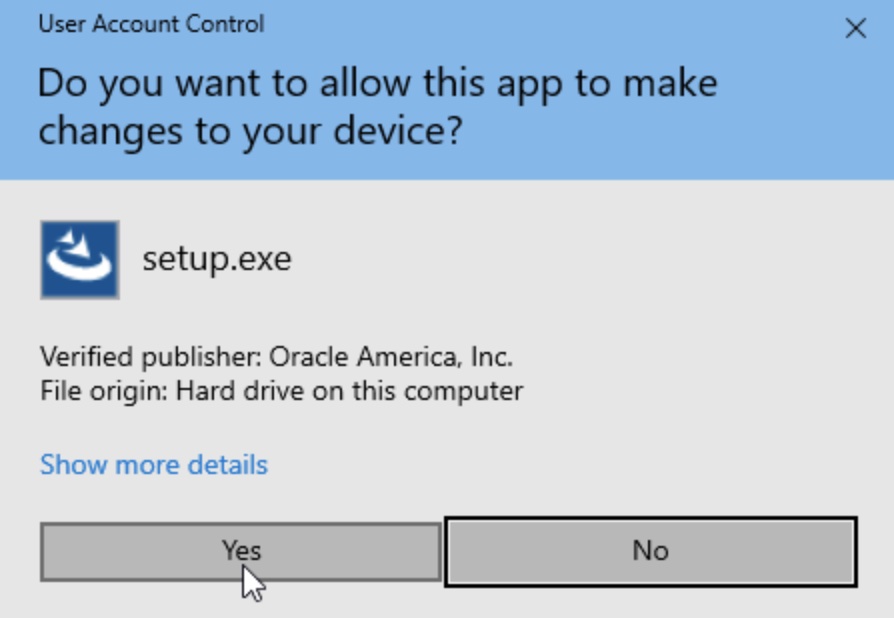
If asked whether or not you want to run the app, click Yes:
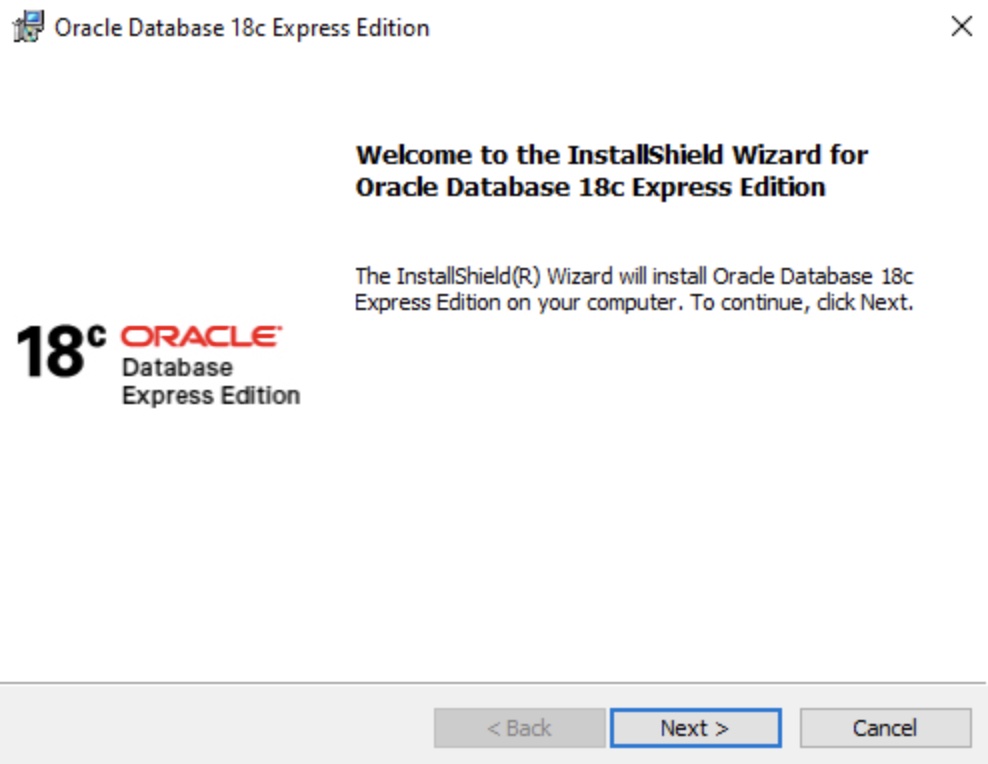
This brings us to the Welcome screen for the InstallShield Wizard. Click Next >:
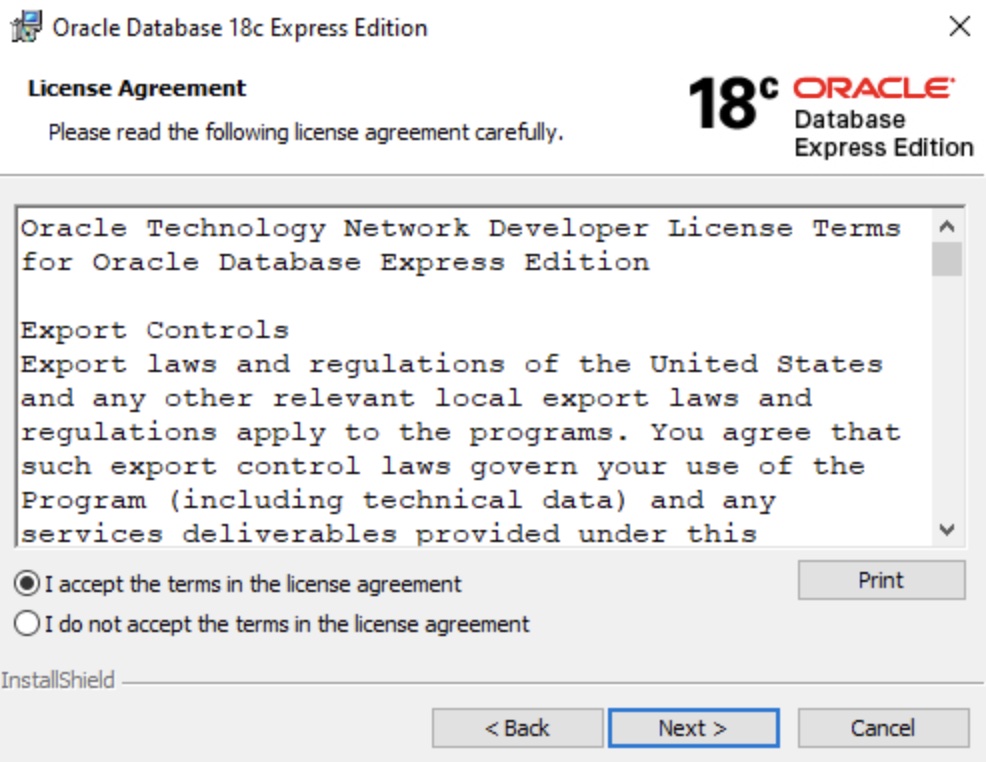
If you accept the terms, select I accept the terms in the license agreement and click Next >:
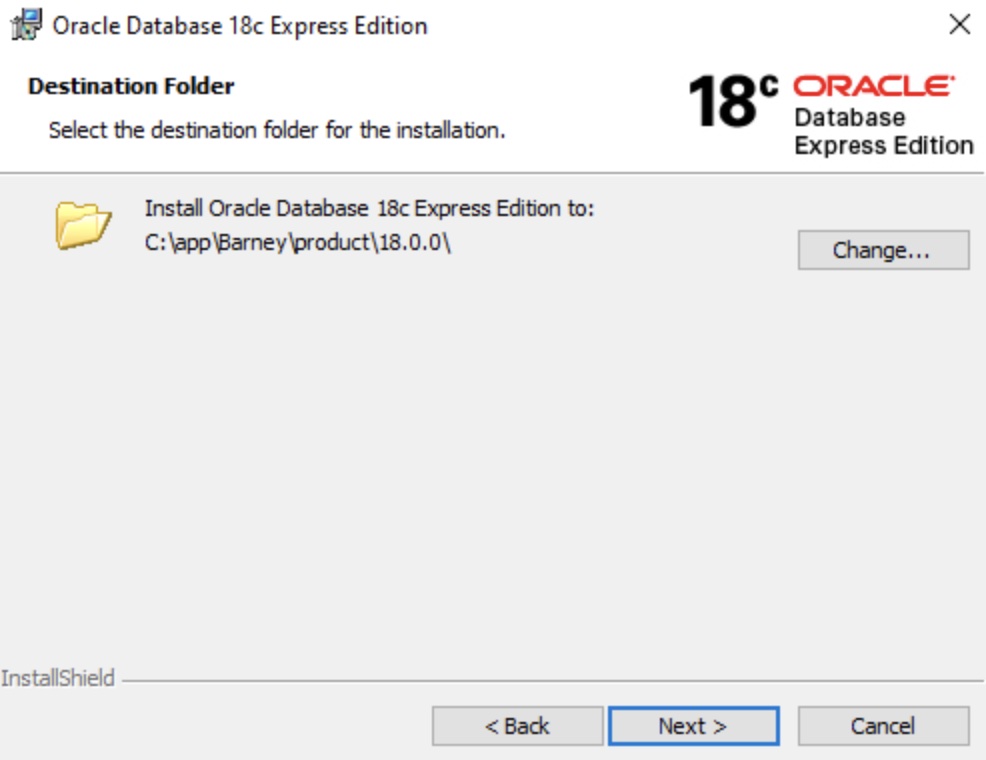
Review the destination folder. Leave it at the default or change as required. Once it’s good, click Next >:
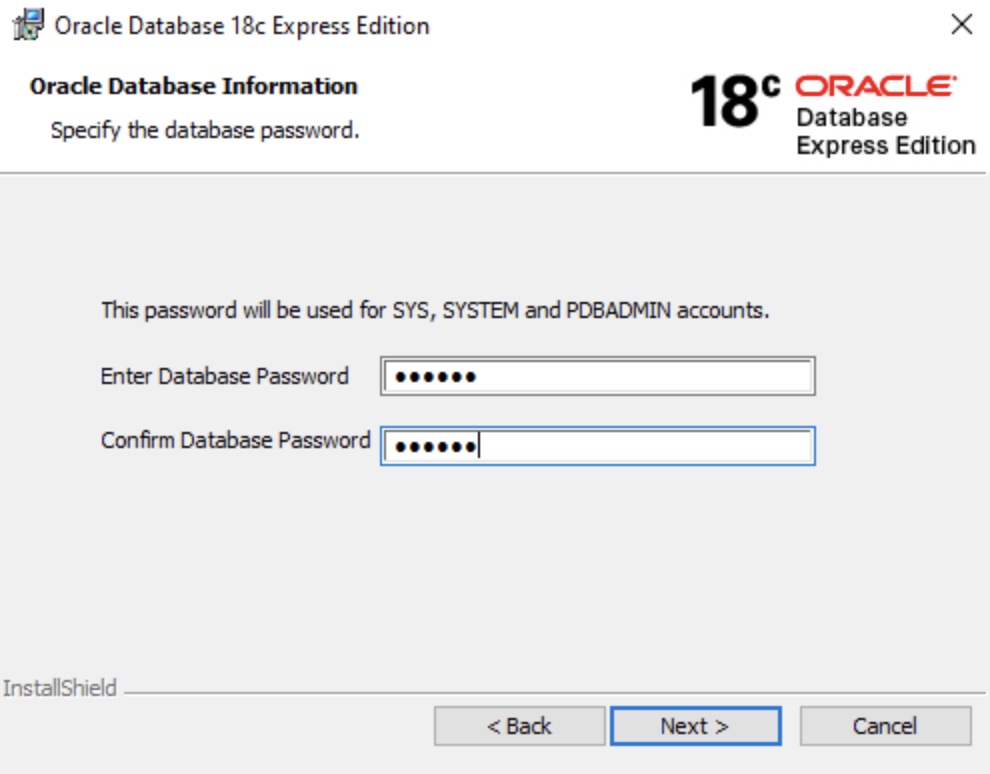
Enter a password for the SYS, SYSTEM, and PDBADMIN accounts and click Next >:
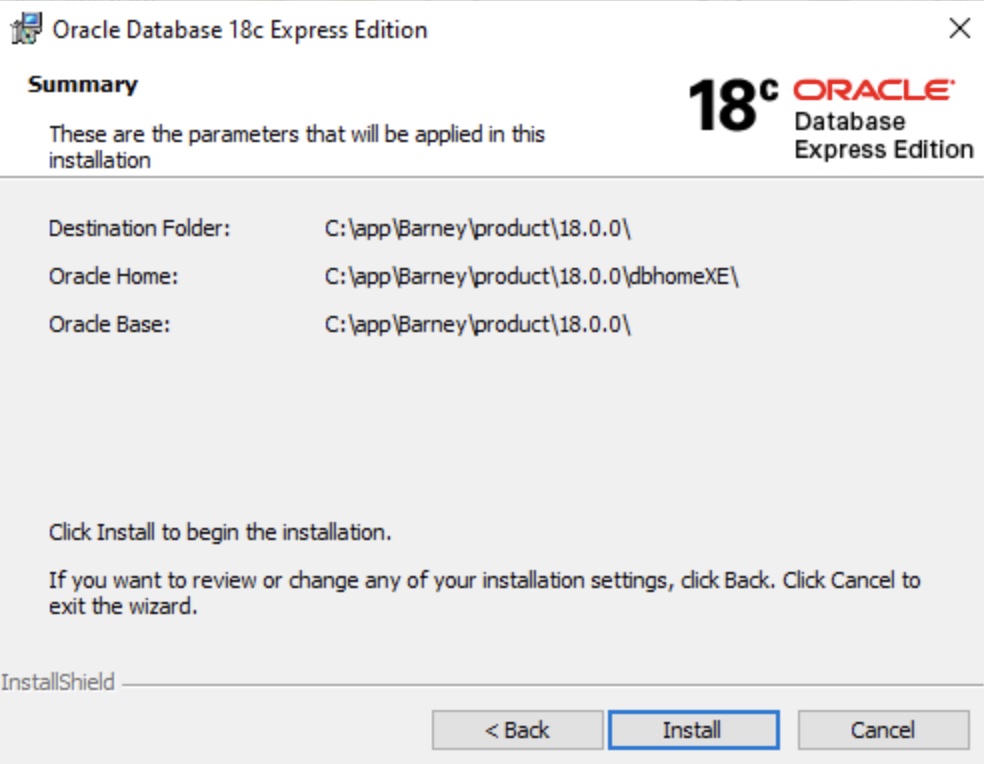
Review the summary of the parameters that are about to be applied in the installation. You can go back and change anything that’s not right. Once it all looks good, click Install:
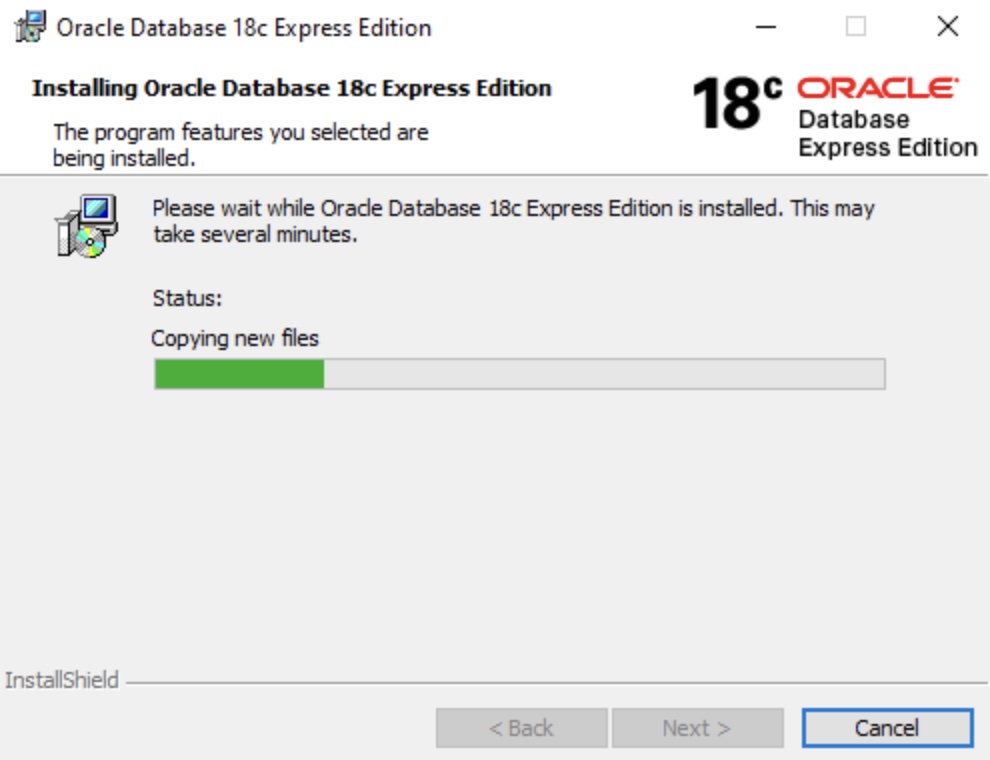
The installation goes ahead:
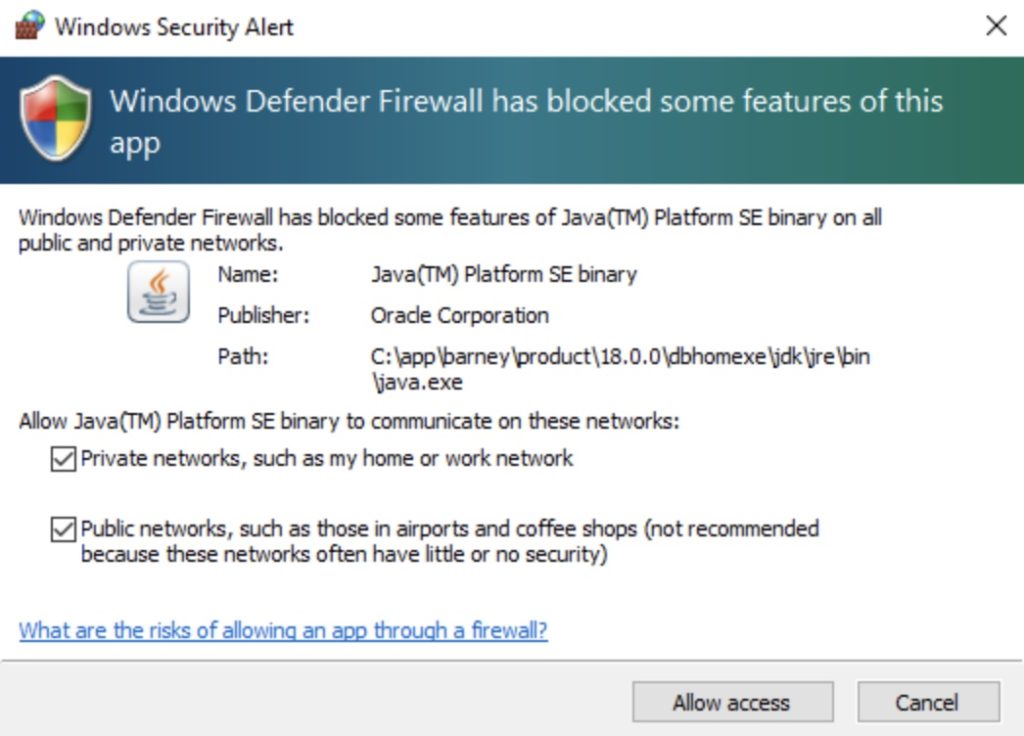
If Windows Defender Firewall is activated, you will be asked to allow network access to the Java Platform SE binary. If you don’t allow access, some features of Oracle may not work properly. Select the networks that you’d like to grant access to, then click Allow Access:
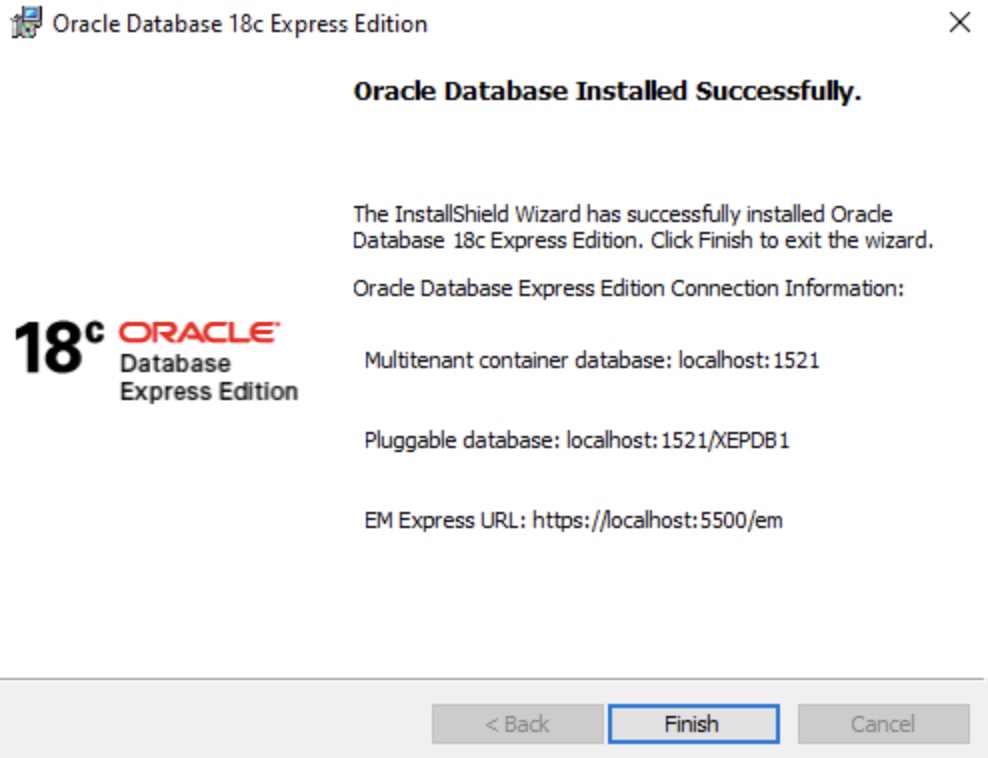
The installation continues. Once complete, the Oracle Database Installed Successfully screen is displayed, along with the container database, pluggable database and Enterprise Manager Express connection details. Click Finish.
Oracle Database is now installed on Windows 10.
Connect to Oracle
Now that Oracle Database is installed, we can connect to it using tools, such as the SQL*Plus command line interface or SQL Developer.
SQL*Plus is installed with Oracle Database, so we can launch that straight away using the Command Prompt.
Here’s an example:
sqlplus SYS/oracle AS SYSDBAEntering that into Command Prompt launches SQL*Plus and logs in to Oracle Database as SYSDBA using SYS as the username and oracle as the password.
Result:
SQL*Plus: Release 18.0.0.0.0 - Production on Thu Aug 26 15:15:51 2021
Version 18.4.0.0.0

Copyright (c) 1982, 2018, Oracle.  All rights reserved.


Connected to:
Oracle Database 18c Express Edition Release 18.0.0.0.0 - Production
Version 18.4.0.0.0

SQL>
Once connected, the SQL> prompt is displayed. We can now run SQL queries etc against our Oracle Database installation.