Here, I demonstrate how to change the priority of a Database Mail account within a profile in SQL Server using the SQL Server Management Studio (SSMS) graphical user interface.
If you want to see how to do it using T-SQL, see Change the Sequence Number of an Account in Database Mail (T-SQL).
The priority and the sequence number are the same thing (when you change it with T-SQL you use the @sequence_number parameter).
Let’s Begin
From the Object Explorer, open the Management node and right click Database Mail:
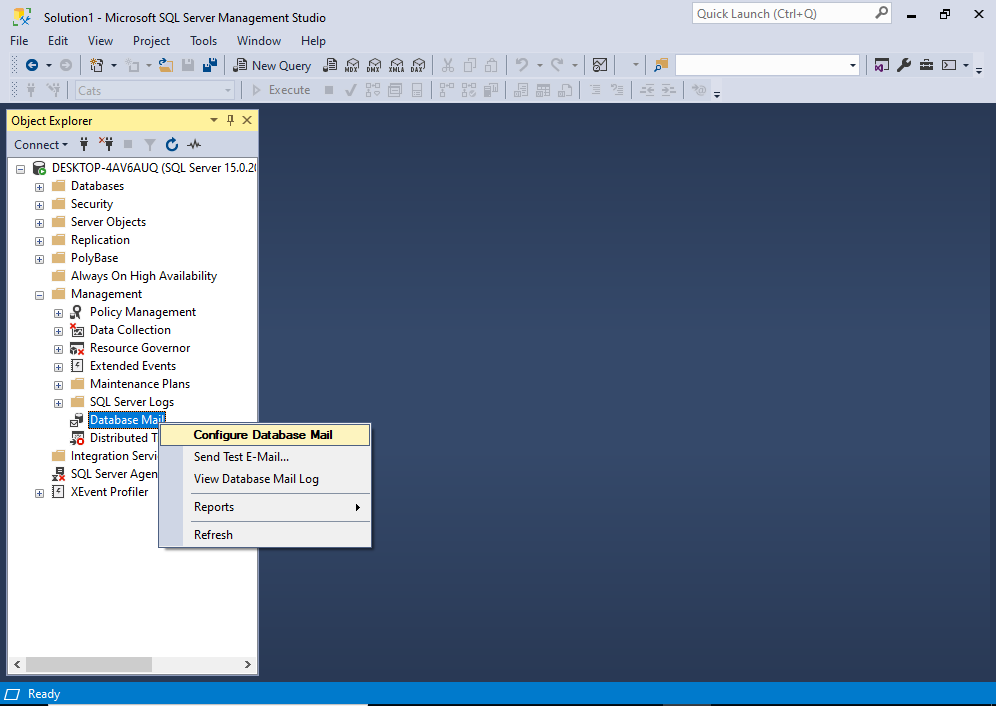
From the context menu, click Configure Database Mail.
You may get an interim “Welcome” screen before you get to the next one. If so, click Next > to continue to the following screen.
This opens the Select Configuration Task screen:

On this screen, select Manage Database Mail accounts and profiles, then click Next >.
This brings us to the Manage Profiles and Accounts screen:
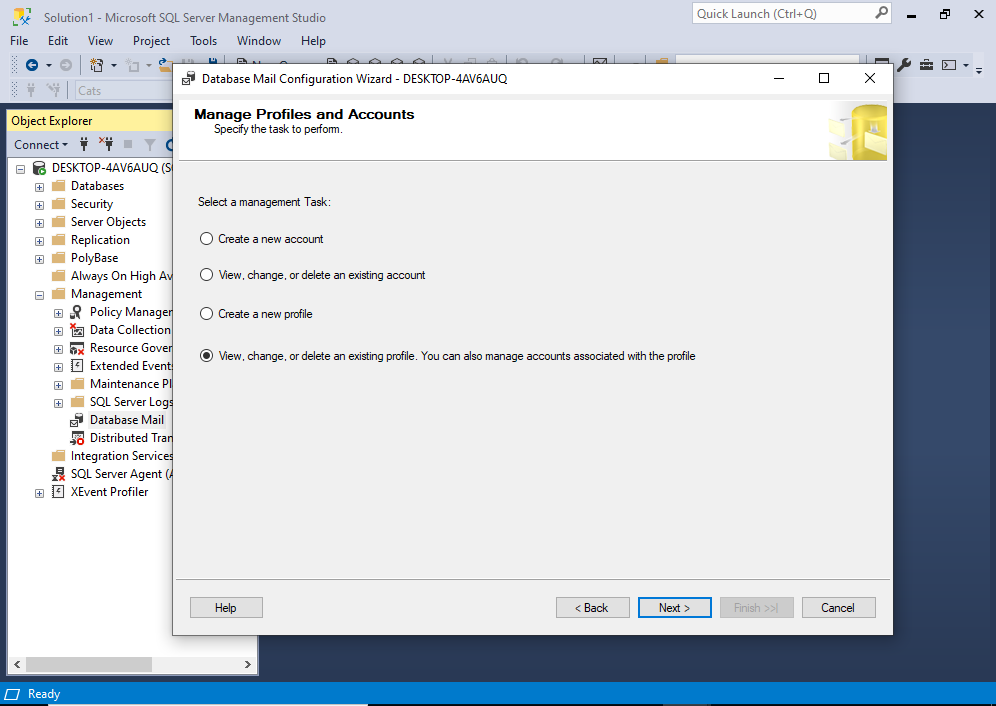
Select the last option View, change, or delete an existing profile… and then click Next >.
This brings us to the Manage Existing Profile screen:
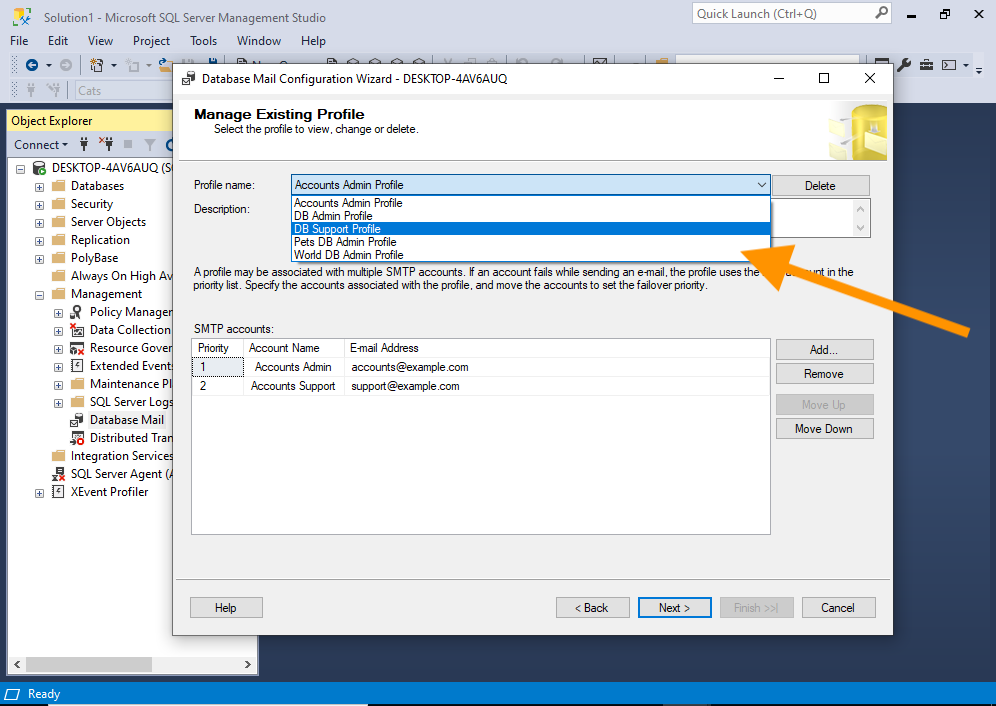
Use the dropdown menu at the top to select the relevant profile.
Once you’ve done that, the various fields will be repopulated with the details of the selected profile:
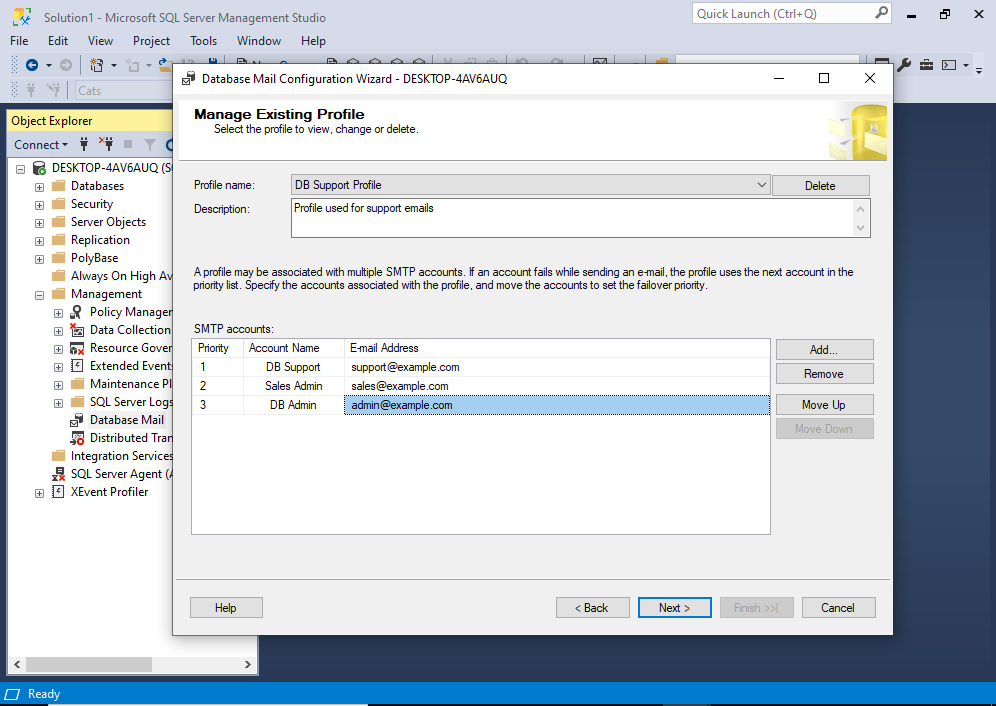
In the SMTP accounts section, click on the account for which you want to change its priority, and then click either Move Up or Move Down, depending on whether you want to increase or decrease its priority.
In my example, I moved DB Admin from priority 3 to priority 2:

Once you’ve changed the priority, click Next >.
This brings us to a screen that allows us to review and confirm our changes before we commit them:
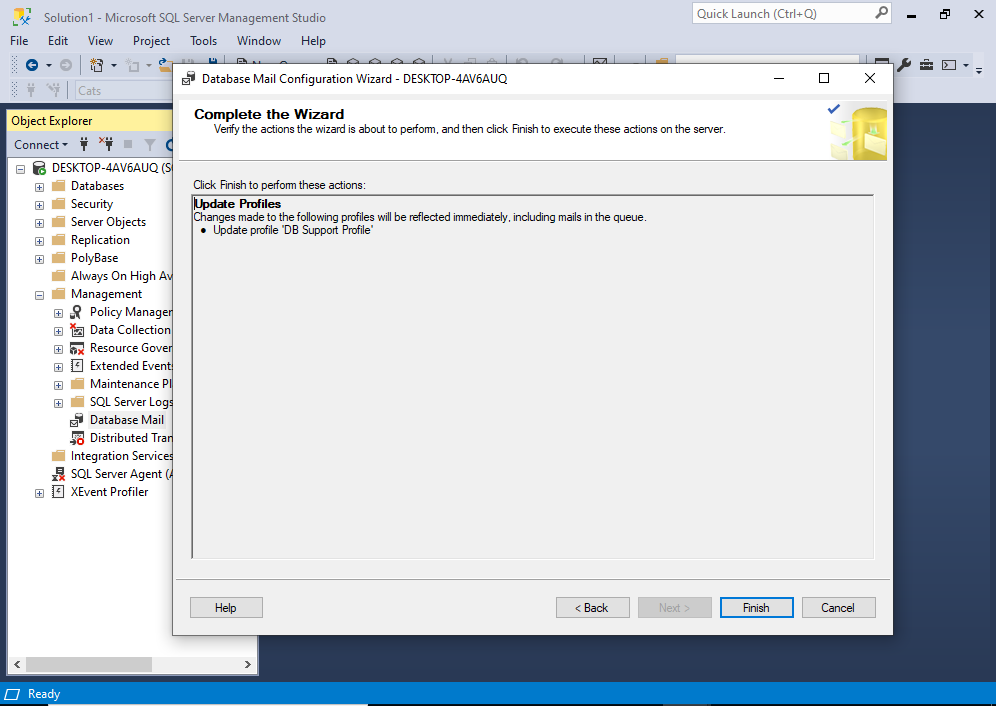
If it all looks good, go ahead and click Finish.
This will commit the changes:
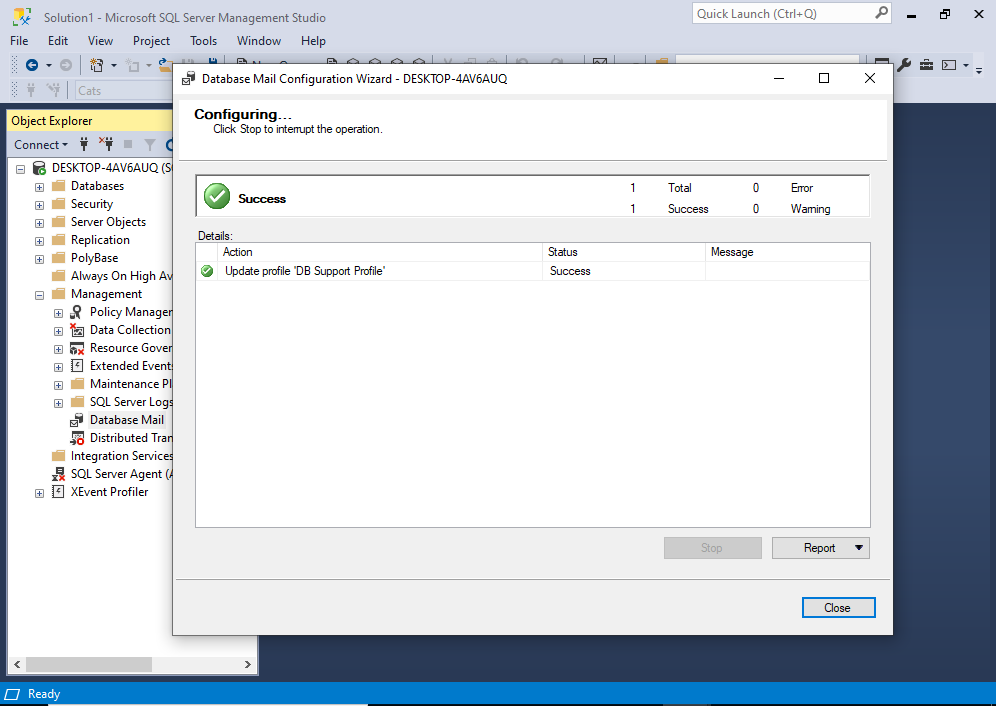
The priority has now been changed.
Click Close to finish.