To create a table in SQL Server using the GUI:
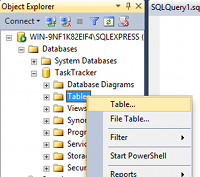
- Ensuring that the right database is expanded in Object Explorer, right click on the Tables icon and select Table... from the contextual menu
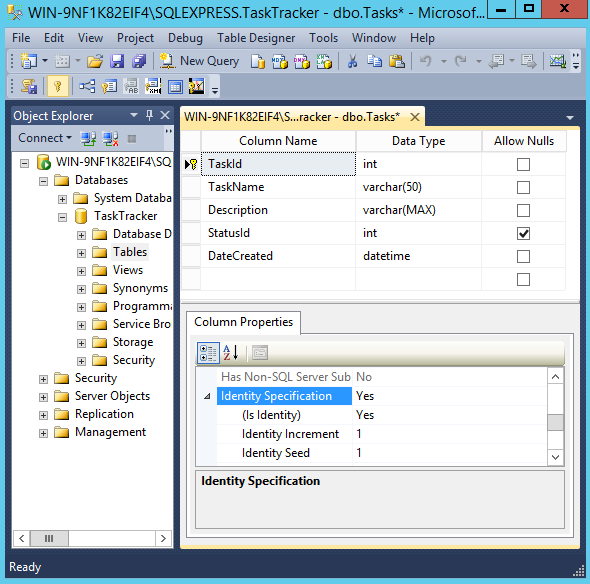
- A new table will open in Design view. Add the columns, their data types, and column properties.
- Save the table (either from the File menu, or by right-clicking on the table tab and selecting Save Table1)
The table will appear in the Object Explorer under the Tables icon for the applicable database.
Below are screenshots for the above steps.
Right-Click on “Tables”
Ensuring that the right database is expanded in Object Explorer, right click on the Tables icon and select Table... from the contextual menu:
The New Table in Design View
A new table will open in Design view. Add the columns, their data types, and column properties:
Save the Table
Save the table (either from the File menu, or by right-clicking on the table tab and selecting Save Table_1):
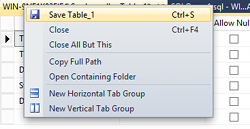
Name the table at the prompt and your table will be added to the database.
Check the New Table
It’s good practice to check that the table has been created in the correct database and has all the correct columns and data types.
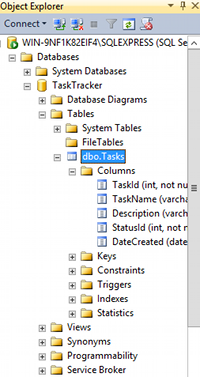
You will be able to see the new table in the Object Explorer. If you can’t immediately see the new table in the Object Explorer, right click on Tables and click Refresh:
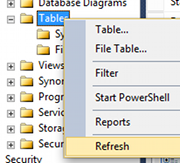
When you can see the table in the Object Explorer, expand it to reveal all the columns and their respective data types:
Create a Table using a Query
You can also create a table using a query.