To create a database in the MySQL Workbench GUI:
- Click the “new schema” button on the MySQL Workbench toolbar
- Enter a schema name (database name) and its default collation and click Apply
- Review the SQL statement and click Apply
The database will now be created, and a message will display advising that the script was successful.
Below are screenshots for the above steps.
The New Schema Button
Click the “new schema” button on the MySQL Workbench toolbar:

Enter a Name & Default Collation
Enter a schema name (database name) and its default collation and click Apply:

Create the Database
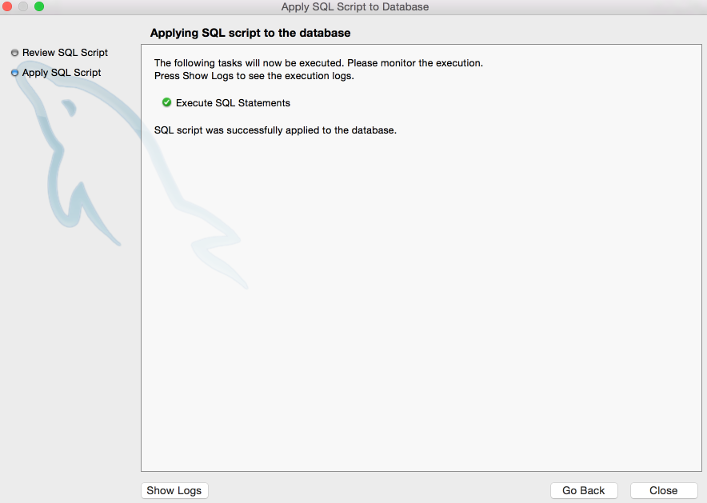
Review the SQL statement and click Apply:

The following message will be displayed if the script has run successfully:
You will now be able to see the database under SCHEMAS in the left navigation pane.
The above steps create a blank database. You will need to add tables and other database objects before you can add data.
Setting the Database as the Default Schema
You can set the new database as the default schema if you wish. Simply right click on the database name and select Set as Default Schema:
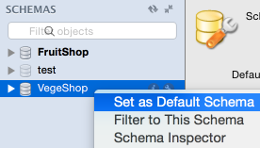
By doing this, any scripts that don’t specify a database will run against this one.
You can tell which database is the default one because it is bolded.