To reverse engineer a database in MySQL Workbench:
- Select Database > Reverse Engineer from the top menu of MySQL Workbench
- Set/review parameters for connecting to the DBMS then click Continue
- Enter password if required, then click OK
- The wizard will connect to the DBMS, fetch a list of databases, and check for any issues. Click Continue
- Select the database/s you would like to reverse engineer, then click Continue
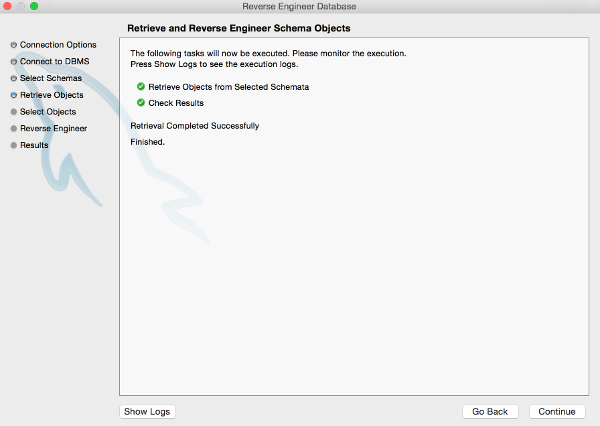
- The wizard will retrieve all objects from the selected schema/s and check the results. Click Continue
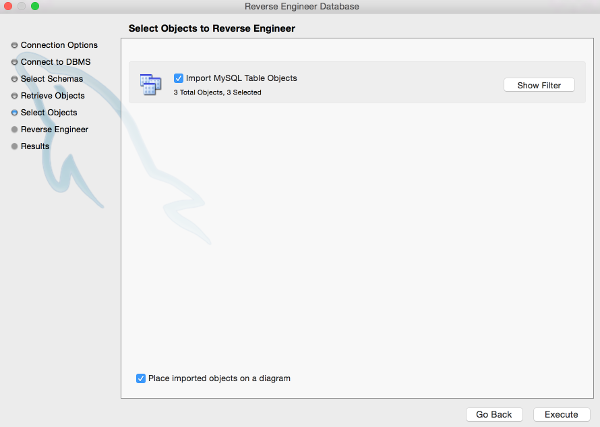
- Select the database objects you’d like to have reverse engineered, then click Execute
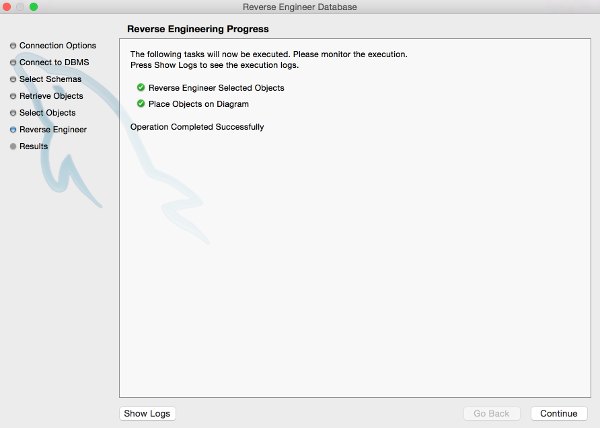
- The wizard will now reverse engineer all selected objects and generate the EER diagram (behind the scenes). Click Continue
- A summary is displayed. Click Close
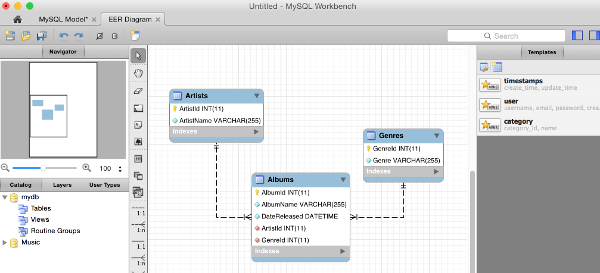
The EER diagram is now displayed on the screen.
Below are screenshots for the above steps.
Start
Select Database > Reverse Engineer from the top menu of MySQL Workbench. You don’t need to be connected to any MySQL instance at this stage – the wizard will ask you to connect at the next step.

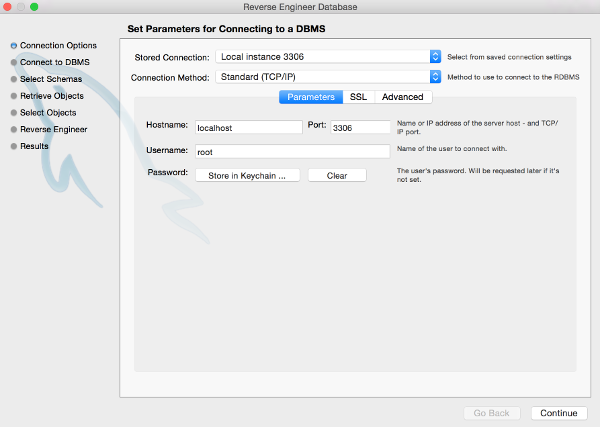
Set Parameters
Set/review parameters for connecting to the DBMS then click Continue:
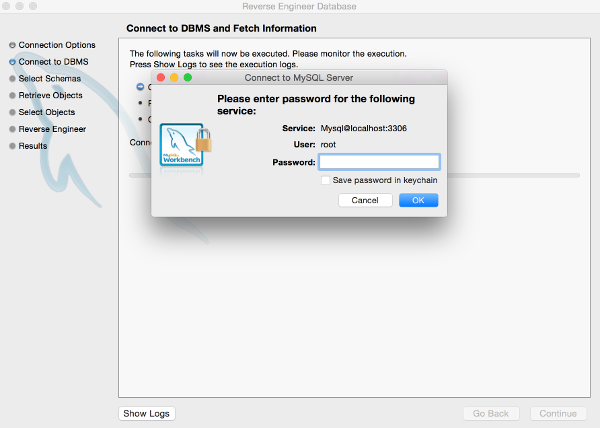
Enter Password
Enter password if required, then click OK. This is the password required to make the connection. It will typically be the password you use when connecting to the instance via MySQL Workbench:
Connecting
Workbench will connect to the DBMS, fetch a list of databases, and check for any issues. Click Continue:

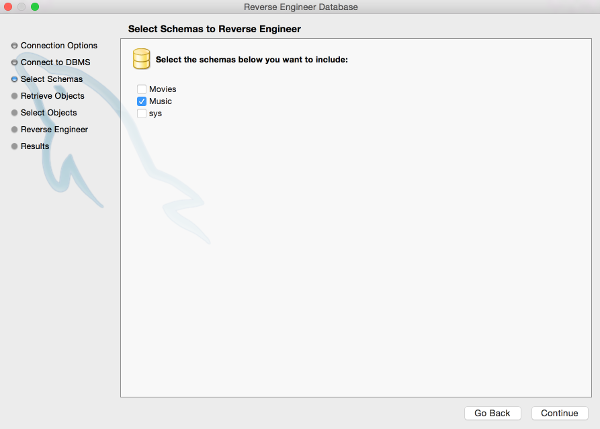
Select Schema/s
Select the database/s you would like to reverse engineer, then click Continue:
Retrieving Objects
MySQL Workbench will retrieve all objects from the selected schema/s and check the results. Click Continue:
Select Objects
Select the database objects you’d like to have reverse engineered, then click Execute:
Generating
MySQL Workbench will now reverse engineer all selected objects and generate the EER diagram (behind the scenes). Click Continue:
Summary
A summary is displayed. Click Close:

The Result
The EER diagram is now displayed on the screen. Here’s an example: