To create a form in Access 2013 or 2016:
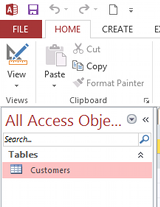
- On the left navigation pane, click the table or query that contains the data for your form
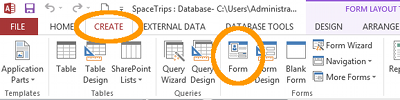
- From the Create tab on the Ribbon, click Form
This creates a form based on the table or query that you selected from the navigation pane. You can modify the form as required.
You can also create a blank form (using the Blank Form button) or you can use the Form Wizard to create a form.
Here are screenshots for the above steps.
The Navigation Pane
The Form Button on the Ribbon
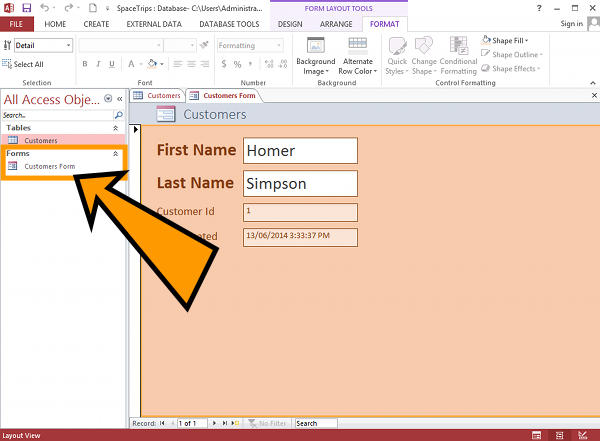
The Result
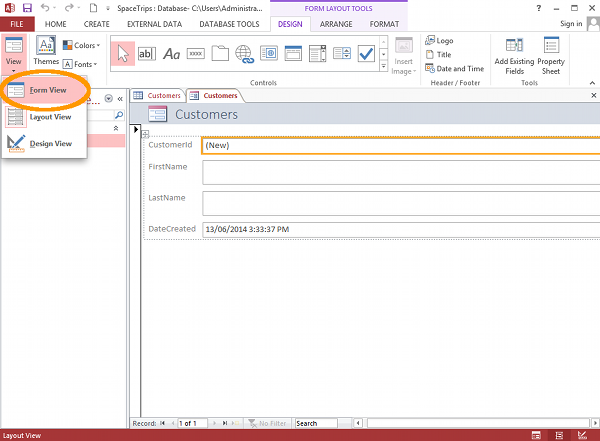
You can view the form in three views; Layout view, Form view, and Design view.
Here’s what they look like.
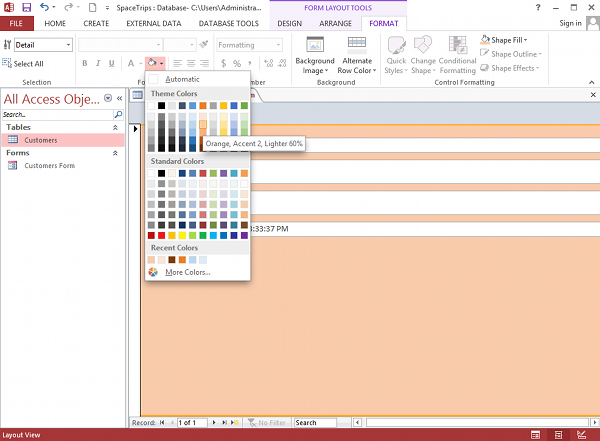
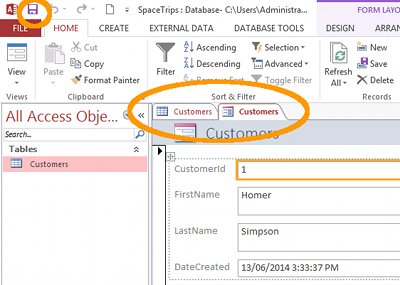
Layout View
After clicking the Form button above, your form is displayed in Layout view. Layout view allows you to modify your form while it is populated with real data. It is similar to Design view but with a more visual emphasis.
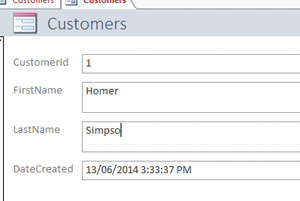
Form View
Form view is how the user will see the form. You can enter data from this view. The data will be inserted into the table that the form is based on (in this case, the Customers table).

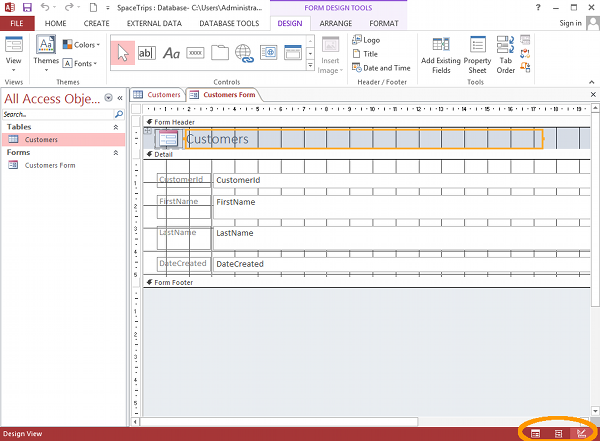
Design View
Design view allows you to design the form to very specific requirements. It is similar to Layout view in that you can perform the same tasks. However, Design view allows you to change certain properties that cannot be changed in Layout view (such as Default View or Allow Form View).
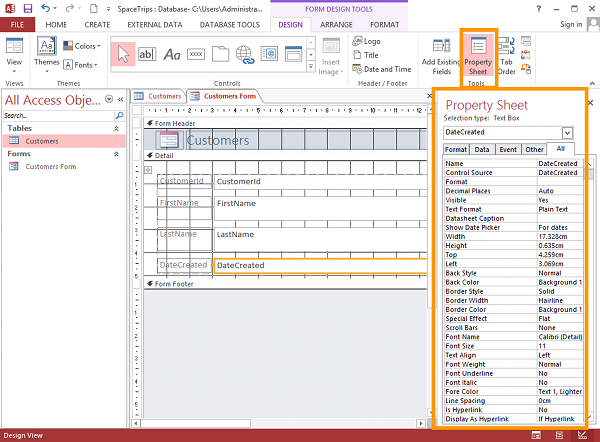
Property Sheet
The Property Sheet provides many options for specifying properties for each field on your form. You can format the form (eg, change colors, fonts, borders, heights, widths, etc). You can also specify validation rules, filter lookups and more.
Saving a Form
You can save a form just as you save any other database object. For example, clicking on the small floppy disk icon in the top menu will do it.
Name the form at the prompt, then your form will appear in the left navigation pane, under the heading “Forms”.